


4
Connections and Set-up
EN
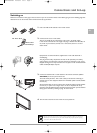
Unpacking and installing
Warning:This operation requires two people.
1. Place the box upright with its underside on a solid base.The
direction of the arrowheads on the long side of the box
indicates the top of the box.
2. Remove the packaging tape from the opening edge and open
the box’s flap outwards. Remove the two top polystyrene
packing corners and take the accessories box out of the
packing.
3. Remove the TV set from the packing and place it on a stable,
horizontal surface, capable of supporting the load.
Note: Before installing it, make sure that the TV set is switched off
and that the mains cable and signal cable are unplugged.
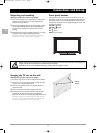
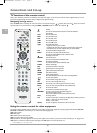
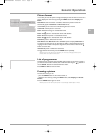
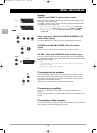
Front panel buttons
If the batteries in the remote control are run down you can use
the buttons on the TV set’s front panel, under the light, which have
the same functions as the corresponding buttons on the remote
control.They can also be used to navigate through the menus with
the following functions:
VOLUME -: button
VOLUME +: button
PR-: button
PR+: button
MENU: access to menus.
vol - vol + PR - PR + menu
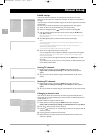
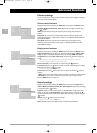
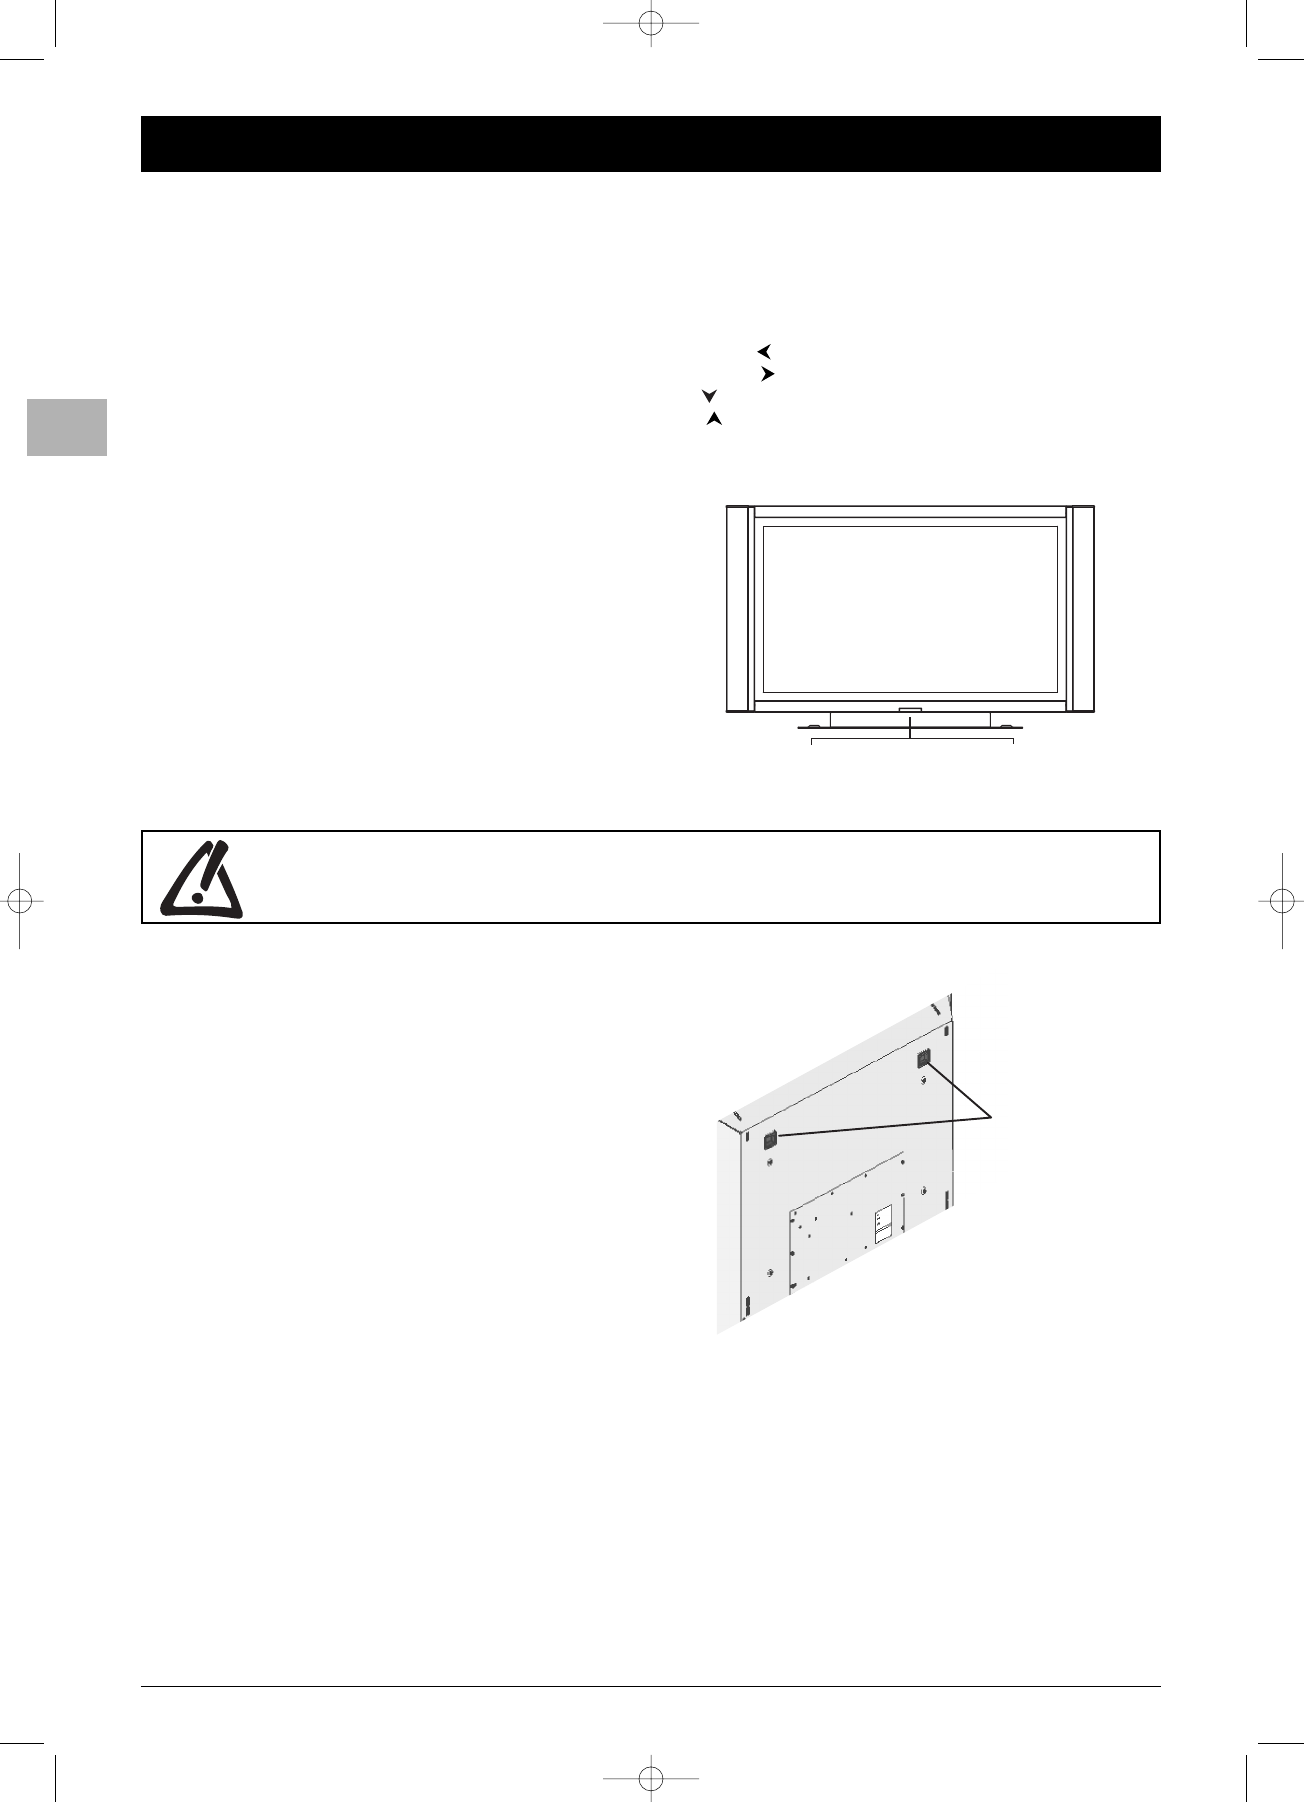
Holes for
brackets
Before setting up your television set, make sure that the surface you want to put the set on can support its
weight (see the list of specifications provided with the booklet).
Don’t place the set on an unstable surface (e.g. moving shelf, very edge of a unit).
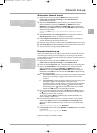
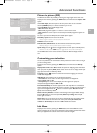
Hanging the TV set on the wall
Warning:This operation requires two people.
If you want to hang your TV set on the wall, proceed as follows:
1. Turn the TV set over (so that the screen is facing the floor)
and place it on a flat, protected surface.
2. Unscrew the four fixing screws from the table stand and
remove the stand.
3. Attach mounting brackets (not provided) to the wall.
4. Position the TV set so that the brackets fit into the holes
provided for this purpose at the back of the appliance.
Make sure that the TV set is securely fixed and cannot fall off.
Note: Check that the wall can support the TV set’s weight and make
sure and use a type of screw that is suitable for the material which
the wall is made of. If necessary, contact a qualified fitter.
42PB120S5-EN2 22/03/05 15:37 Page 4