


77
Chapter 8: Using the TV’s features
62HM15
Copyright © 2005 TOSHIBA CORPORATION. All rights reserved.
Using CableClear
®
DNR (digital
noise reduction)
The CableClear digital noise reduction feature allows you to
reduce visible interference in your TV picture. This may be
useful when receiving a broadcast with a weak signal (especially
a Cable channel) or playing back a noisy video cassette or disc.
NOTE: The CableClear DNR feature does not function in
HDMI (DVI), ATSC, IEEE1394, and digital Cable modes.
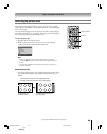
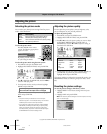
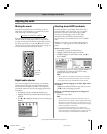
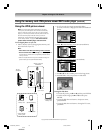
To turn on CableClear DNR:
1. Press MENU and open the VIDEO menu.
2. Highlight ADVANCED PICTURE SETTINGS and press
ENTER.
3. Press z to highlight the CABLECLEAR DNR field, and
then press • to select AUTO.
Video
Picture Settings
Theater Settings
Advanced Picture Settings
Navigate Select Back Exit
DVD RTN
CH RTN
EXIT
4. To temporarily save the new settings, highlight DONE and
press ENTER.
To permanently save the new settings, highlight SAVE and
press ENTER.
NOTE:
• If the current input is Antenna, Video 1, Video 2, or Video 3,
the menu will display the text “CableClear.”
• If the current input is ColorStream HD1 or ColorStream HD2,
the menu will display the text “DNR.”
• If the current input is HDMI or IEEE1394, the menu will
display the text “DNR” and will be “grayed out” to indicate
that the feature does not function in this input.
To turn off CableClear DNR:
Select OFF in step 3 above.
Adjusting the picture (continued)
Selecting the color temperature
You can change the quality of the picture by selecting from three
preset color temperatures: cool, medium, and warm, as
described below.
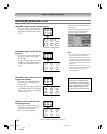
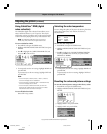
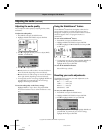
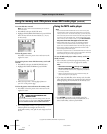
To select the color temperature:
1. Press MENU and open the VIDEO menu.
2. Highlight ADVANCED PICTURE SETTINGS and press
ENTER.
3. Press z to highlight the COLOR TEMPERATURE field,
and then press • to select the mode you prefer (COOL,
MEDIUM, or WARM).
Video
Picture Settings
Theater Settings
Advanced Picture Settings
Navigate Select Back Exit
DVD RTN
CH RTN
EXIT
4. To temporarily save the new settings, highlight DONE and
press ENTER.
To permanently save the new settings, highlight SAVE and
press ENTER.
Mode Picture Quality
cool blueish
medium neutral
warm reddish
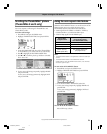
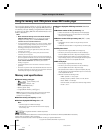
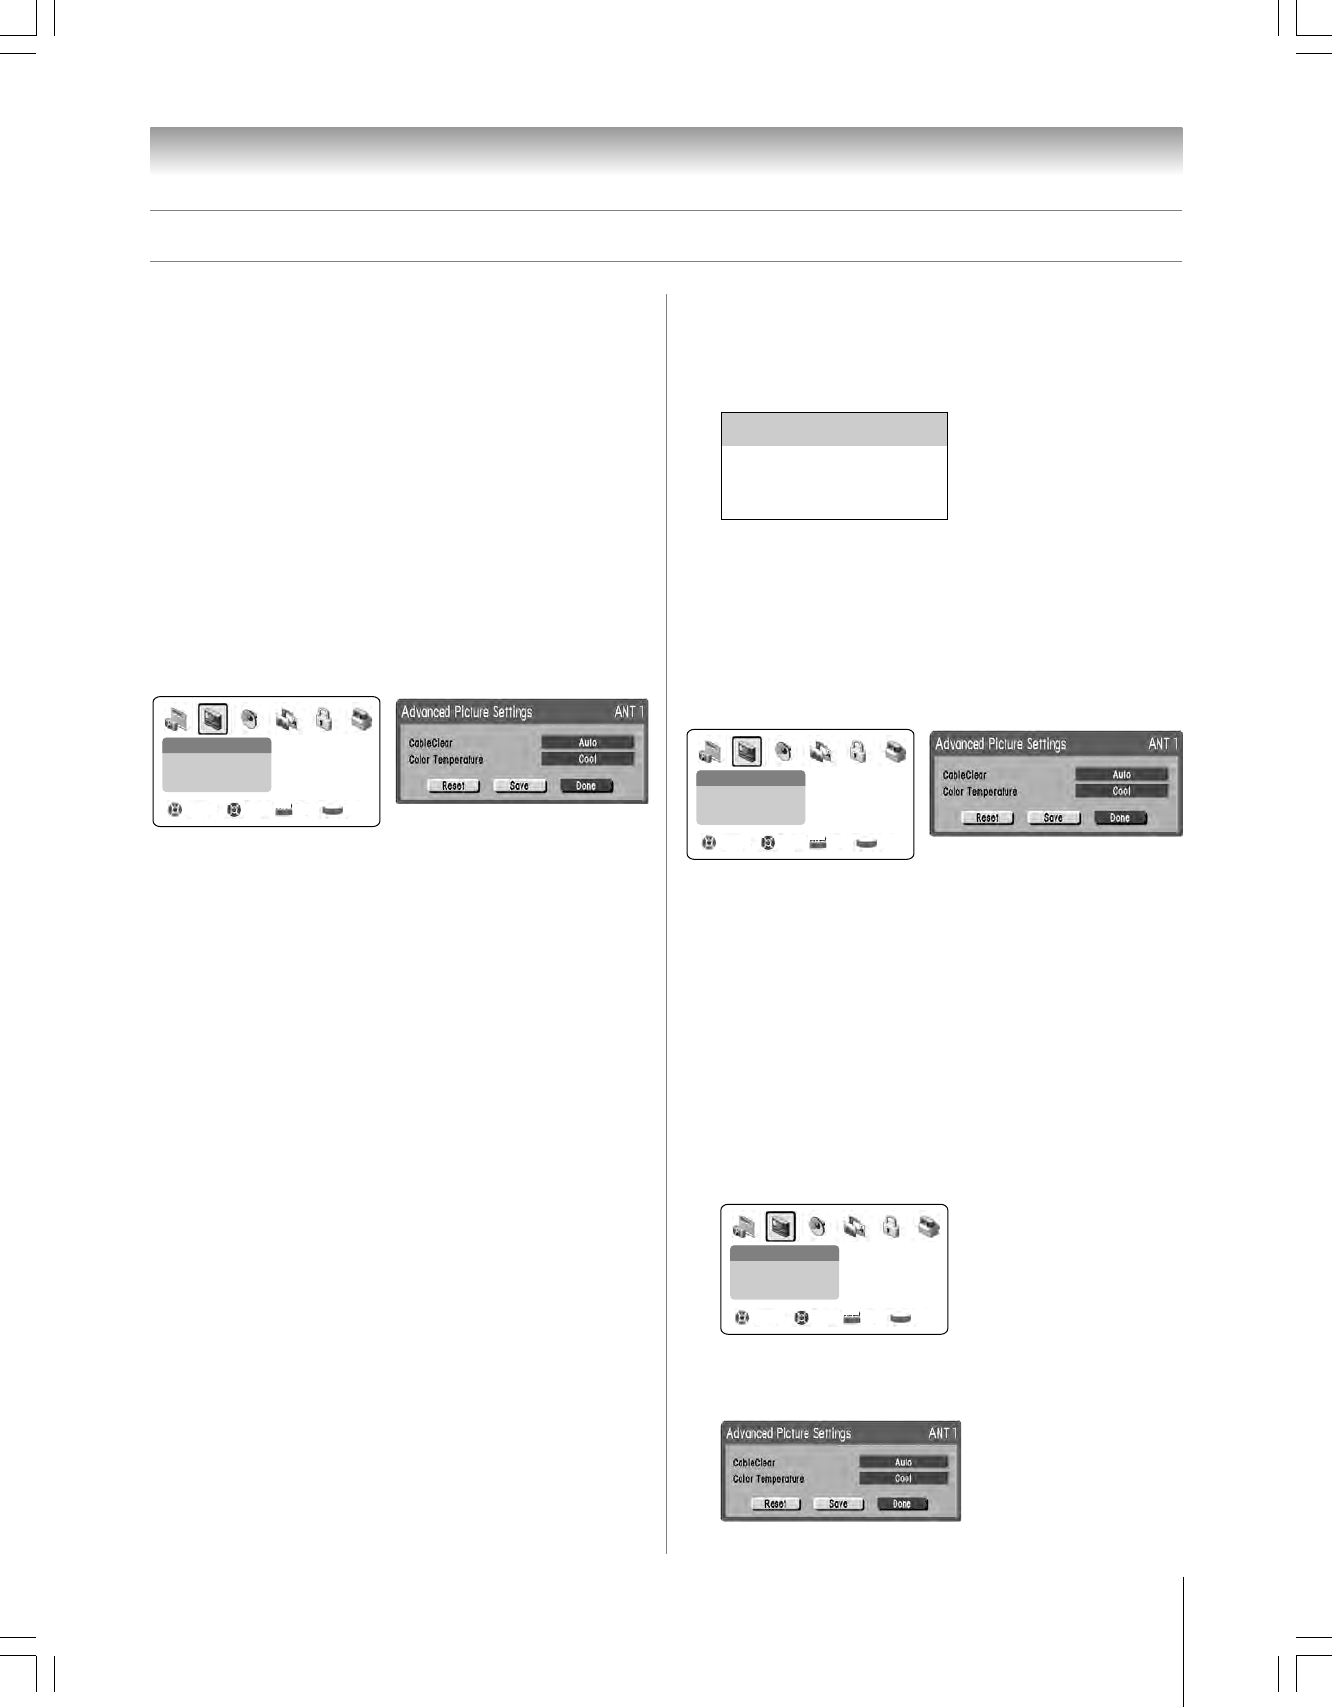
Resetting the advanced picture settings
To reset the advanced picture settings to their factory values:
1. Press MENU and open the VIDEO menu.
2. Highlight ADVANCED PICTURE SETTINGS and press
ENTER.
Video
Picture Settings
Theater Settings
Advanced Picture Settings
Navigate Select Back Exit
DVD RTN
CH RTN
EXIT
3. Highlight RESET and press ENTER.
4. Highlight SAVE and press ENTER.
#01E076-081_62HM15 5/24/05, 6:21 PM77
Black