


Computer System HyperTools Tevion TSD-DR40HD User Guide
F:\Our Files\Our Computers\User Guides\Tevion (Wintal)\Tevion TSD-DR40HD DVR Performance Log.doc 18/5/08 at 10:57 Page 20
5.3.3 Scheduling the Recording of a TV Program on HDD
Instead of using the One Touch Recording feature as explained above you may prefer to use
Timer Recording, whereby you can schedule a program to be recorded at a particular point in
time so that you can watch it latervia the HDD.
Warning: This will only work if the unit has the correct Date and Time (can and should be
checked from time to time via Setup Menu – Date/Time).
Since the DVR is not connected to the Internet (and no proper Electronic Program Guides are
likely to be available anyway for the foreseeable future) we are forced to do the scheduling the
long-winded way (entering the data manually).
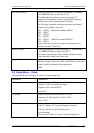
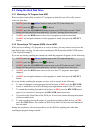
1. On TRC press the Power button to turn on the TV (if not already on).
2. On TRC press the button until
2
is shown.
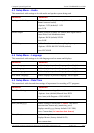
3. On DRC press the STANDBY/ON button to turn on the DVR and wait until “Hello”
display on front panel has been replaced by “No disc” message shown on screen.
4. On DRC press the DVB button (once or twice) to show TV programs from digital
channels.
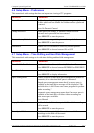
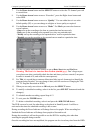
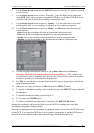
5. On DRC press the TIMER button to enter the Timer Recording menu:
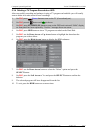
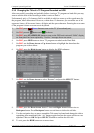
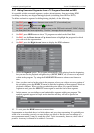
6. Use the Down Arrow button to move to the first blank line in the Timer Recording menu,
then press the SELECT button and wait a few seconds for the Timer Recording Setup
menu to appear: