14
After Video and Audio Cables are Connected and the power cord is plugged in
Once the DVD Player is properly connected to your TV and possibly your receiver also, turn on your TV and make
sure it’s set to the correct input channel. The video input is usually configured as channel 0 or 1 on most TVs, but
may be referred to as “Input 1” or “Aux In” or similar names. These procedures assume you are using a NTSC-
compatible TV - standard for North and South America. If you are using a PAL-type, you will need to change the TV
Type first. In this case, see VIDEO SETUP OPTIONS on page 28.
Quick Tips
About Standby Mode
Your DVD Player is
equipped with a power-
saving feature called
STANDBY MODE. When
you press POWER on the
Remote to turn off the
unit, it will enter standby
mode, indicated by a
glowing RED LED on the
Status LED right of the
disc tray, where it can be
quickly awakened by
pressing POWER, PLAY
or EJECT buttons
Getting Started - Powering On & Playing a Disc
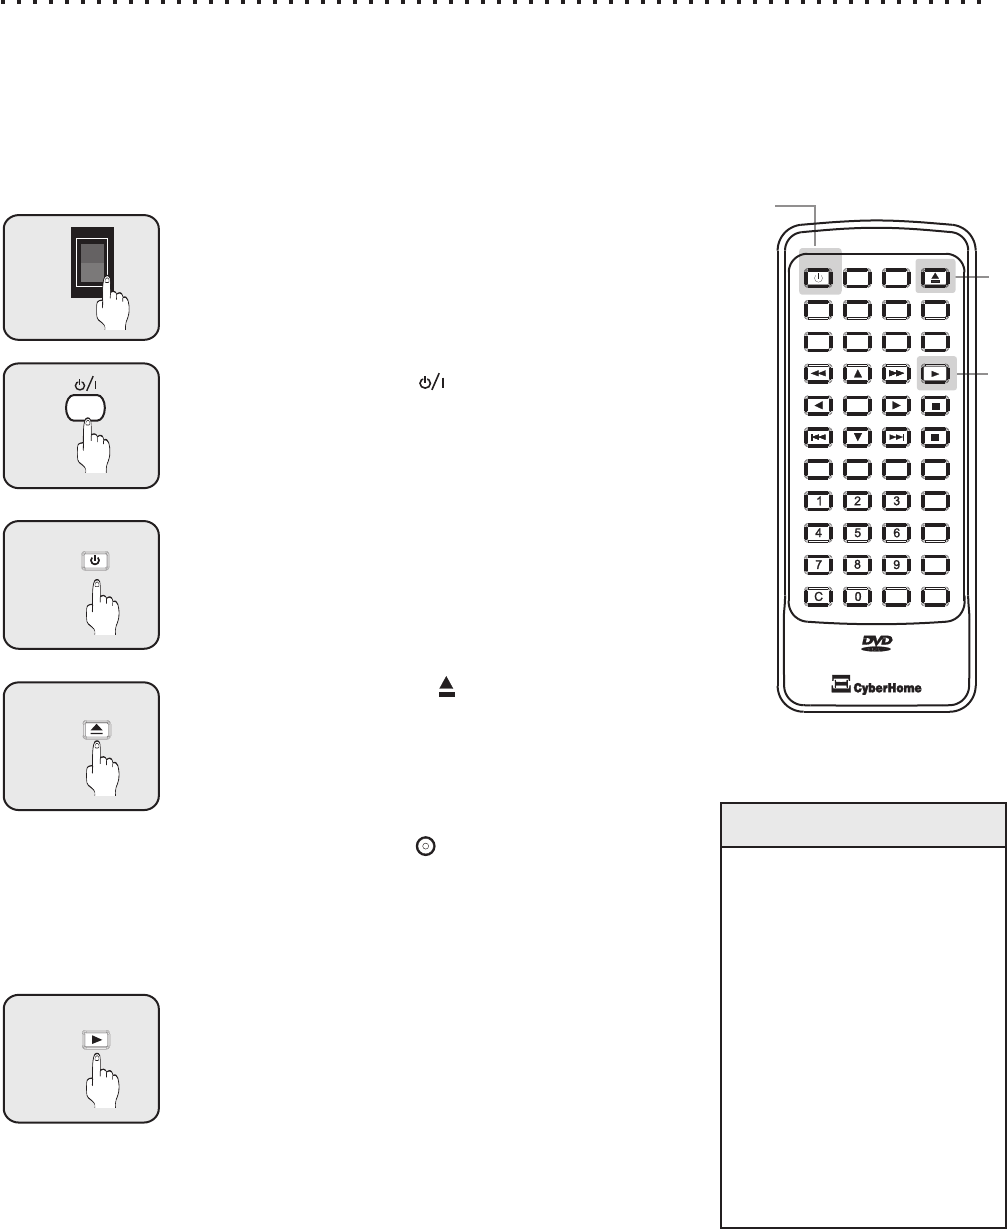
Power on the DVD Player *
Push the Power Button on the back of the unit firmly to turn
on the player. You should see the STATUS LED “ON” on the
front bezel of DVD Player.
1
2
POWER
3
OPEN/CLOSE
Powering on from the Remote
Once the back power switch is in the ON position, the unit
can be turned off and on by the remote. When the unit is
turned off by the remote, it will go into STANDBY MODE.
This allows the unit to be quickly “awakened” by pressing the
POWER key on the remote again.
4
PLAY
The Play Button
Most DVDs will automatically display a menu when inserted.
However, some discs will require you to press the PLAY
button. Also, the PLAY button can usually be used to quickly
start a DVD movie when pressed with the menu displayed.
This function varies with discs.
ON
OFF
I
O
Powering on with the Front Switch
Once the main power switch on the back of the unit is on, the
Front power switch can be used to bring the player in and out
of STANDBY MODE. Note: the STATUS LED is RED in
STANDBY MODE and GREEN when Power ON.
Opening the Disc Tray
Press the OPEN/CLOSE button on the remote or on the
player (to the right of the disc tray) to insert a disc. There are
two grooves in the disc tray - 12cm and 8cm. Make sure the
disc is properly set into the tray. Small 8cm discs must be
positioned exactly in the middle groove. Press the
OPEN/CLOSE button again (Remote or Player) to close the
disc tray. You will see the “ “ message READ on the top
right TV display. Once the disc is read, you should see the
menu screen for DVD discs, hear sound for an Audio CD or
a menu should appear. Note: STANDBY LED will blink
GREEN when reading the disc. When LED is not blinking
the player has recognized the disc loaded.
2
OR
2
3
4
OPEN/CLOSEOPEN/CLOSE
A-B A-B
+
10
+
10
EFFECTSE FFECTS
INTROINTRO
SETUPSETUPPOWERPOWER
TITLETITLE
MENUMENU
GOTOGOTO
DISPLAYDISPLAY
MUTEMUTE
SUBTITLESUBTITLE AUDIOAUDIOANGLEANGLE
ENTERENTER
PBCPBC
PLAYPLAY
STOPSTOP
PAUSEPAUSE
RETURNRETURN
REPEATREPEAT
1/ALL1/ALL
SLOWSLOW
ZOOMZOOMBOOKMARKBOOKMARK
PROGRAMPROGRAM
Note: We have added shortcuts in powering on the player from STANDBY. Press
the Open/Close or Play buttons on the REMOTE or PLAYER to wake up the
system and execute the pressed function. These shortcuts will turn ON the
player and open the disc tray or begin to play the disc already in the player.
Some models of the players may vary in specifications. Should your player not have the rear power switch and the
power cord is attached to the player, please skip this step.
*


