TroubleshootingInformationHDMI Control FunctionPlaybackSetupGetting Started Specications
ENGLISH
1. Home Theater Playback – Playing Back Using Multi-channel System –
When connecting with an HDMI cable, press and set it to “HDMI On”.
DBP-4010UDCI automatically detects audio/video signal supported by the connected HDMI
device and outputs the signal. To change the setting, see “HDMI Setup” on the GUI menu
(vpage 23, 24).
NOTE
When you press and set it to “HDMI On”, no video signals are output from the component
video outputs.
To disable video or audio output from the HDMI terminal, set “Video Out” of “Pure Direct Setup”,
which outputs high quality analog audio to “Off”. To enable the HDMI signal output, set the Pure
Direct mode to one of the following setting:
Pure Direct mode “Off” or “User Preset 1” or “User Preset 2” (b)
(“Playing Back High-Quality Audio (Pure Direct Function) ” vpage 38)
Do this after setting “Pure Direct Setup” – “User Preset 1” or “User Preset 2” – “Video Out” on GUI
menu to “On” (vpage 28).
•
•
•
•
•
b
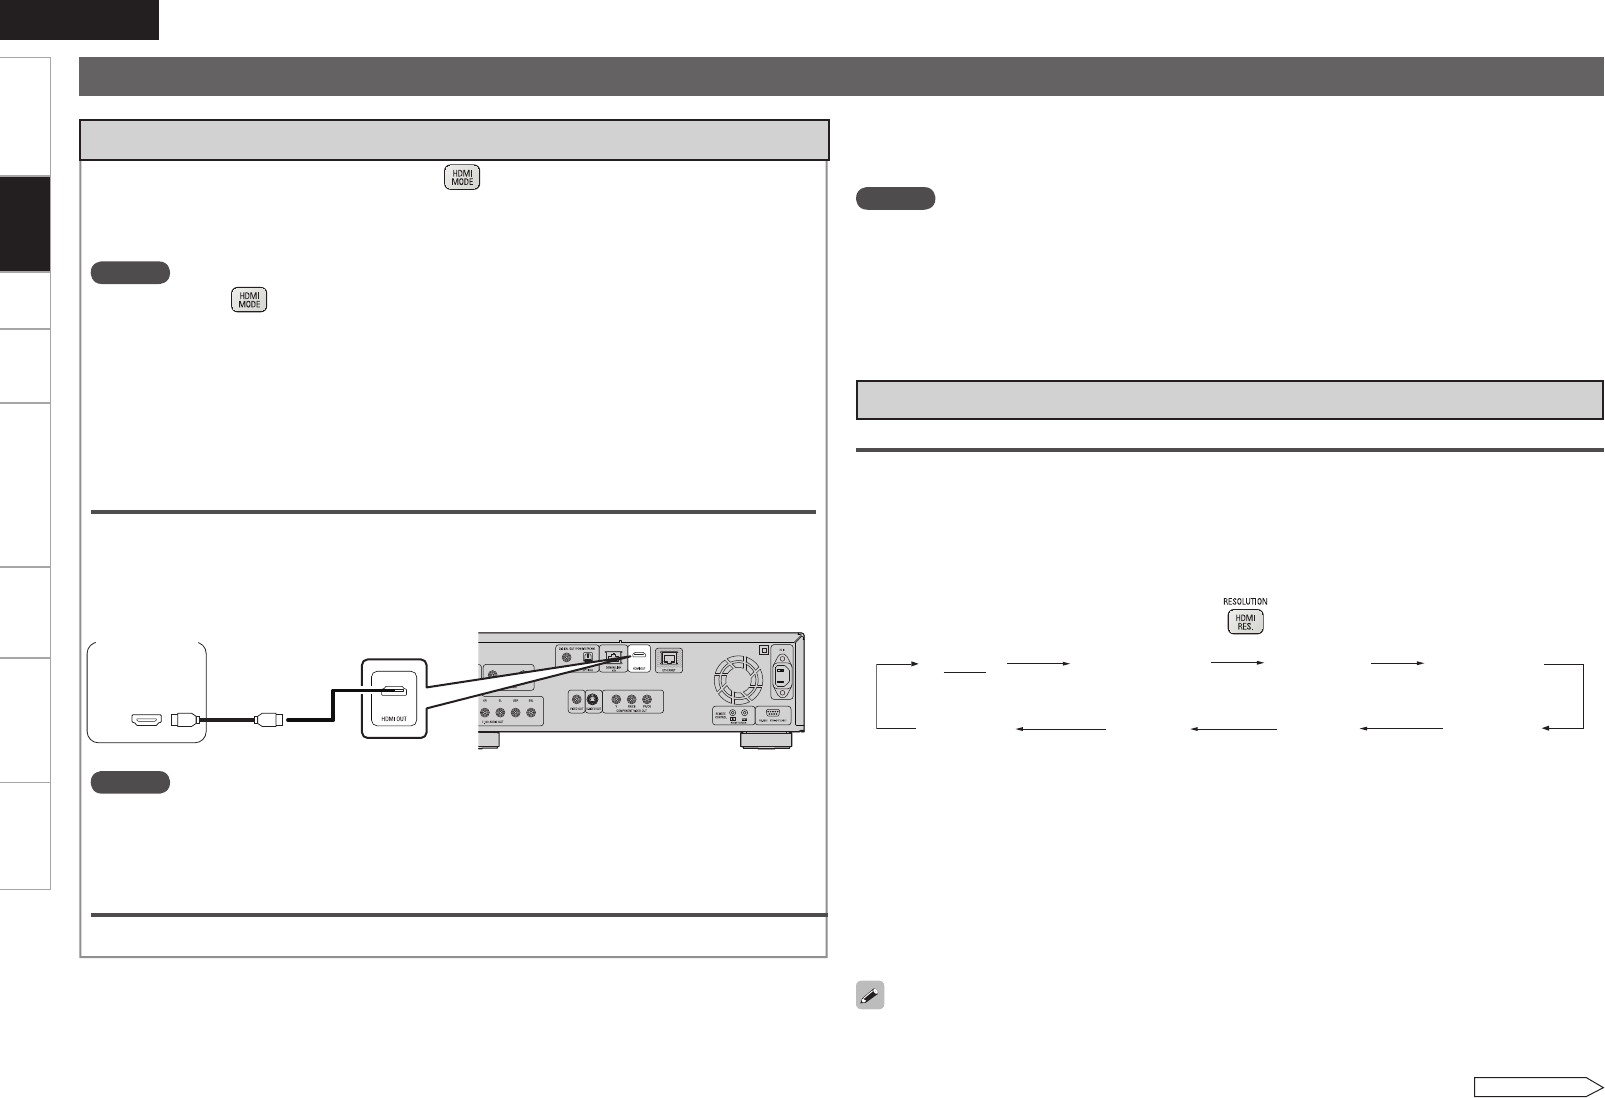
Using an HDMI Cable to Connect to an AV Amp or Television
Connections
During “HDMI On”
Audio/video signals are output from the HDMI terminal.
When the HDMI video resolution is set to “Auto” as described in “About HDMI Video Resolution
Setting” (vpage 13), the DBP-4010UDCI outputs the highest resolution video signal that is supported
by the connected equipment.
*/
)%.*
AV Amp or
TV
During “HDMI Off”
Audio/video is not output from the HDMI terminal.
Connection to a device with a DVI-D terminal
If you use a HDMI/DVI-D conversion cable (sold separately), HDMI video signals are converted to DVI-
D signals, enabling connection to a device with a DVI-D terminal.
n
NOTE
In this case, the audio signal is not output. Make the appropriate audio connections for your devices.
(vpage 14 ~ 20).
The video signal will be in RGB format.
You cannot output to a DVI-D device that does not support HDCP (high-bandwidth digital content
copyright protection system).
Video may not be output depending on the combination of devices.
•
•
•
•
NOTE
When audio/video signals are output from the HDMI terminal, no video signals are output from the
component terminals.
When a signal comprising 24 frames per second, such as 1080P24, is output from the HDMI terminal,
no video signals are output from the video or S-Video outputs.
•
•
Setting HDMI video output
Make HDMI Output Signal and HDMI Control Function Settings
“HDMI Setup” (vpage 23, 24)
Make the Video Output Signal Setting for the Connected Television
“Video Setup” (vpage 24)
About HDMI Video Resolution Setting
Change the HDMI video resolution by pressing . Switch the output mode as follows. Default
settings are underlined.
Auto
480/576i
1080P24
1080P
1080i
480/576P
720P
Source Direct
If the HDMI resolution is not set to “Auto”, set it to correspond with the resolution of your television.
Images will not be projected normally if the television resolution and DBP-4010UDCI’s output resolution
do not match.
Audio and video will be temporarily interrupted if the power of the connected device currently playing
back is turned off, or input is switched.
When you change the HDMI video resolution of the DBP-4010UDCI, it takes from a few seconds up to
about 10 seconds for validation between the DBP-4010UDCI and the connected device. Audio/video is
not output during this period.
When outputting deep colour or 1080p, etc., we recommend you use High Speed HDMI cable for
enhanced high-quality playback.
n
n
n
•
•
•
•
•
Required Settings for HDMI Connection
(480/576 interlaced) (480/576 progressive)
(720 progressive)(1080 interlaced)(1080 progressive)(1080 progressive, 24-frame)
(Source direct)
(Auto)
When outputting a video signal comprising 24 frames per second from the HDMI terminal, select
“1080P24” or “Source Direct” after setting the GUI menu “HDMI Setup” – “I/P Direct” (vpage 23) to
“On”.
See overleaf


