


12
Using the TV
Connecting a camcorder or video game
To connect a camcorder or video game:
1 Follow the instructions in “Connecting a VCR with a standard AV
cable” on page 10.
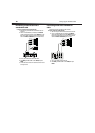
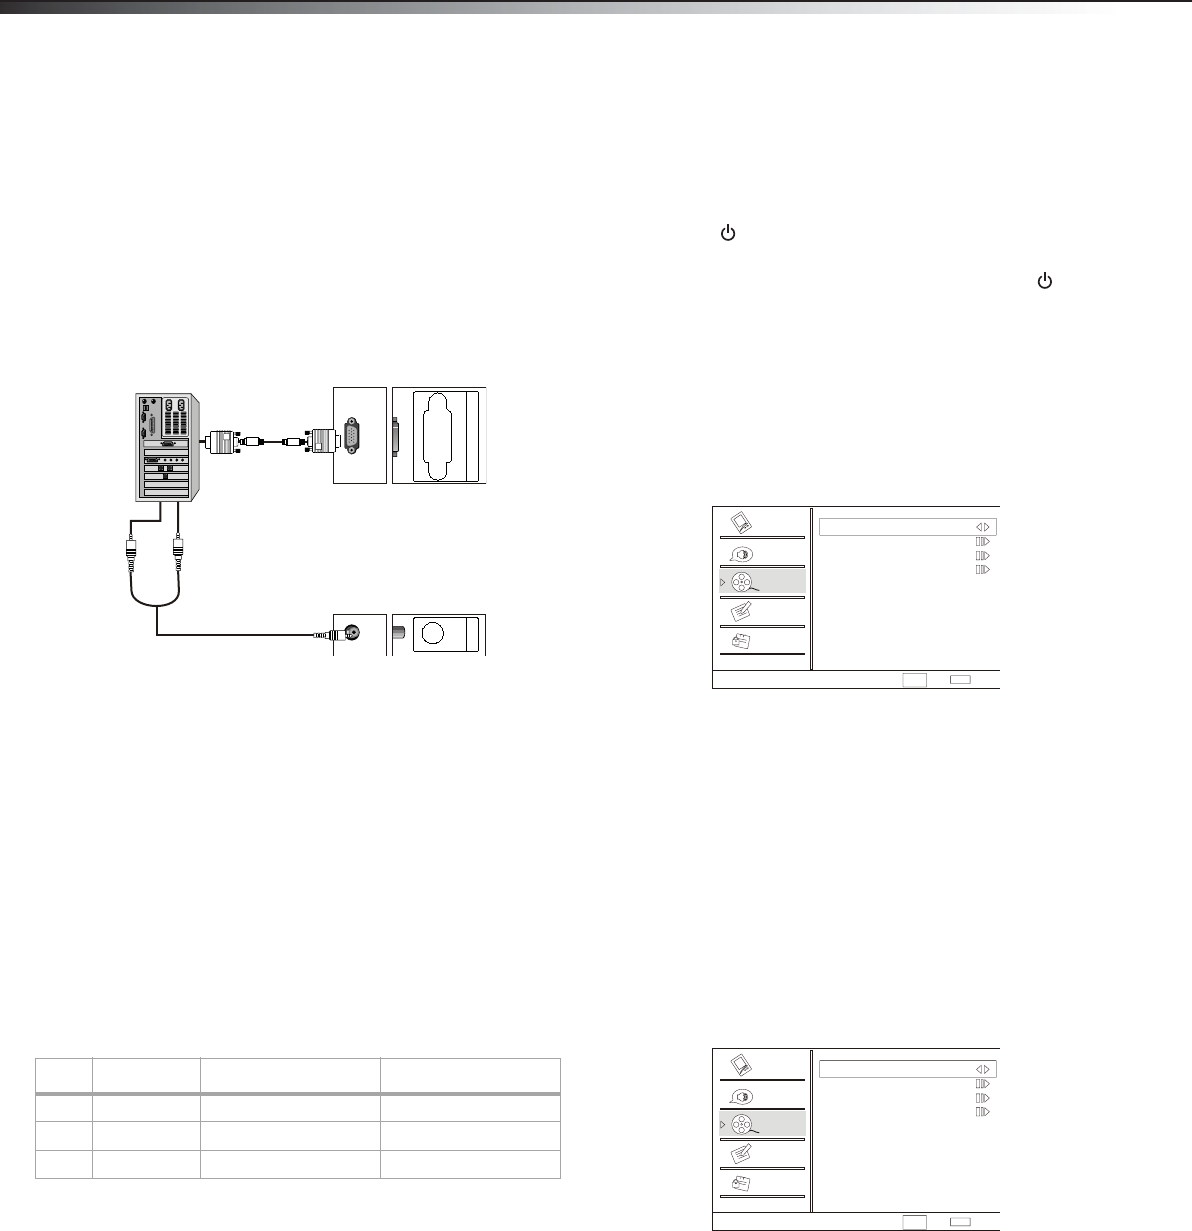
Connecting a computer
To connect a computer:
1 Make sure that the computer has a VGA jack. See the
documentation that came with the computer.
2 Make sure that the computer and your TV/DVD combo are turned
off.
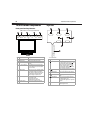
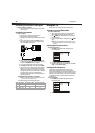
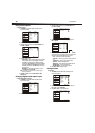
3 Connect a VGA cable (not supplied) to the VGA IN jack on the
back of your TV/DVD combo, then connect the other end of the
cable to the VGA jack on the computer.
4 Connect an audio cable (not included) to the PC AUDIO IN jack
on the back of your TV/DVD combo, then connect the other end of
the cable to the AUDIO OUT jacks on the computer.
5 Turn on your TV/DVD combo first, then turn on the computer.
6 Press INPUT, press CH+ or CH– to select PC, then press ENTER.
7 If you see video “noise” on the screen, you may need to adjust the
brightness or contrast on your TV/DVD combo or the computer’s
video resolution or refresh rate on the computer. For information
about adjusting the video on your TV/DVD combo, see “Adjusting
the computer image” on page 14. For information about
adjusting the video on the computer, see the documentation that
came with the computer.
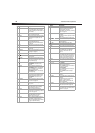
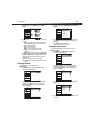
Supported video modes for a computer
Note: If the computer does not support one of the following video modes,
you may need to replace or add a video card.
Your TV/DVD combo supports the following video modes:
Using the TV
All instructions use the remote control unless otherwise noted.
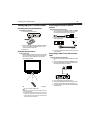
Turning on your TV/DVD combo
To turn on your TV/DVD combo:
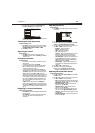
1 Plug the power cord into a power outlet. Your TV/DVD combo
enters standby mode and the power indicator lights red.
2 Press POWER. Your TV/DVD combo turns on and the power
indicator lights green.
3 To put your TV/DVD combo into standby mode, press POWER
again.
Caution: When your TV/DVD combo is in standby mode, power is still
flowing into your TV/DVD combo. To disconnect all power, unplug the
power cord.
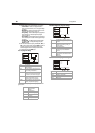
Selecting the TV signal source
To select the TV signal source:
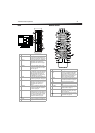
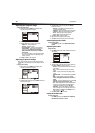
1 Press MENU, then press CH+ or CH– repeatedly until the
Channel menu appears.
2 Press VOL+ or ENTER to open the Channel menu.
3 Press CH+ or CH– repeatedly to select Tuner, then press VOL+
or VOL– to select Antenna or Cable.
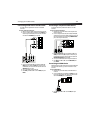
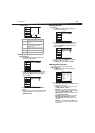
Setting up the channel list
The first time you use your TV/DVD combo or if you move your
TV/DVD combo to a different broadcast area, you need to scan for
channels. Your TV/DVD combo scans for channels available in your area
and stores the channel information in the channel list. When you press
CH+ or CH–, your TV/DVD combo goes to the next or previous channel
in the channel list and skips any channel numbers that do not have a
broadcast signal.
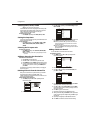
To set up the channel list:
1 Press MENU, then press CH+ or CH– repeatedly until the
Channel menu appears.
2 Press VOL+ or ENTER to open the Channel menu.
Mode Resolution Line frequency (KHz) Frame frequency (Hz)
VGA 640 × 480 31.5 60
SVGA 800 × 600 37.9 60
XGA 1024 ×768 48.4 60
PC
A
UDIOIN
V
GA
IN
Channel
Video
Audio
Channel
Lock
Function
Select
Back
EXIT
CH+/-
VOL+/-
Tuner Antenna
Channel Scan
Channel Skip
Channel Label
Channel
Video
Audio
Channel
Lock
Function
Select
Back
EXIT
CH+/-
VOL+/-
Tuner Antenna
Channel Scan
Channel Skip
Channel Label