


Using the TV
13
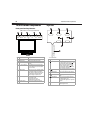
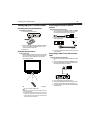
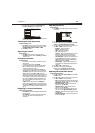
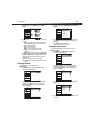
3 Press CH+ or CH– repeatedly to select Channel Scan, then
press VOL+ or ENTER to start scanning for channels.
When the scan is complete, your TV/DVD combo displays the first
channel in the channel list.
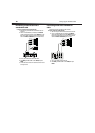
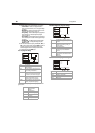
Selecting the video input source
To select the video input source:
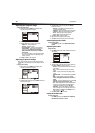
1 Press INPUT to open the Select Source menu, then press CH+ or
CH– repeatedly to select the video input source. You can select
TV, VIDEO, S-VIDEO, Component, DVD, PC, or HDMI.
2 Press ENTER to confirm.
Adjusting the volume
To adjust the volume:
•Press VOL+ or VOL– to increase or decrease the volume.
•Press MUTE to turn off the sound. Press MUTE again or VOL+ to
restore the sound.
Changing TV channels
To change TV channels:
• To tune directly to a channel, press the number buttons for the
channel number.
• To go to the last viewed channel, press RECALL.
• To scroll through the channels in the channel list, press CH+ or
CH–. For information about setting up the channel list, see
“Setting up the channel list” on page 12.
• To select a channel from the channel list, press CH.LIST. The
channel list opens. Press CH+ or CH– to select a channel, then
press ENTER. If the channel list has more channels than can be
displayed on the screen, press VOL+ or VOL– to got to the
previous or next page in the list. For information about setting up
the channel list, see “Setting up the channel list” on page 12.
• To select a digital sub-channel, press the number buttons for the
main channel, press , then press the number button for the
sub-channel. For example, to select digital channel 11.1, press
11, , then press 1.
• To select a channel in the favorite list, press FAVORITE. The
favorite list opens. Press CH+ or CH– to select the channel you
want, then press ENTER. For information about adding a channel
to the favorite list, see “Adding a channel to the favorite list” on
page 15.
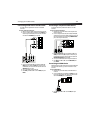
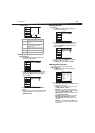
Displaying TV channel information
To display TV channel information:
•Press DISPLAY. Your TV/DVD combo displays information about
the current channel.
•Press DISPLAY again to close the channel information display.
You can also wait a few seconds for the display to close
automatically.
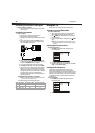
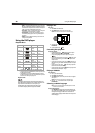
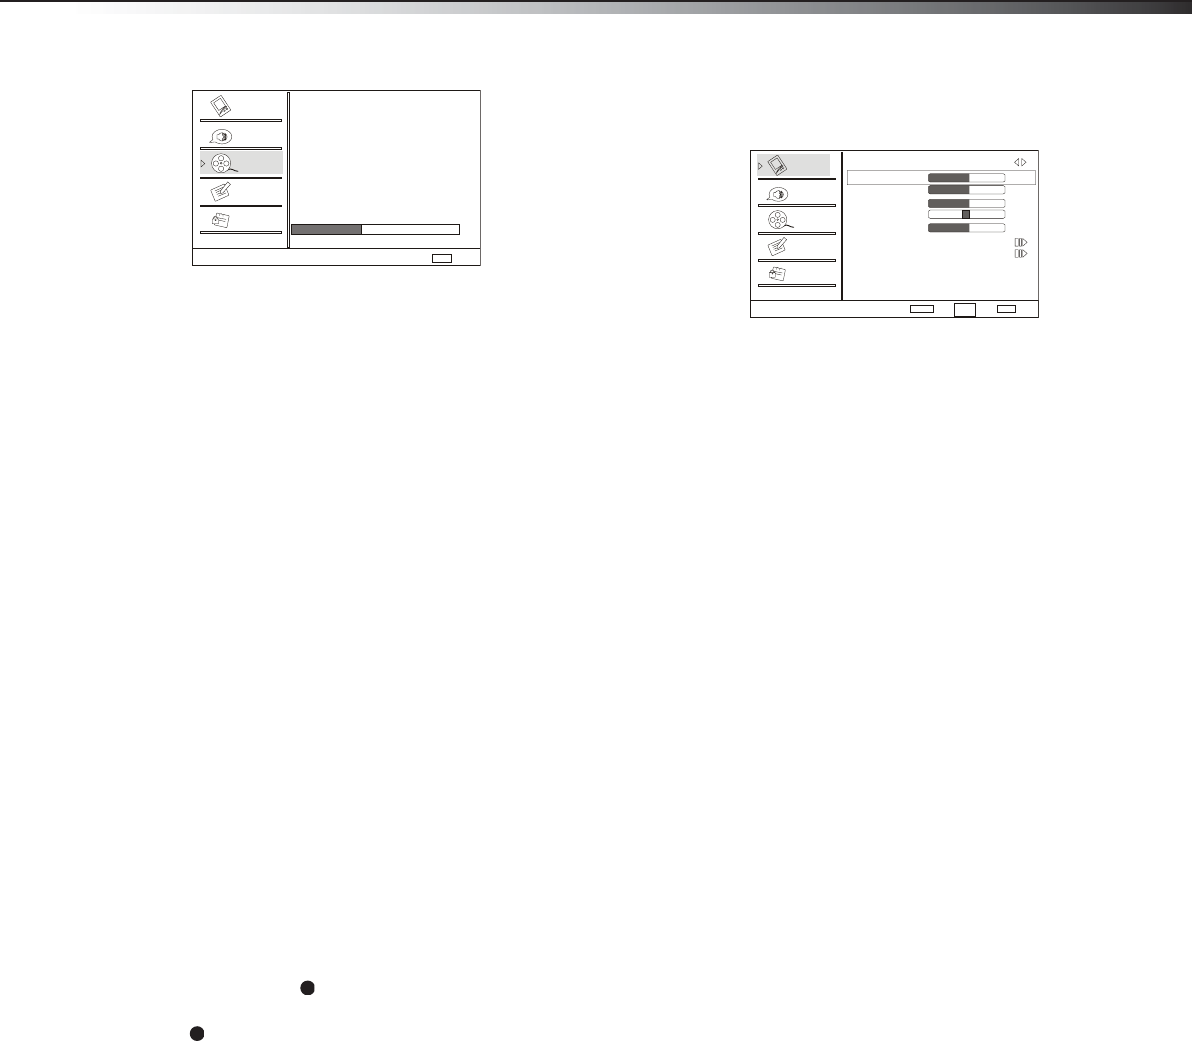
Adjusting the picture
To adjust the picture:
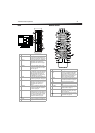
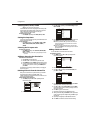
1 Press MENU, then press CH+ or CH– repeatedly until the Video
menu appears.
2 Press VOL+ or ENTER to open the Video menu.
3 Press CH+ or CH– repeatedly to select Mode, then press VOL+
or VOL– to select Mild, Standard, Vivid, or Custom.
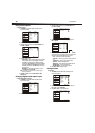
4 Press CH+ or CH– to select the option you want to adjust, then
press VOL+ or ENTER to confirm. You can select:
• Brightness—Adjusts the brightness.
• Contrast—Adjusts the contrast.
• Color—Adjusts the color saturation.
• Tint—Adjust the picture tone.
• Sharpness—Adjusts the detail enhancement. Increasing
the sharpness makes the picture cleaner and clearer.
Decreasing the sharpness makes the picture smoother.
• Color Temperature—Adjusts the color temperature. You
can select Normal (give the white colors a neutral tint),
Warm (gives the white colors a red tint), Cool (gives the
white colors a blue tint), or Custom.
• Advanced Video—Adjusts advanced video options. For
more information, see “Adjusting advanced video options”
on page 13.
5 Press VOL+ or VOL– to adjust the option.
6 Repeat Steps 4 and 5 to adjust additional options.
Note: You can only adjust Brightness, Contrast, Color, Tint,
Sharpness, and Color Temperature if you selected Custom.
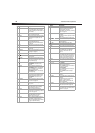
Adjusting advanced video options
To adjust advanced video options:
1 Press CH+ or CH– to select Advanced Video, then press VOL+
or ENTER to confirm.
2 Press CH+ or CH– to select the option you want to adjust, then
press VOL+ or ENTER to select. You can select:
• DNR—Digital Noise Reduction. Reduces the appearance of
digitizing errors caused by compression. You can select Off,
Weak, Medium, Strong, or Auto.
• Black Level Extender—Adjusts the black areas of the
picture. You can select On or Off.
• White Peak Limiter—Adjust the white areas of the
picture. You can select On or Off.
• CTI—Color Transient Intensity. Adjusts color errors in the
picture. You can select Off, Weak, Medium, or Strong.
• Flesh Tone—Adjusts the flesh colors in the picture. You can
select On or Off.
• Adaptive Luma Control—Adjusts the picture luminance.
You can select On or Off.
Channel Scan
Status: Scanning... Antenna
Analog Channels: 4
Digital Channels: 3
Cancel
EXIT
40%
Video
Audio
Channel
Lock
Function
Video
Audio
Channel
Lock
Function
Video
Mode Custom
Brightness
Contrast
Color
Tint
Sharpness
Color Temperature
Advanced Video
50
50
50
0
50
Select
BackAdjust
EXITENTER
CH+/-
VOL+/-