


16
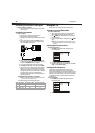
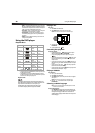
Using the TV
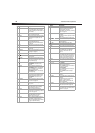
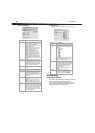
Using closed captions
To use closed captions:
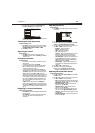
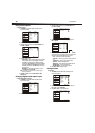
1 Press MENU, then press CH+ or CH– repeatedly until the
Function menu appears.
2 Press VOL+ or ENTER to open the Function menu.
3 Press CH+ or CH– repeatedly to select Closed Caption, then
press VOL+ or ENTER.
4 Press CH+ or CH– to select:
• NTSC Caption—Selects analog closed captions. Select CC1
to see closed captions in the same language as the audio.
Select CC2 to see closed captions in a different language
than the audio. CC3 and CC4 display information provided by
the broadcaster. TEXT1 through TEXT4 display information
provided by the broadcaster. The TEXT modes cover a large
part of the screen.
• DTV Caption—Selects digital closed captions. You can
select Service1 through Service6.
Note: The availability of closed captions and secondary languages
depends on the broadcaster.
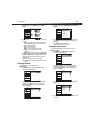
5 Press VOL+ or VOL– to select the NTSC Caption or DTV
Caption mode.
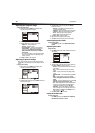
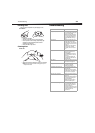
Changing digital closed caption styles
To change digital closed caption styles:
1 Press MENU, then press CH+ or CH– repeatedly until the
Function menu appears.
2 Press VOL+ or ENTER to open the Function menu.
3 Press CH+ or CH– repeatedly to select Closed Caption, then
press VOL+ or ENTER.
4 Press CH+ or CH– to select DTV Caption Style, then press
VOL+ or ENTER.
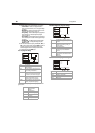
5 Press CH+ or CH– to select an option, then press VOL+ or VOL–
to adjust the option. As you adjust an option, the small box to the
right shows a preview of the adjustment. You can select:
• Size—Selects the size of the caption display.
• Text Color—Selects the text color or the opacity of the text
box.
• Text Opacity—Selects the opacity of the text color.
• BG Color—Selects the background color.
• BG Opacity—Selects the opacity of the background color.
• Window Color—Selects the window color.
• Window Opacity—Selects the window opacity.
6 Press VOL+ or VOL– to adjust the option.
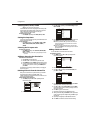
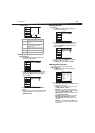
Setting the time
To set the time:
1 Press MENU, then press CH+ or CH– repeatedly until the
Function menu appears.
2 Press VOL+ or ENTER to open the Function menu, then press
CH+ or CH– to select Time Setup.
3 Press VOL+ or VOL– to select your time zone.
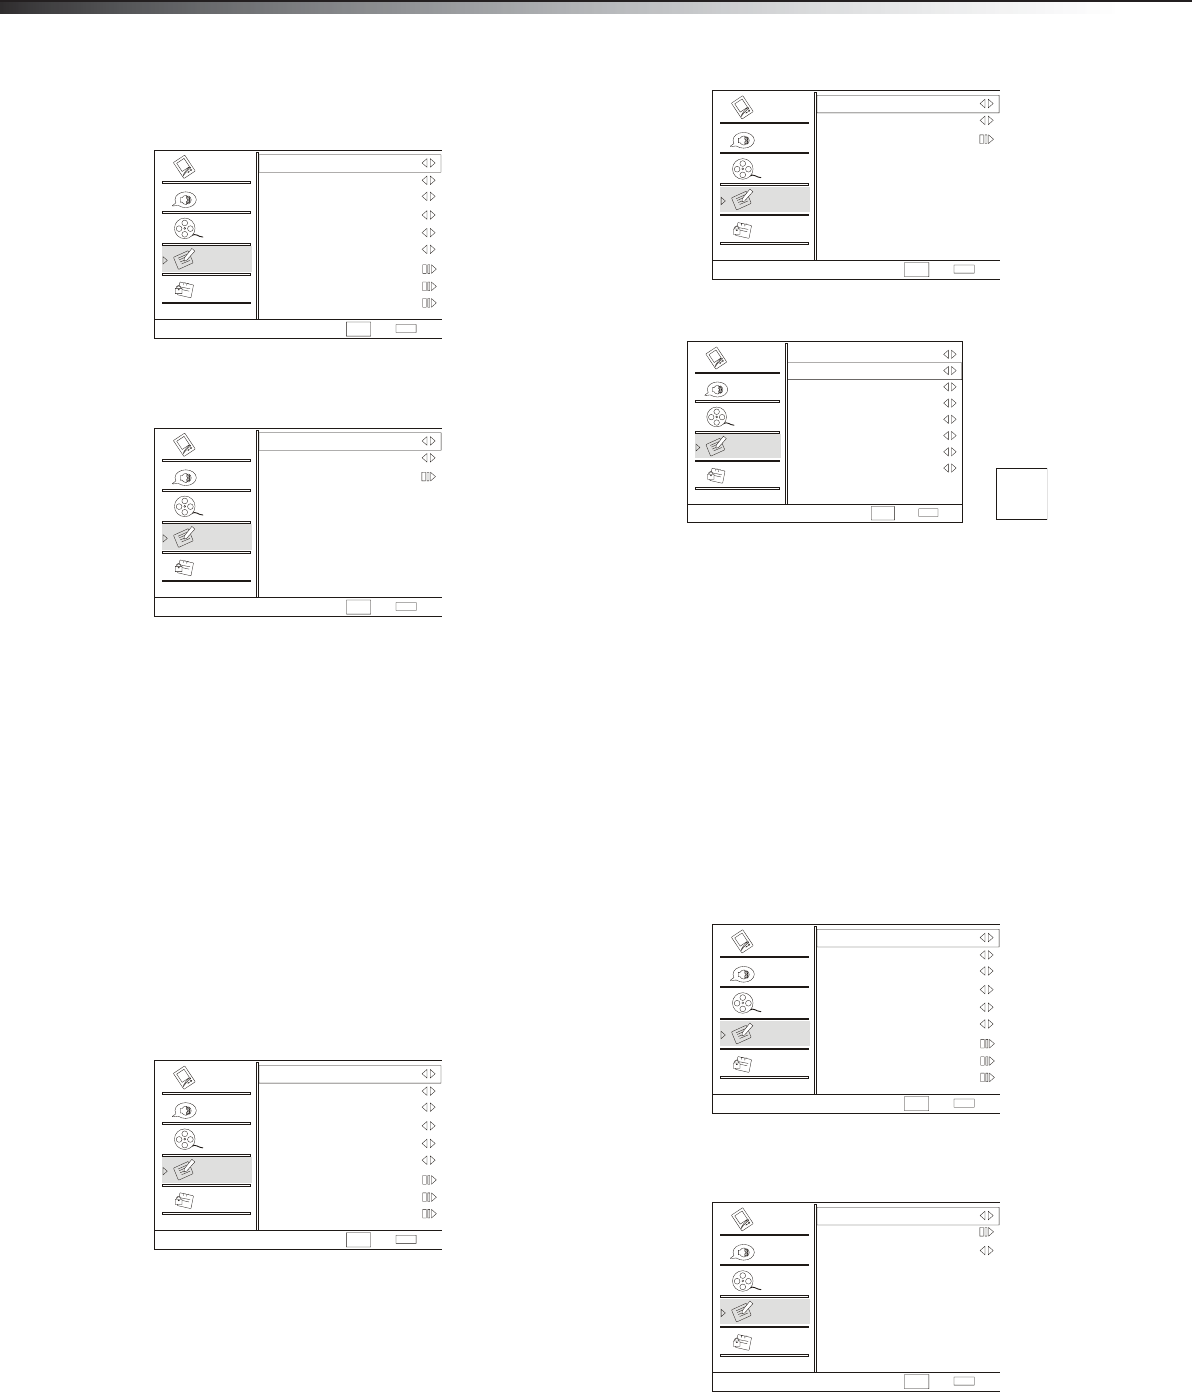
Function
Language English
OSD Timeout Short
OSD Transparency Medium
Screen Mode Full screen
Blue Screen On
DPMS On
Time Setup
Closed Caption
Default
Select
Back
EXIT
CH+/-
VOL+/-
Video
Audio
Channel
Lock
Function
Closed Caption
NTSC Caption O
DTV Caption O
DTV Caption Style
Select
Back
EXIT
CH+/-
VOL+/-
Video
Audio
Channel
Lock
Function
Function
Language English
OSD Timeout Short
OSD Transparency Medium
Screen Mode Full screen
Blue Screen On
DPMS On
Time Setup
Closed Caption
Default
Select
Back
EXIT
CH+/-
VOL+/-
Video
Audio
Channel
Lock
Function
Closed Caption
NTSC Caption O
DTV Caption O
DTV Caption Style
Select
Back
EXIT
CH+/-
VOL+/-
Video
Audio
Channel
Lock
Function
DTV Caption Style
Style
Size
Text Color
Text Opacity
BG Color
BG Opacity
Window Color
Window Opacity
Select
Back
EXIT
CH+/-
VOL+/-
Video
Audio
Channel
Lock
Function
Custom
Large
White
Solid
Black
Solid
Black
Solid
ABC
Function
Language English
OSD Timeout Short
OSD Transparency Medium
Screen Mode Full screen
Blue Screen On
DPMS On
Time Setup
Closed Caption
Default
Select
Back
EXIT
CH+/-
VOL+/-
Video
Audio
Channel
Lock
Function
Time Setup
Time Zone Central
Date/Time
Sleep Timer O
Select
Back
EXIT
CH+/-
VOL+/-
Video
Audio
Channel
Lock
Function