


53
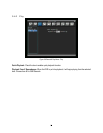
For Schedule recording, the only way to stop schedule recording is to turn schedule recording off. Pressing
any keypad on front panel to change schedule recording will not work during scheduling record mode.
When schedule recording is disabled, DVR will auto turn on recording
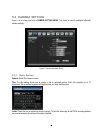
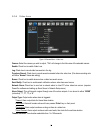
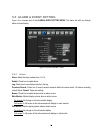
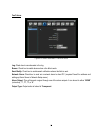
Time Stamp: Select if the time and date will display while recording. Choose from Top, Bottom, or Off.
Record Status Relay Output: Select from “NONE”, “1”, “2”, “3”, or “4”.
Auto Erase Video: The hard drive will automatically erase after the selected number of days. To use the
maximum hard drive space, choose “OFF”.
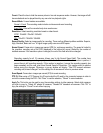
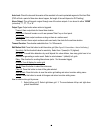
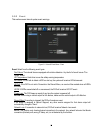
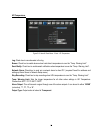
5.4.2 Built-in Cal.
The built-in record period calculator can give a rough estimation of the total recording time of the DVR with
current settings.
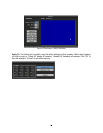
Figure 5-8 Record & Play Menu-Built-in Cal.
Motion: Enter the expected amount of hours per day using motion record.
Alarm: Enter the expected amount of hours per day using alarm records.
If total amount of Motion and Alarm hour more than 24 hours, it will assume that total motion and alarm
hours is 24 hours.
Click on the “E
E
E
S
S
S
T
T
T
I
I
I
M
M
M
A
A
A
T
T
T
E
E
E
”
”
”
button to display the result at the bottom of the screen:
" xx days of data can be stored based on current setting"