36
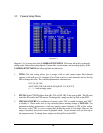
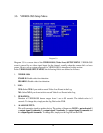
3. LOG
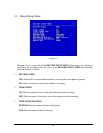
YES: Select YES if you wish to record Alarm Events in the Log.
NO: Select NO if you do not wish to record Alarm Events in the Log.
4. ACTIVE CAMERA
This field is to activate camera you want to have the alarm enabled too. For example if you had
an external motion detector on camera one you would set this option to camera one. The Default
setting is the same camera number as the current alarm. To change this, simply use the Jog Dial
on the DVR.
5. PTZ PRESET
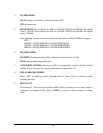
Select PTZ PRESET from “001” to “255”, so that when Alarm occurs, speed dome will turn to
a preset position for event recording. This function improves surveillance quality of an alarm
event. If you wish to disable this function, simply select “OFF”.
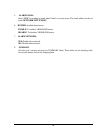
6. DURATION
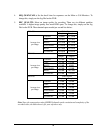
1~99 SEC: The amount of time alarm recording, screen change, buzzer and output contact will
last. Adjustable from 1 ~ 99 seconds.
TRANSPARENT: Continuous recording, screen change, buzzer, and output contact for a
triggered alarm event.
7. ALARM OUTPUT
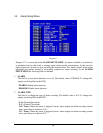
This will transmit a signal to another device. The setting of alarms are NONE = not activated,
1 = output signal 1 transmits, 2 = output signal 2 transmits, 3 = output signal 3 transmits
and 4 = output signal 4 transmits.
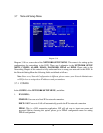
8. ALARM EMAIL
Select “YES” to send an email when alarm occurs or “NO” to disable alarm email. The email
address can be set in the NETWORK SETUP MENU.
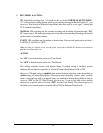
9. BUZZER: Audible alarm buzzer.
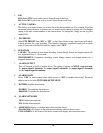
ENABLE: To enable the alarm buzzer.
DISABLE: To disable the alarm buzzer.
10. ALARM NETWORK
YES: Enable alarm network.
NO: Disable alarm network.
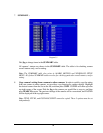
11. MAIN MON: Display on main monitor when an alarm occurs.
NO CHANGE: No change on the main monitor display when an alarm occurs.
FULLSCREEN: A full screen of the active camera will display when an alarm occurs.


