21
7 - Edit
press
press
press
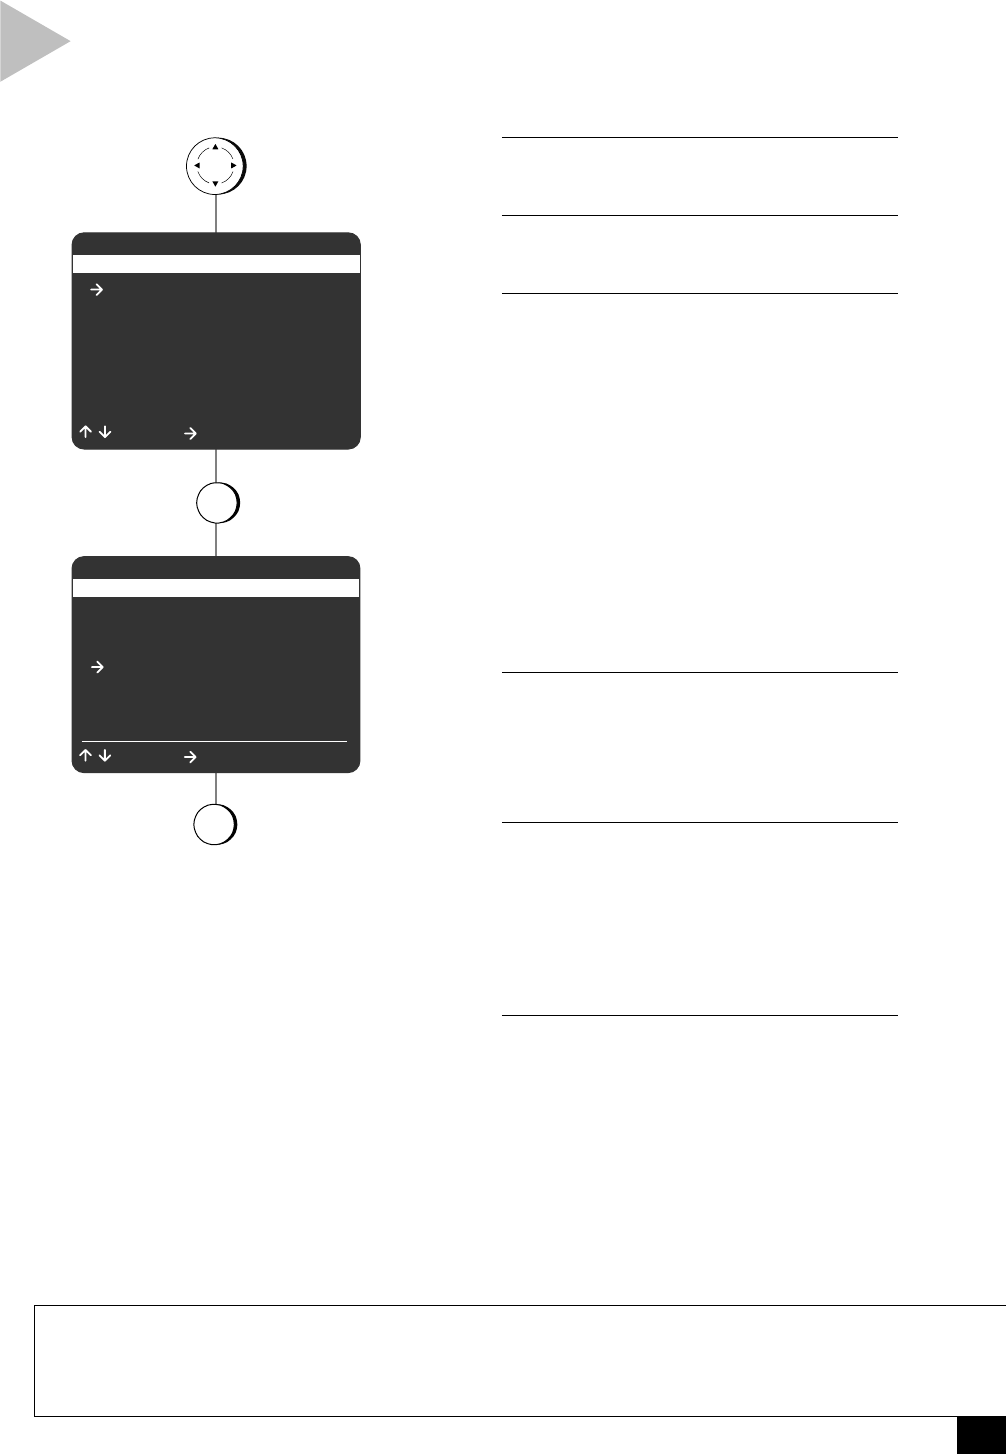
COPY SETTINGS
1 Comm. Free Copy On
2 EZ Copy Off
3 Speed Matching On
4 Copy Audio Insert Off
/ = Move = Sel MENU = Quit
MENU
1 Copy Settings
2 Playback Settings
3 Record/Edit Settings
4 Channel Settings
5 VCR Settings
6 Timer Recording
7 Language/Langue
/ = Move = Sel MENU = Quit
1
4
for
Copy Audio Inser
MAIN MENU
COPY AUDIO INSERT
1 OPEN MAIN MENU
Press MENU.
2 SELECT “COPY SETTINGS”
Press 1.
3 SET COPY AUDIO INSERT
Press 4 to choose from the following:
L1 (Line 1)
While copying, a new linear audio track will
be recorded from an external audio source
connected to the front audio jacks.
L2 (Line 2)
While copying, a new linear audio track will
be recorded from an external audio source
connected to the rear audio jacks.
Off
Copy Audio Insert is disabled. The existing
audio will be copied.
4 CONNECT AUDIO SOURCE
Connect your external audio source to the
front (Line 1) or rear (Line 2) inputs using
standard RCA audio cables; see notes
below.
5 CUE TAPES
Cue up all devices:
• Source tape in Deck 1.
• Target tape in Deck 2.
• The external audio source (tape player,
CD player, etc.) connected to Line 1 or
Line 2.
6 COPY NEW AUDIO TRACK
Press COPY TAPE on the VCR and PLAY on
your external audio source at the same
time.
• The new audio signal will be copied on
the linear audio track. To hear the new
soundtrack, you must turn off Hi-Fi
audio for the desired playback deck,
see page 13.
NOTES
• If you wish to use a microphone to insert the new audio track, it must be connected to a preamp.
• Do not connect speaker outputs to the VCR.
• If there is no audio signal, the audio track will be blank.
• Copy Audio Insert automatically reverts to “Off” when the VCR is turned off.
Follow these steps to insert a new audio track, such as recorded
music or narration, onto your target tape. The new audio can be
recorded from the front or rear line inputs.
