Fast-forward a recording
While watching a recording, you can fast-
forward through the programme.
To fast-forward
Press [FAST-FORWARD].
Press [FAST-FORWARD] again to step up
through the fast-forward speeds (x3, x6,
x12, x24, x48).
Slow down the speed of fast-forward by
pressing the [REWIND] button.
Fast-forward will continue until you press
[PLAY], [PAUSE] or [STOP] or until you
reach the end of the recording. When
you reach the end of the recording, the
‘Recorded library’ will open.
If you are fast forwarding a paused
programme, when you reach the end you will
go back to watching live TV.
Rewind a recording
While watching a recording, you can rewind
through the programme.
To rewind
Press [REWIND].
Press [REWIND] again to step up through
the rewind speeds (x3, x6, x12, x24, x48).
Slow down the speed of rewind by
pressing the [FAST-FORWARD] button.
Rewind will continue until you press
[PLAY], [PAUSE] or [STOP] or until you
reach the beginning of the recording,
when it will pause.
1.
2.
3.
4.
1.
2.
3.
4.
Skip
Whilst watching a recording you can skip
forward (through adverts for example) in 30
second, 1, 2, 3, 5 and 10 minute blocks.
To set the Skip duration:
Press [MENU], highlight ‘System set-up’
and press [OK].
Highlight ‘Recorded programme’ option
and press [OK].
Highlight ‘Skip duration’ and press [OK].
Use [t] and [u] to change the skip
duration.
To skip
Press [u] once to skip forward by the
set ‘Skip duration’. (If, for example, you
set the record duration to 2 minutes it will
skip forward by 2 minutes. Alternatively,
press [t] once to skip back by 2 minutes.
Press [u] twice to skip forward 4
minutes and so on.
Pause playback
To pause a recording you are watching
press [PAUSE]. You can then press [PLAY]
to resume playback, or choose one of
the other playback options: fast-forward,
rewind or stop.
During pause press [BLUE] to use slow-
motion.
Stop playback
To stop a recording you are watching
press [STOP].
1.
2.
3.
4.
1.
2.
1.
2.
1.
Delete a recording
Press [PLAY] to enter the ‘recorded library’
Press [•], [••] or [•••] or use [t] and
[u] to select a device.
Use [p] and [q] to highlight the recording
you want to delete and then press [BLUE].
The DELETE icon will appear next to the
recording you want to delete.
Press [OK].
The ‘Confirm Delete’ menu will open.
To cancel deletion, press [RED].
To confirm deletion, press [BLUE].
1.
2.
3.
1.
1.
2.
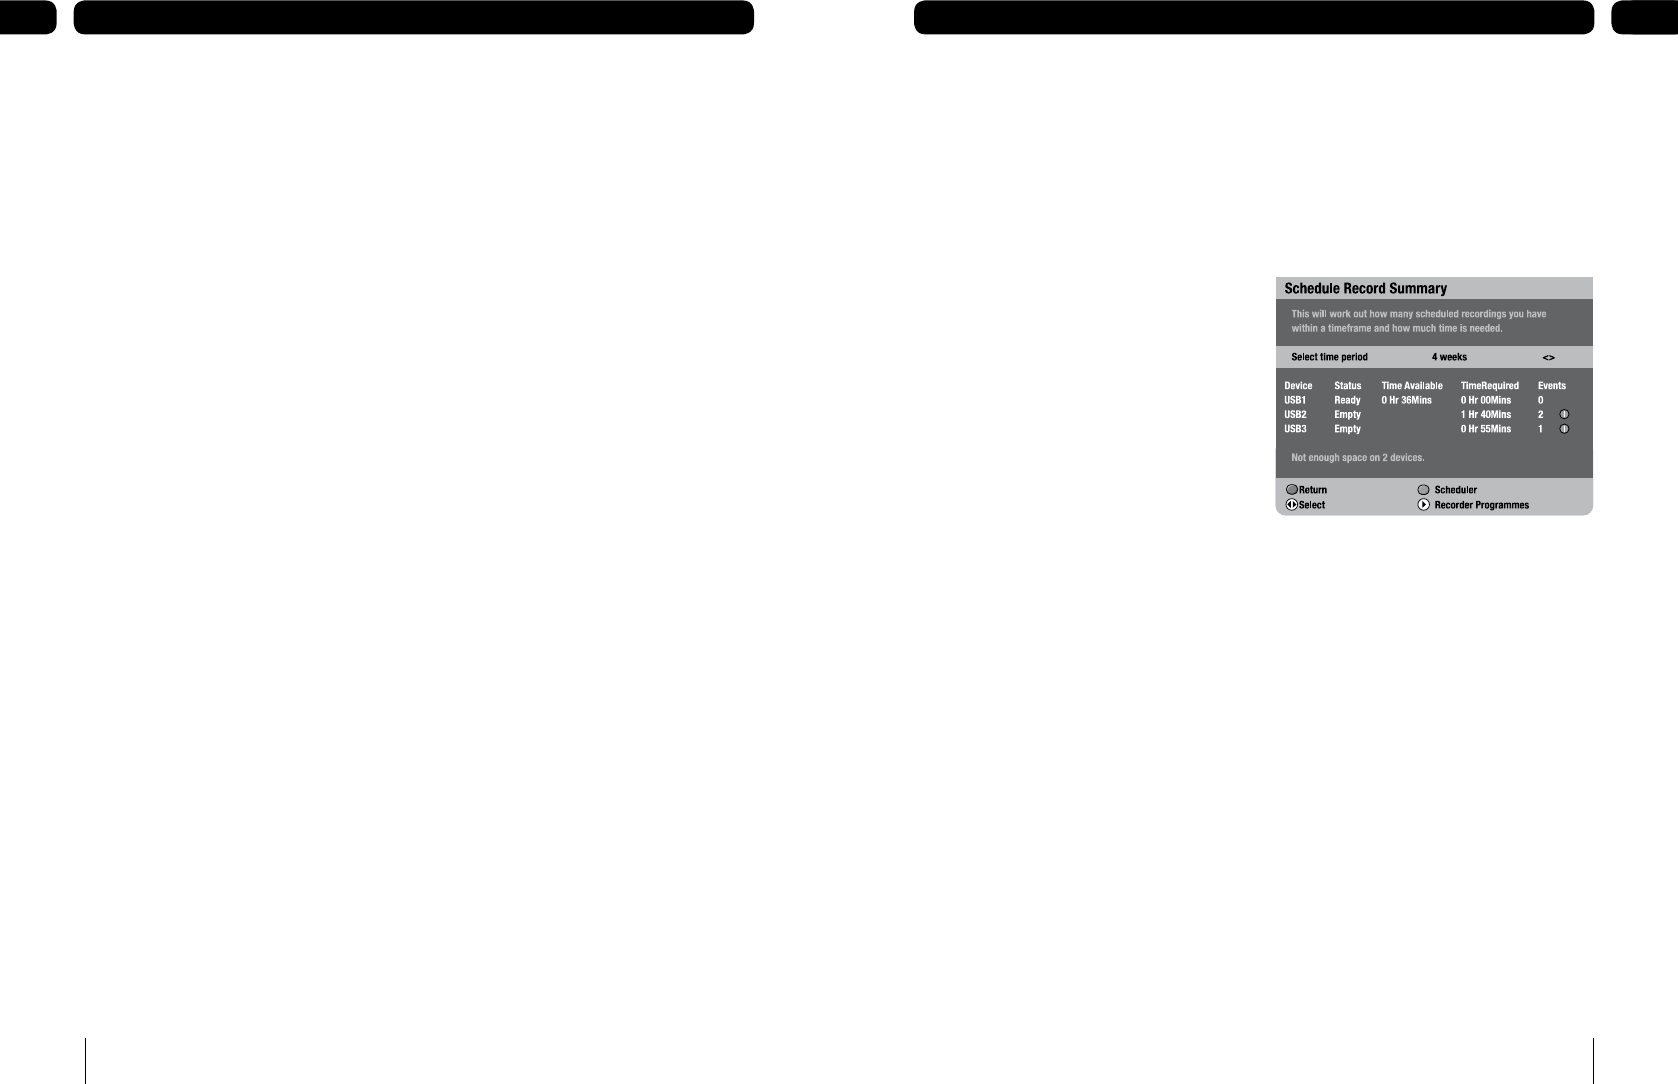
Schedule record summary
The ‘Schedule record summary’ works out
how many recordings you have scheduled
with in a time frame and how much recording
space is needed for each USB device. It
allows you to view 24 hrs. and 8 days of
scheduled recordings.
Using the Schedule Record Summary
Press [MENU].
Press [q] to highlight ‘Recording planner’
and press [OK].
Press [q] to highlight ‘Schedule record
summary’ and press [OK].
Press [t] and [u] to select the time
period you want to view.
1.
2.
3.
4.


