79
DV Dubbing (DV t HDD/DVD)
Recording an Entire DV
Format Tape (One Touch
Dubbing)
You can record the entire contents of a DV format
tape onto a disc with a single press of the ONE
TOUCH DUBBING button. The recorder controls
the digital video camera for the whole process, and
completes the recording.
◆How chapters are created
The dubbed contents on the disc become one title,
and the title is divided into chapters. For the HDD
and a DVD-RW (VR mode), every shooting on the
tape becomes a chapter on the disc (Auto Scene
Chaptering function). For other discs, the recorder
divides the title in either 6 or 15-minute intervals,
according to the setting in “Auto Chapter” in
Features Setup.
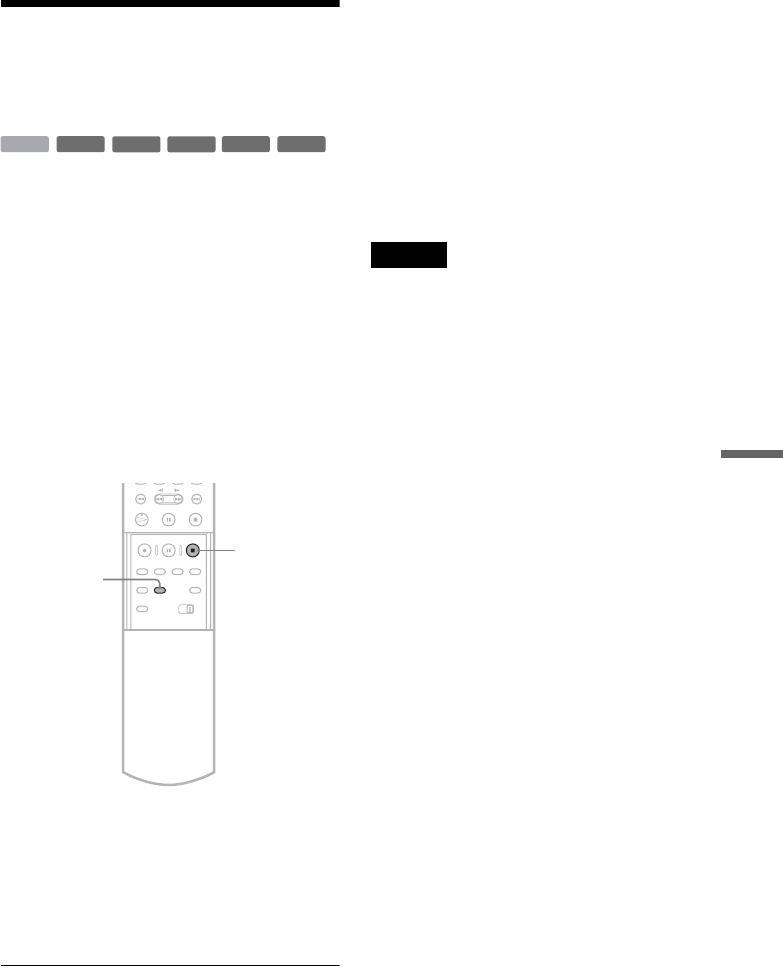
Follow steps 1 to 5 of “Preparing for recording
using the DV IN jack” (page 77), and press
ONE TOUCH DUBBING on the remote.
The recorder rewinds the tape and then starts
recording the tape contents.
When the recording is finished, the recorder
rewinds the tape in the digital video camera.
To stop during recording
Open the remote’s cover and press x REC STOP.
Note that it may take a few seconds for the
recorder to stop recording.
z Hints
• If you set “Finalize Disc” to “Auto” in Features Setup
(page 96), the recorded disc (except DVD-RW(VR
mode)) will automatically be finalized after recording
is finished.
• You can play back a previously recorded title on the
HDD while One Touch Dubbing is in progress.
Notes
• When a blank space between the recordings on the tape
continues for more than five minutes, One Touch
Dubbing ends automatically.
• The recorder records a blank for five minutes before it
stops dubbing. To stop the blank recording, press
x
REC STOP.
-
RW
VR
-
RW
Video
+
RW
-
R
+
R
HDD
ONE TOUCH
DUBBING
x
REC STOP


