36
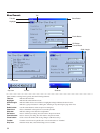
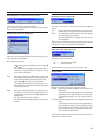
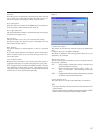
Mouse Settings:
This option lets you to change your USB mouse settings. The mouse
settings feature is available for USB mouse only. Choose the settings
you want:
Mouse Button ........... "Right Hand" or "Left Hand"
Mouse Sensitivity ..... "Fast", "Medium" or "Slow"
[Page 2]
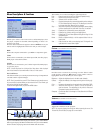
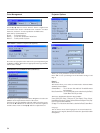
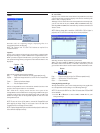
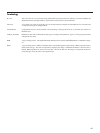
PC Card Viewer Options
Show Folder List:
If this option is checked, when PC Card Viewer input is selected on
the projector, the folder lists will be displayed and allows you to se-
lect the presentation from a CompactFlash card.
Auto Play:
If this option is checked, any given slide will start to play automati-
cally.
Auto Play Interval:
You can specify interval time between 5 and 300 seconds.
NOTE: The Auto Play Interval time set on the PC Card Viewer Utility overrides
the one set here.
Manual Play:
Views a slide manually when PC Card Viewer input is selected.
NOTE: The Auto Play and Manual Play options determine the behavior of the
Play/Stop [
/ ] icon on the Viewer toolbar.
NOTE: If you check "Auto Play" and select "PC Card Viewer" on the projector,
the slides will automatically start to play back from any given slide.
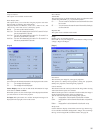
Capture Options: (available for JPEG only)
These options are used for the Capture function that you can select
from Tools. You have three options for JPEG compression quality:
High quality, Normal and High Compression.
High Quality .....................Gives quality of JPEG a priority.
Normal .............................Gives normal JPEG quality.
High Compression ...........Gives compression a priority.
[Page 3]
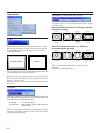
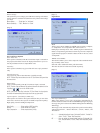
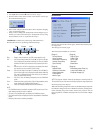
Signal Select
RGB:
Allows you to choose "RGB" for an RGB source such as a computer,
or "Component" for a component video source such as a
DVD player. Normally select "Auto" and the projector automatically
detects a component signal. However there may be some component
signals that the projector is unable to detect. If this is the case, select
"Component".
VIDEO and S-VIDEO:
This feature enables you to select composite video standards manu-
ally. Normally select "Auto".
Select the video standard from the pull-down menu.
This must be done for Video and S-Video separately.
[Page 4]
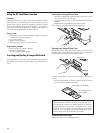
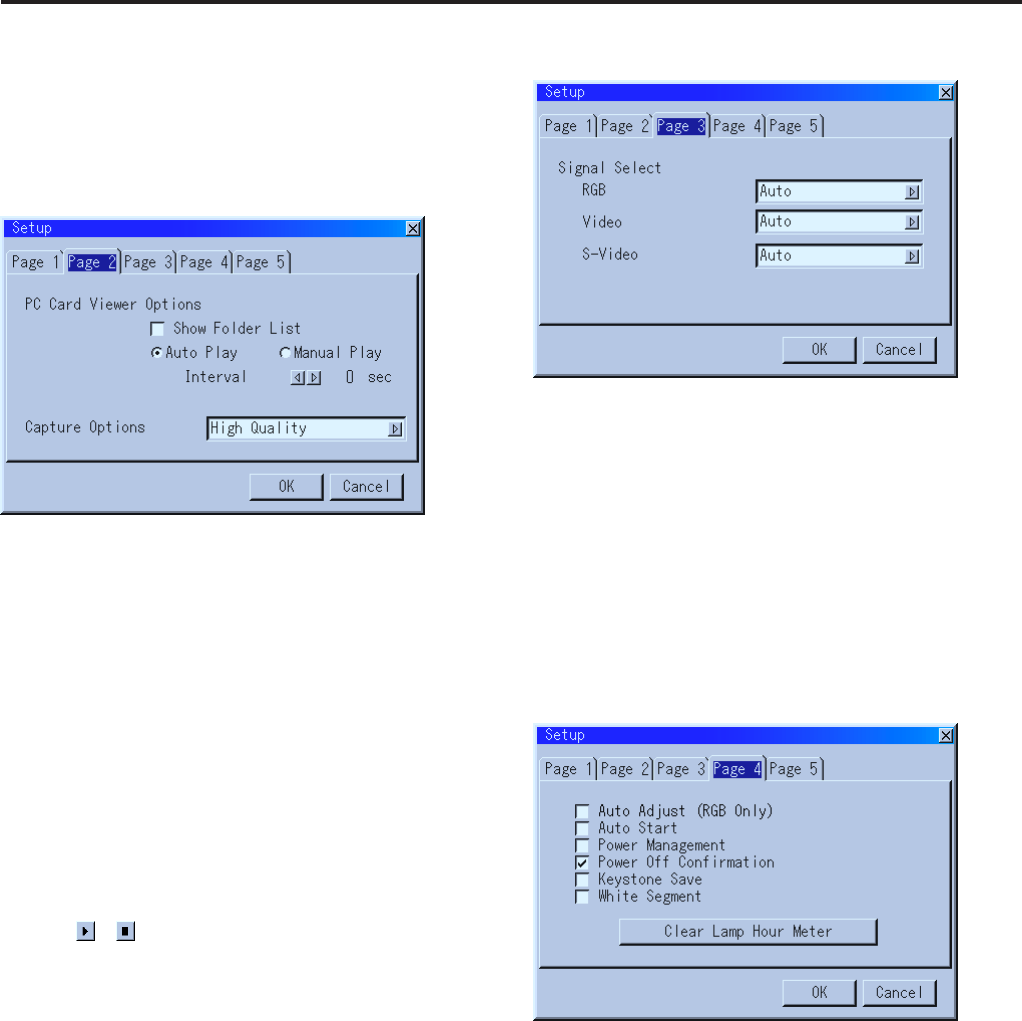
Auto Adjust (RGB Only):
When "Auto Adjust" is set to "On", the projector automatically de-
termines the best resolution for the current RGB input signal to project
an image using the Advanced AccuBlend Intelligent Pixel Blending
Technology.
The image can be automatically adjusted for position and stability;
"Horizontal Position", "Vertical Position", "Clock", "Phase", and
"Resolution."
On .............. Automatically adjusts image "Horizontal Position", "Vertical Po-
sition", "Clock", "Phase" and "Resolution".
Off .............. User can adjust the image display functions ("Horizontal Posi-
tion", "Vertical Position", "Clock", "Phase" and "Resolution") manu-
ally.


