39
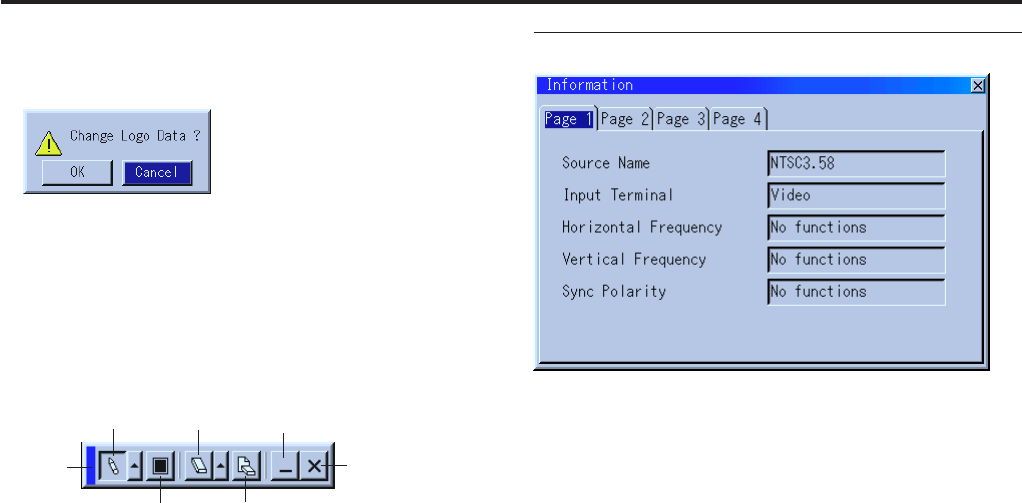
Information
[Page 1]
Source Name
Input Terminal
Horizontal Frequency
Vertical Frequency
Sync Polarity
[Page 2]
Signal Type
Video Type
Sync Type
Interlace
Resolution
[Page 3]
Aspect Ratio
Gamma Correction
Noise Reduction
Color Matrix
Matrix Type
Drag ........... Drags to move the tool bar. (for USB mouse operation only)
Pen ............. Left-click and drag to draw. Left-click [ ▲ ] or right-click the pen
icon to display the pen palette containing four lines of different
thickness from which you can select a line you prefer by left-click-
ing.
Color .......... Selects a color. Left-click to display the color palette from which
you can select a color you prefer by left-clicking.
Eraser ......... Left-click and drag to erase part of a drawing. Left-click [▲ ] or
right-click the eraser icon to display the eraser palette containing
four eraser of different thickness from which you can select an
eraser you prefer by left-clicking.
Clear ........... Left-click to clear the drawing completely from the ChalkBoard
screen.
View ........... Hides the tool bar by left-clicking. Right-clicking anywhere on the
screen displays the ChalkBoard tool bar again.
Exit ............. Clears the complete drawing and exits the ChalkBoard.
NOTE:
* The ChalkBoard feature is available only when a USB mouse is used. Free-
hand drawings cannot be saved or captured.
* The menu is not available while you display the ChalkBoard screen.
* The Capture and the Source Display function are not available on ChalkBoard
screen.
* Switching slides clears a drawing completely.
ChalkBoard: (available only when using with USB mouse)
Provides the tool bar for producing freehand drawings.
2. Use the ᮣ button and then ▼ button to select “Logo”.
3. Press the Enter on the remote control or the cabinet. You will get
the confirmation dialog box.
4. Select “OK” and press the Enter button. This completes changing
a logo for the background.
* Once you have changed the background from the Integra logo to
another, you cannot return the logo to background even by using
Factory Default. To do so, repeat the above steps.
[Page 4]
Remaining Lamp Time (%)
Lamp Hour Meter (H)
Projector Usage (H)
NOTE:The progress indicator shows the percentage of remaining bulb life.
The value informs you of the amount of lamp and projector usage respectively.
Remaining Lamp Time Display:
When the remaining lamp time reaches 0, the Remaining Lamp Time
bar indicator changes from 0% to 100 Hours and starts counting down.
If the remaining lamp time reaches 0 hours, the projector will not
turn on regardless of whether the lamp mode is set to Normal or High-
Bright.
Drag
Pen
Eraser
View
Exit
Color
Clear
Displays the status of the current signal, and the lamp and the projec-
tor usage hours.
This dialog box has four pages.
The information included are as follows:


