


145
Playing Back Recorded Images for
Specific Camera(s) (Independent
Playback)
In the [Live] tab, you can view live images of all cameras.
By using the independent playback function, you can switch
to view past recorded images on specific camera(s) only.
● Independent playback function can be used for multiple
cameras.
● Independent playback function can also be performed
from the view in the [Playback] tab.
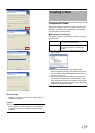
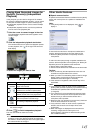
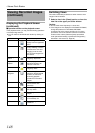
1 Point the cursor to camera images in the view
The independent playback start button appears on the
camera images.
2 Click the independent playback start button
The camera’s title bar turns yellow and playback pauses.
To start playback, click [ ] to the right of the time and
date display.
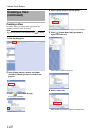
3 Search for images you want to view
● The controller disappears when the cursor goes out of
the camera images.
4 Click [ ] to finish independent playback
The color of the title bar returns to normal.
Note:
● If the camera window is displayed small, the slider is not
displayed. In this case, display the slider by maximizing
the Viewer or double-clicking the bar on the upper edge of
the camera window to enlarge it.
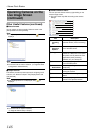
Other Useful Features
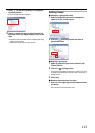
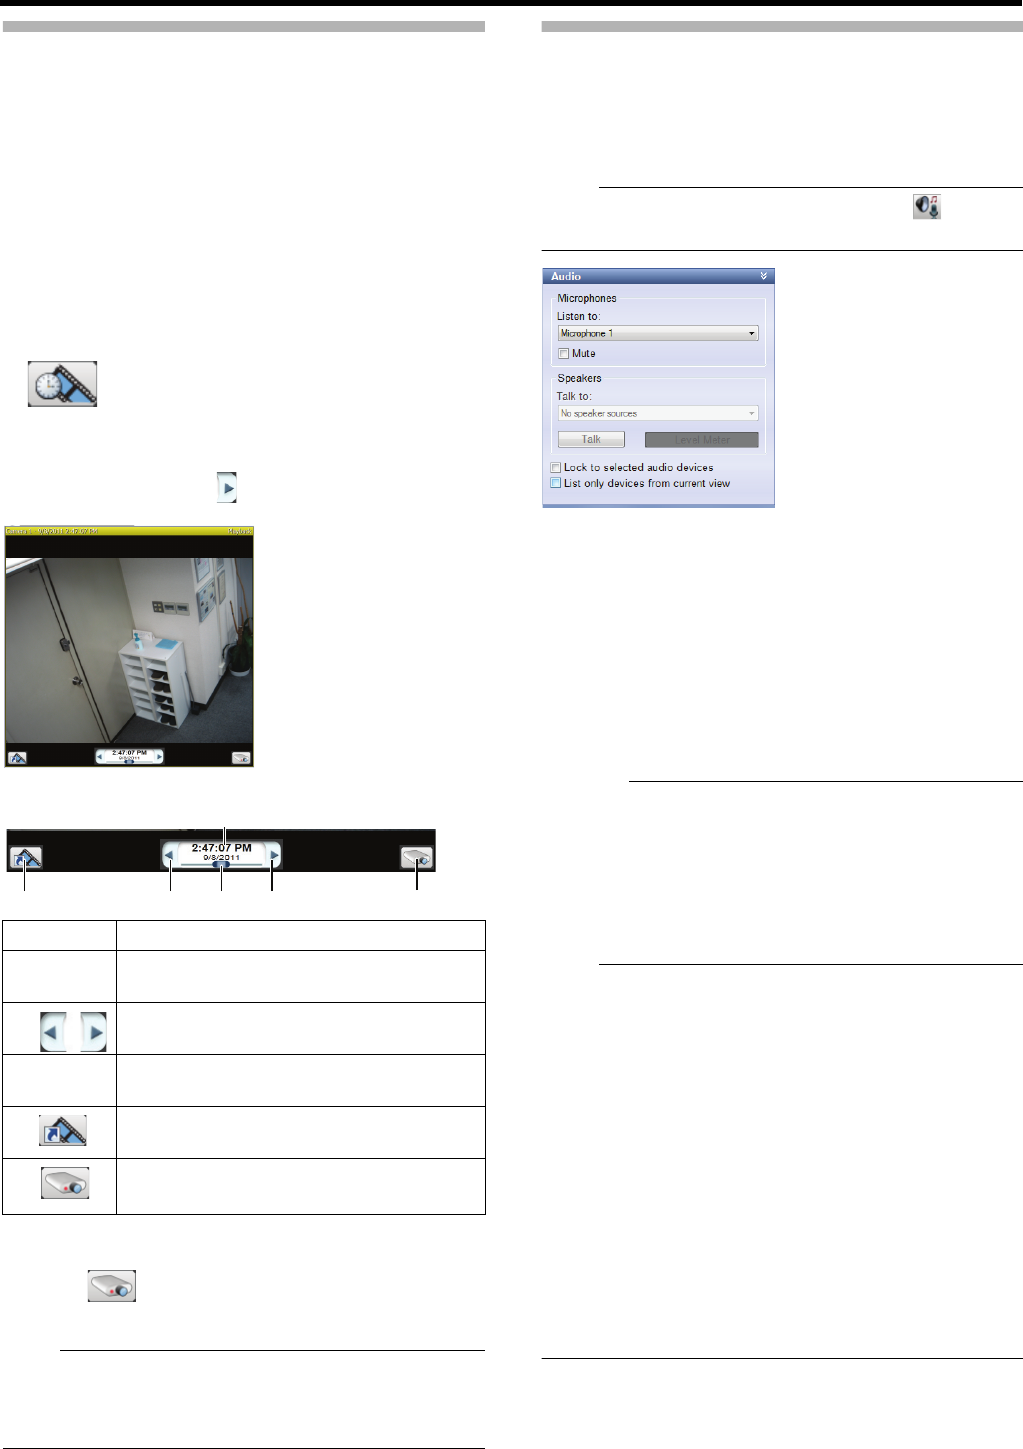
Ⅵ Speech communication
A speech communication feature is available from the [Audio]
section with a microphone or a speaker is installed to the
camera.
Note:
● If the [Audio] section is not displayed, click [ ] to
display it.
To hear audio sounds from a microphone installed to the
camera, select the microphone from the [Listen to] list.
● Select the [Mute] check box to temporarily mute the
microphones.
To talk to the other party through a speaker installed to the
camera, select the speaker from the [Talk to] list. Select [All
Speakers] to talk to all speakers at the same time.
● During talking, keep [Talk] clicked.
● Talker’s volume level can be checked from the level meter.
Caution:
● Audio sounds may be interrupted when more than one
surveillance computer listen to the sounds.
● When you return from the setting screen to the live image
display screen, the microphone and/or speaker are
deselected. Select them again if necessary.
● If the network is congested, audio sounds may not be
transmitted.
Note:
● If any camera for which an audio source is specified in
[Audio] under [Camera Properties] of [Hardware Devices]
is selected, the specified audio sounds are output.
(A Page 95)
● If you select the [Lock to selected audio devices] check
box, the current microphone and/or speaker will remain
selected when you select another camera with a
microphone and/or speaker.
● Select the [List only devices from current view] check box
to list the audio devices in the view only.
● If any camera for which an audio source is specified is
selected, the last audio sound output will be used
continuously.
● When live images are displayed at the same time as
recording, images and sounds may be out of
synchronization. (This does not affect recording to this
unit of additional HDD.)
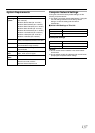
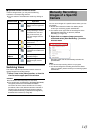
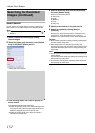
Item Description
A Time
and date
For displaying the date and time when the
image was recorded.
B
For reverse/normal playback
●
Click once to use them as pause buttons.
C Slider
For changing playback speed during playback.
● Audio sounds will not be played back.
D For switching to the playback view at the
time of the present recorded image.
E For finishing independent playback.
1
3
2
2
5
4