


30
Chapter
2
File
Menu
9i
910
900
700
300
File – Import – Elements
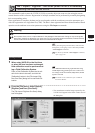
Importing Scanned Data
This command is used to import the raw scan data that was saved when the object was scanned by the VIVID
(VI) series digitizer.
Operating Procedure
1
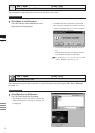
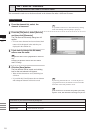
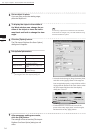
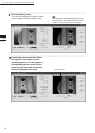
From the [File] menu, select [Import]
and then click [Elements].
The [File-Import-Elements] dialog box will ap-
pear.
• The dialog box shows a list of les. If all the les
cannot be displayed on one page, a scroll bar will
be displayed.
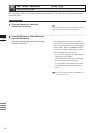
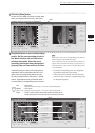
2
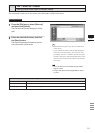
From the [File of type] pull-down menu,
select the format of importing data.
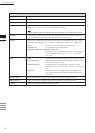
Item Explanation
CAM (*.cam) Scan data for VIVID 300 or 700
CDM (*.cdm) Scan data for VIVID 900 or 910
CDK (*.cdk)
Scan data for VIVID 9i
STL (*.stl)
ASCII or Binary-type STL.
3
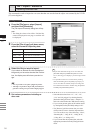
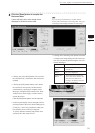
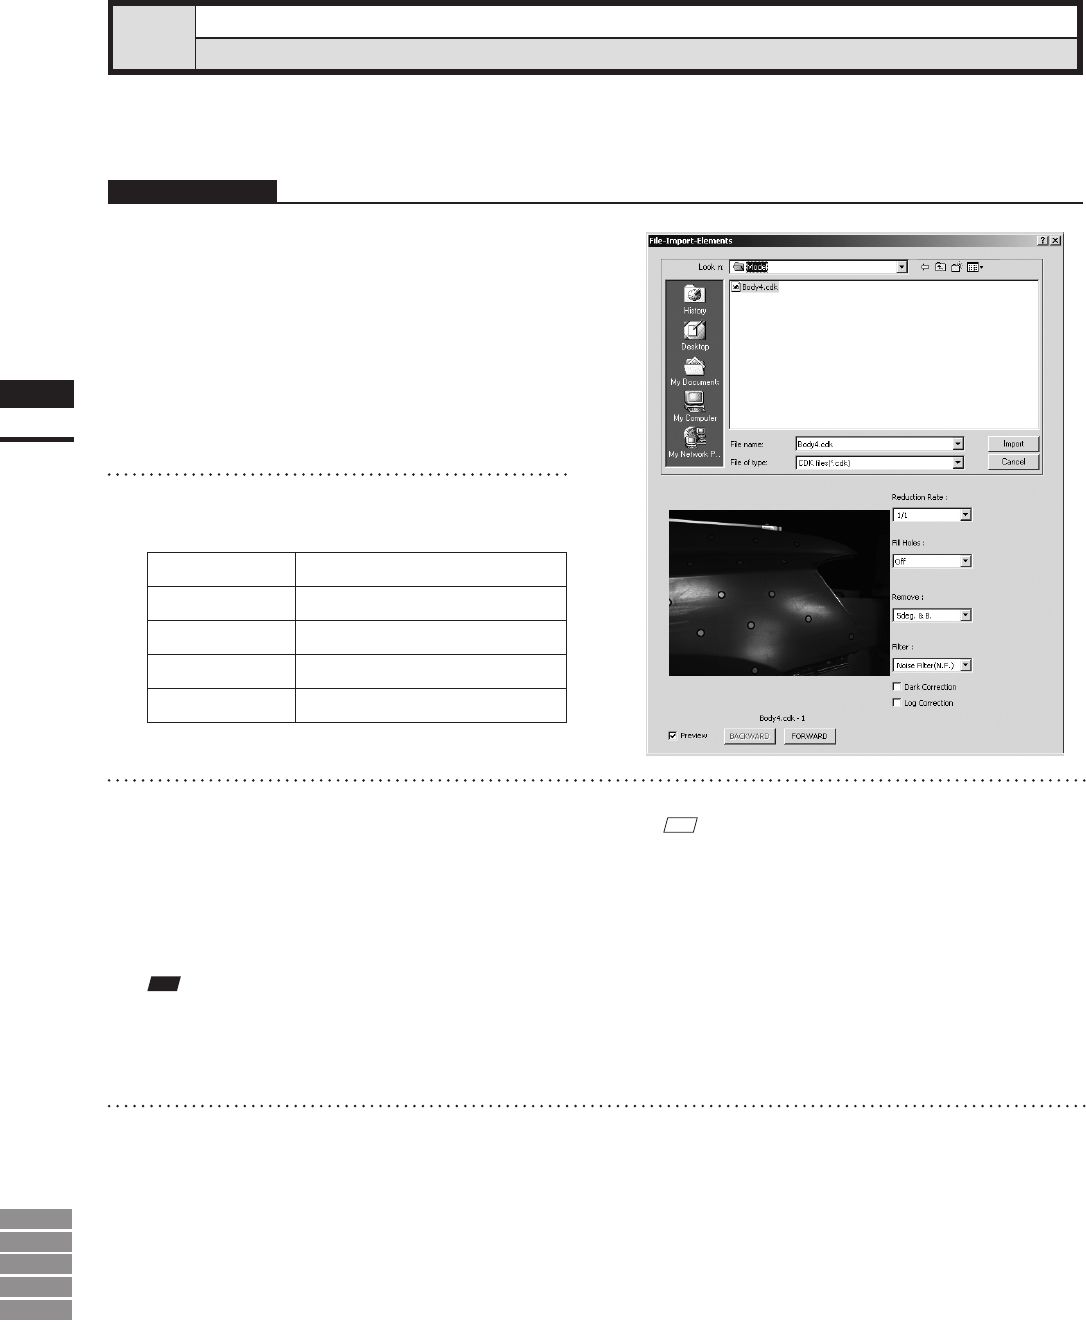
Select the file you want to import.
If you select an element le with the attached
image and you have also checked the Preview
box, the display area will show a preview im-
age.
M
emo
• If you select data les having two or more data, the
[BACKWARD] and [FORWARD] buttons will be
active, allowing you to display a preview image of each
data.
• It is possible to select two or more les by clicking
them while holding down the [Shift] or [Ctrl] key. If
two or more les are selected, the preview image can
be switched from one le to another using the [BACK-
WARD] and [FORWARD] buttons.
Note
• Itisnotpossibletoselectlesofdifferentformats.
• AlthoughitispossibletoimportSTLformatdata,no
guaranteewillbegivenifitcontainsillegalpolygons.
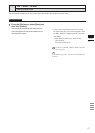
4
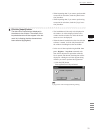
Set various parameters including re-
duce rate.
• Select the desired rate from “1/1”, “1/4”, “1/9”,
“1/16” and “No polygon” by selecting from the
[Reduction Rate] pull-down menu. “Adaptive” is
able to be selected when the CDK format is setting.
• If you want to generate points to ll in holes caused
by missing data, set the [File Holes] setting to “On”.
• The [Remove] pull-down menu lets you select
which points to remove from the imported data.
You can set this to any of the following: “None”,
“Boundary(B.)”, “5deg. & B.”, “10deg. & B.”,
“15deg. & B.”, or “20deg. & B.”
• If you want to lter the imported data, select the
appropriate parameter from the [Filter] pull-down
menu.