


34
Chapter
2
File
Menu
9i
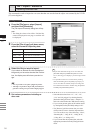
File – Import – Digitizer – One Scan (When VIVID 9i is Selected)
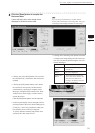
4
To display the object in the middle of
the Work window area, change the po-
sition of the object or move the instru-
ment back and forth to change the view
angle.
3
Set an object in place.
If you are going to use the rotating stage,
place the object on it.
M
emo
If necessary, replace the lens attached to the instrument.
If the lenses are changed, carry out eld calibration using
the Field Calibration System.
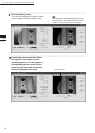
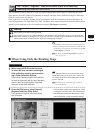
5
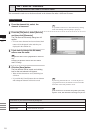
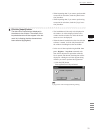
Click the [Option] button.
The [File-Import-Digitizer-One Scan-Option]
dialog box will appear.
6
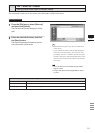
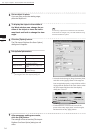
Set optional parameters.
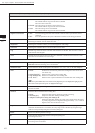
Item Explanation
Scan Parameter
Sets the settings for scanning
.
Convert Parameter Sets the settings for three-
dimensionalization.
Stage Parameter Select the rotary stage to be
used.
[Default] button Clicking this restores the
default settings.
Ref.
For details, refer to parameters (P.39) for [File-Im-
port-Digitizer-One Scan-Option] dialog box.
• Select the desired stage in [Stage Parameter] eld,
and click on the [Apply] button. If the stage has
been recognized properly, a stage slide bar will be
displayed at the bottom of the work window when
the [File-Import-Digitizer-One Scan-Option]
dialog box is closed.
• If initialization is not successful, turn off the
power to the rotary stage power, turn it on again,
and then click on the [Apply] button.
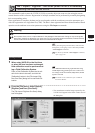
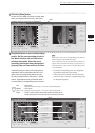
7
After necessary settings are made,
click the [OK] button.
The settings will be set and the [File-Import-
Digitizer-One Scan-Option] dialog box will
close.