


41
Chapter
2
File
Menu
9i
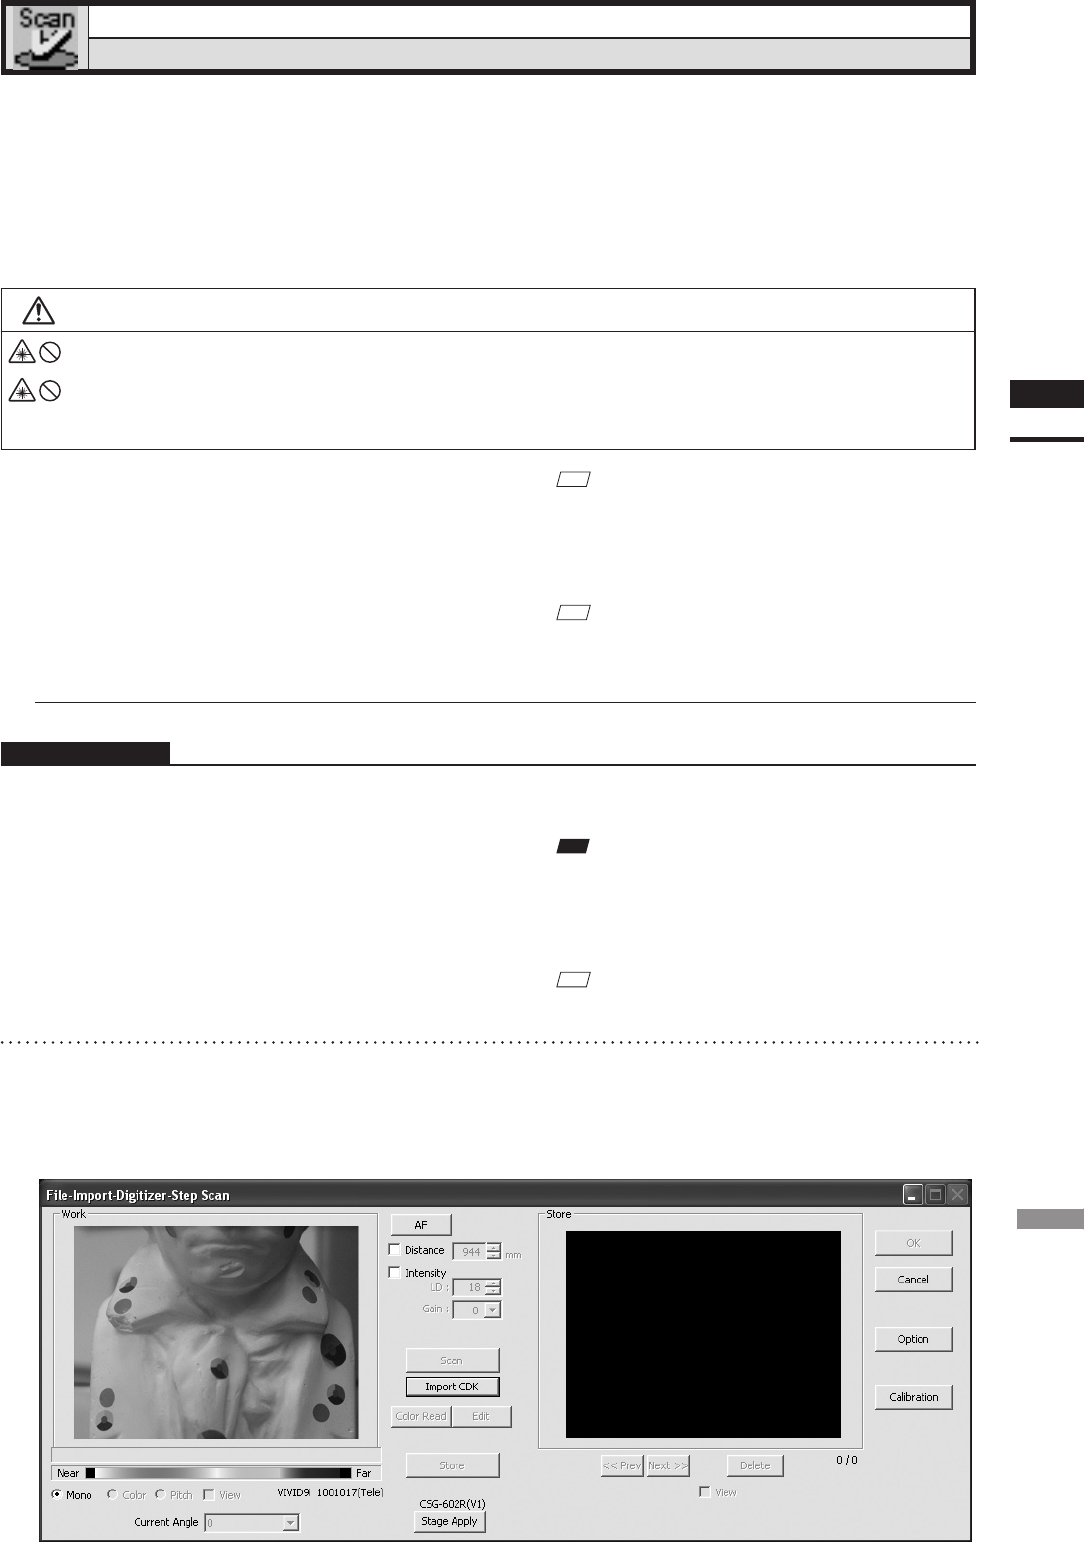
File – Import – Digitizer – Step Scan (When VIVID 9i is Selected)
Performing Step Scan with the VIVID 9i
This command is used to cause the VIVID 9i to make multiple shots of the object by controlling the rotary
stage remotely from this software. Registration of multiple scan data can be performed using the Calibration
Chart for extract center of rotation.
Once registration is complete, the data can be saved together with the coordinate conversion parameters pr
vided for registration as a single data le (CDK). The data is then registrated and three-dimensionalized based
upon the saved coordinate conversion parameters using the File-Import commands.
Warning
Never stare into the laser emitting window.
Do not place a lens, mirror or optical element in the passage of the laser beam. Doing so may converge the
laser beam, resulting in damage to your eyes, burns or re. To prevent the above accidents, make sure that a
wall or similar which can block the laser beam is located behind the object.
n When Using Only the Rotating Stage
Operating Procedure
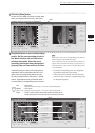
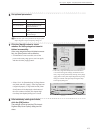
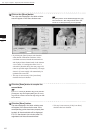
1
When using VIVID 9i for the first time
or when the lens has been exchanged,
field calibration must be performed us-
ing a Field Calibration System.
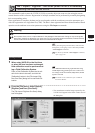
Place a Field Calibration System that is suitable
for the lens to be used, and click the [Calibration]
button in the [File-Import-Digitizer-Step Scan]
dialog box to start eld calibration.
M
emo
• The calibration chart is an accessory of the rotating stage set.
• Before performing the procedure below, make sure that
the digitizer you are going to use is selected by the File
– Select Digitizer command.
Ref.
For details of the File-SelectDigitizer command,
refer to page 144.
Note
Usercalibrationmustalsobeperformedwhenusing
VIVID9iafterlongperiodsofnon-useorwhenexces-
sivechangesintheenvironment(temperature,humid-
ity)haveoccurred.
Ref.
For details on user calibration, refer to VIVID 9i
Instruction Manual.
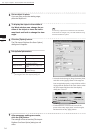
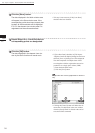
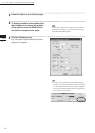
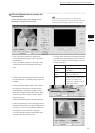
2
From the [File] menu, select [Import],
[Digitizer] and then [Step Scan].
The [File-Import-Digitizer-Step Scan] dialog
box will appear.
• The monochrome monitor image captured by the VIVID
9i will appear in the Work window area of the dialog box.
• If the Model folder contains the Chart data that is consid-
ered to be appropriate, it will be imported automatically.