67
Chapter
2
File
Menu
910
File – Import – Digitizer – PC Card (When VIVID 910 is Selected)
Importing Data from the Memory Card of VIVID 910
This command is used to remote-control the data stored in the memory card of the VIVID 910 (VI-910).
Note
This command does not operate on step-shot scan data
in the memory card.
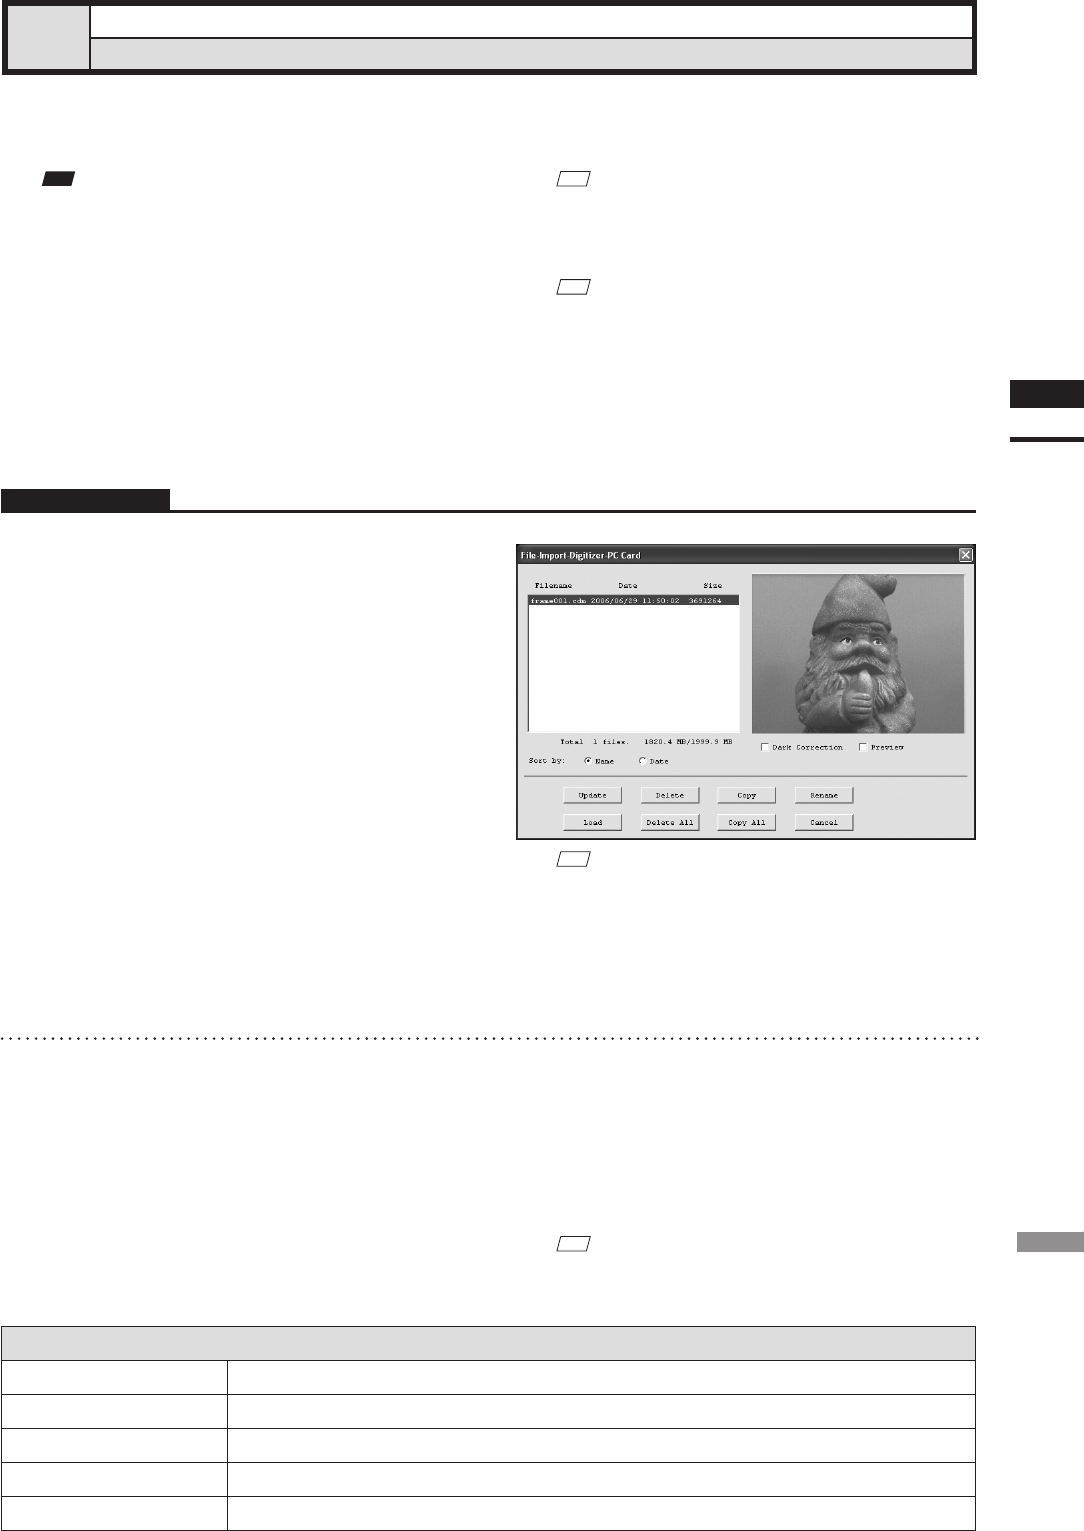
Parameters for [File-Import-Digitizer-PC Card] Dialog Box
File name
Displays le names stored in the memory card.
Date
Displays the dates on which the les are stored in the memory card.
Size
Displays the size of each le (in bytes).
Total **
les
Displays the total number of camera data les stored in the memory card.
** MB/ ** MB
Displays the unoccupied capacity and total capacity of the memory card.
M
emo
• Before performing the procedure below, make sure that
the digitizer you are going to use is selected by the File
– Select Digitizer command.
Ref.
For details of the File–SelectDigitizercommand,
refer to page 144.
Operating Procedure
1
From the [File] menu, select [Import],
[Digitizer] and then [PC Card].
The [File-Import-Digitizer-PC Card] dialog box
will appear.
M
emo
• Only the raw image data (.cdm) scanned by the VIVID
910 (VI-910) or VIVID 900 (VI-900) will be displayed.
• Upper-case le names specied using the camera will
be converted to lower-case le names when the les are
imported to this software.
2
Select the file you want to import.
• To perform dark correction for the color data,
check the [Dark Correction] checkbox.
• To display the preview image, check the [Pre-
view] checkbox (so that a check mark appears in
the check box). A color image of the selected le
will be displayed.
M
emo
A clock icon will be displayed during loading.


