


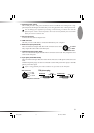

17
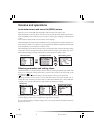
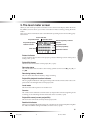
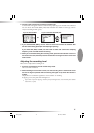
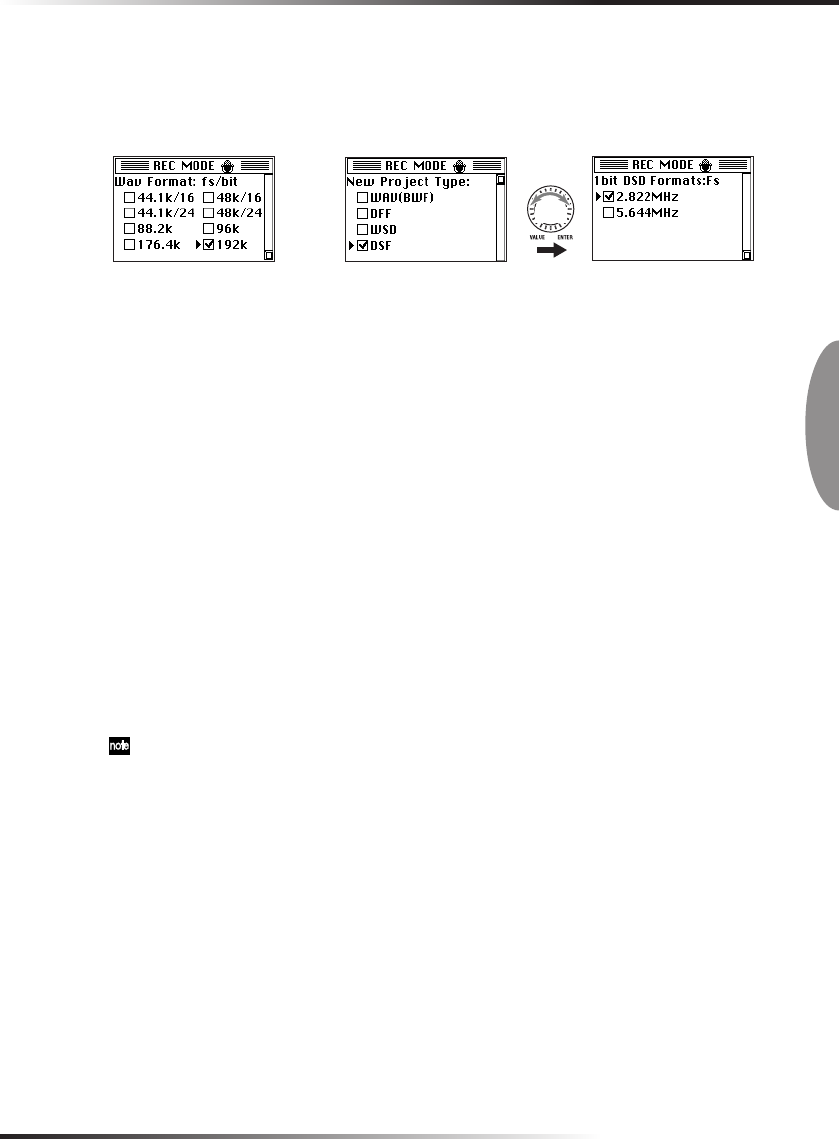
2. Use the P-dial to select and confirm the Project Type.
A check mark will appear in the check box for the project type you selected and confirmed.
You can choose from WAV (BWF), DFF, DSF, and WSD. For details on each type, refer to
"Project recording format" (p.36).
or
Turn
If you've selected WAV
If you've selected DFF, WSD, DSF
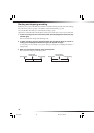
3. If you checked WAV (BWF), use the P-dial to select and confirm the desired Wav
Format: fs/bit setting (bit depth and sampling frequency).
If you check DFF, DSF, or WSD, use the P-dial to select and confirm the sampling
frequency in the 1bit DSD Format:Fs setting.
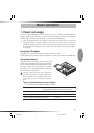
4. When you've finished setting the recording mode, press the menu button to return to
the menu list screen, and then press the menu button once again to return to the level
meter screen.
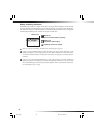
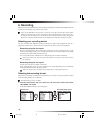
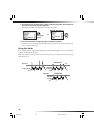
Adjusting the recording level
Here's how to adjust the recording level.
1. Press the record button to enter record-ready mode.
The record LED will blink.
2. While watching the level meter screen, use the recording level L and R knobs to set
the level as high as possible without allowing the signal to clip when the volume is
loudest.
Adjust the level so that the signal does not exceed the “0” marking.
If clipping occurs, the peak LED will light red.
If you want to prevent clipping caused by unexpected high levels, turn the back panel limiter
switch ON (→p.20).
Text1_E.p65 06.11.22, 1:22 PM17