5-5
Maintenance
54-0196 Rev. A
4. Remove 6 pan head screws from the PCB cover
flanges.
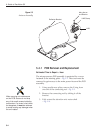
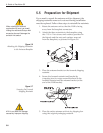
5. Remove the PCB cover. To get the necessary
clearance, rotate the linear actuator up 90º while
lifting the PCB cover – Fig. 5-4.
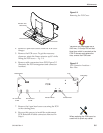
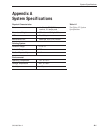
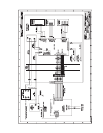
6. Remove cable connectors from PCB. Figure 5-5
illustrates the PCB arrangement and connector
locations.
7. Remove the 9 pan head screws securing the PCB
to the rotating plate.
8. Reverse this process to install the replacement
PCB. Reinstall all cable connectors removed in
Step 6.
PCB
Limit Switches
RF Connector
to IRD
RF Connector
to LNB
Elevation Motor Azimuth Motor
Cable Wrap
Fuse
J11
J2 J1
J4
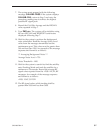
TracVision S2 is equipped with a
5x20 mm, 3.15-amp, 250 volt fast-
blow fuse, which is mounted on the
PCB. To access and replace the
fuse, remove the PCB cover.
Figure 5-5
PCB Connector Locations –
Rear View
PCB Cover
Linear Actuator
Elevation Axis
Motor Shaft
Figure 5-4
Removing the PCB Cover
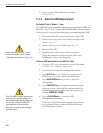
When replacing the PCB cover, be
careful not to pinch any cables.


