14 Hookups (cont’d)
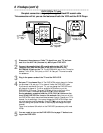
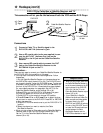
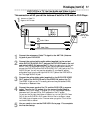
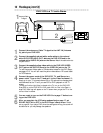
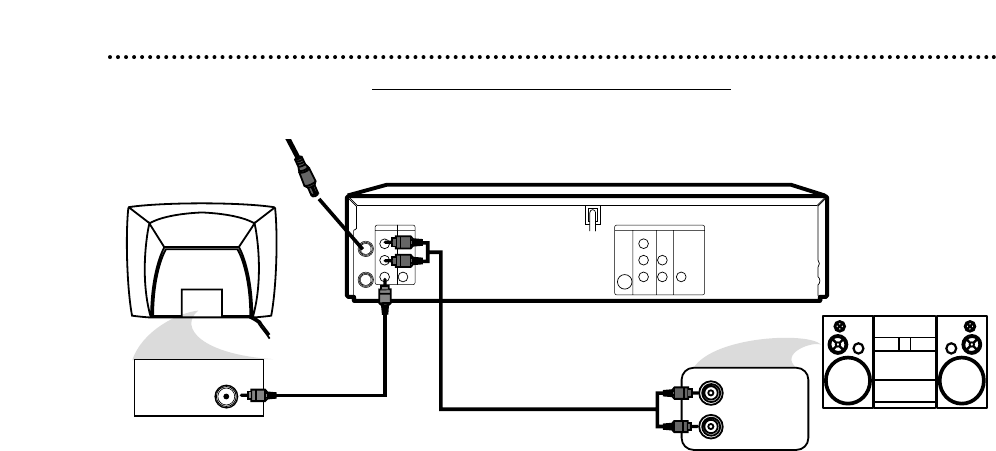
DVD/VCR to a TV and a Stereo
COAXIAL
S-VIDEO
OUT
DIGITAL
AUDIO OUT
AUDIO
OUT
COMPONENT
VIDEO OUT
L
Y
R
CB
CR
DVD
AUDIO OUT
VIDEO OUT
AUDIO IN
VIDEO IN
L
R
L
R
DVD/VCR VCR
ANT-IN
ANT-OUT
VIDEO IN
AUDIO (LEFT) IN
AUDIO (RIGHT) IN
1
Connect the antenna or Cable TV signal to the ANT-IN (Antenna
In) jack of your DVD/VCR.
2
Connect the supplied red and white audio cables to the red and
white DVD/VCR AUDIO OUT Jacks on the DVD/VCR and to the
red and white AUDIO IN jacks on the Stereo. Match the cable colors to
the jack colors.
3
Connect the supplied yellow video cable to the DVD/VCR VIDEO
OUT jack on the DVD/VCR and to the VIDEO IN jack on the TV.
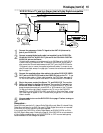
To use Component Video cable or S-Video cable instead for the DVD Player,
see pages 12-13. You will still need the yellow video cable or RF coaxial cable
for VCR features.
4
Connect the power cords of the DVD/VCR, TV, and Stereo to a
power outlet. Turn on the TV and set it to the Video In channel. Or,
simply go to your TV’s lowest channel (02 or 03) and continue changing chan-
nels downward at the TV until you see VCR or DVD playback on the TV
screen.
To help you find the right Video In channel at the TV, turn on the DVD/VCR.
Press DVD to put the DVD/VCR in DVD mode. With no Disc in the Player, a
large DVD Video logo will appear on the TV screen when you get the TV on the
correct Video In channel.
5
You are ready to turn on the DVD/VCR. Go to page 17 before turn-
ing on the DVD/VCR.
6
After you complete the VCR setup as described on page 17, set
DOLBY DIGITAL to OFF in the DVD Player’s Setup menu. Details
are on page 68. If you play a DVD when the settings are wrong, the sound will
be distorted or you may damage the speakers.
3
2
Antenna/Cable
TV Signal
1


