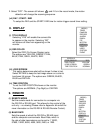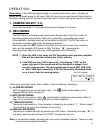
2. Select ”OFF”: The screen still shows and if it’s in the record mode, the motion
detection will change the scanning sequence.
-14-
(vii) DAY / START / END
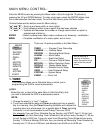
To setup the DAY and the START/ END time for motion trigger record timer setting.
8. DISPLAY
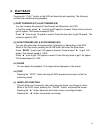
(i) TITLE DISPLAY
Selecting “YES” will enable the camera title
to appear on the monitor. Selecting “NO”
will remove all titles from appearing on the
monitor.
(ii) OSD COLOR
Select the OSD (On Screen Display) color.
The options are YELLOW, GREEN, CYAN,
BLUE, PINK, GRAY, WHITE, RED.
(MENU)
TIMER
CAMERA
RECORD
ALARM
DWELL
PIP
MOTION
DISPLAY
REMOTE
USER
SYSTEM
EVENT
(DISPLAY)
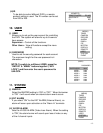
TITLE DISPLAY YES
OSD COLOR YELLOW
LOSS SCREEN GREEN
TIME POSITION NORMAL
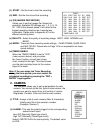
(iii) LOSS SCREEN
This option determines what will be shown if video is lost.
Select RETAIN to keep the last image shown or a color to
be shown full screen. The options are: GREEN, BLACK,
BLUE and RETAIN.
(iv) TIME POSITION
To set the OSD POSITION shown on the monitor.
The options are NORMAL (Top Right) or CENTER.
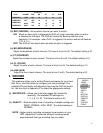
9. REMOTE
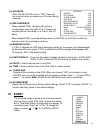
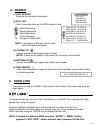
(i) REMOTE MODE
Set the remote mode for connection to a computer via
the RS-232 or RS-485 port. This allows for the control of the
unit only – no viewing (Please refer to Appendix #4 and #6 for
more information on the RS-232 & RS-485 Remote Control).
(ii) BAUD RATE
Sets the speed at which the RS-232 or RS-485 input
and the computer communicate. Baud Rate, which is
the rate of data transmission can be set to: 115200,
57600, 19200, 9600, 4800, 3600, 2400, or 1200.
(MENU)
TIMER
CAMERA
RECORD
ALARM
DWELL
PIP
MOTION
DISPLAY
REMOTE
USER
SYSTEM
EVENT


