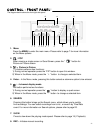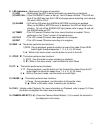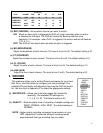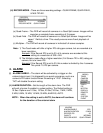
9. LED indicators – Represents the status of operation.
(1) HDD : Blinks when the HDD is being accessed (via recording or playback).
(2) HDD FULL : If the OVERWRITE menu is set up, the LED does not blink . This LED will
blink If the HDD has less than 1GB of storage space remaining, and remains
ON when HDD is FULL.
(3) ALARM : LED will be ON when the ALARM or MOTION functions are enabled.
When an ALARM or MOTION event is detected, the LED will blink for the
duration. To turn off the ALARM LED light, please refer to page 10 and set
the ALARM mode as OFF.
(4) TIMER : This LED comes ON when the timer record function is enabled. This is
performed in the “Timer” section of the setup menu.
(5) PLAY : This LED comes ON when video playback is in progress.
(6) REC : This LED comes ON when recording is in progress.
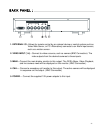
10. REW / ◄ - This button performs two functions:
1) REW : During playback, press this button to rewind the video (Press REW
button again to adjust speed as 1, 2, 4, 8, 16, 32 times)
2) ◄ : While in the menu mode, use this button to scroll to the Left.
11. STOP / ▼- This button performs two functions:
1) STOP : Use this button to stop recording or playback.
2) ▼ : While in the menu mode, use this button to scroll Down.
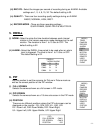
12. FF / ► - This button performs two functions:
1) FF : During playback, use this button to Fast Forward the video (Press the FF
button again to adjust the speed from 1, 2, 4, 8, 16, 32 times)
2) ► : While in the menu mode, use this button to scroll Right.
13. PAUSE / ▲ - This button performs two functions:
1) Pause : During playback, use this button to Pause the video.
2) ▲ : While in the menu mode, it works as an Up button.
14. PLAY - Initiates video Playback. For more information on Playback, refer to page 19. Press
this button to playback the most recent recording.
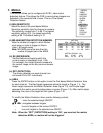
15. CAMERA SELECT (1-4) - Press the Camera Select Buttons (1-4) to select the channel to
be displayed in full screen
.
-5-


