23
SETUP MENU (CONTINUED)
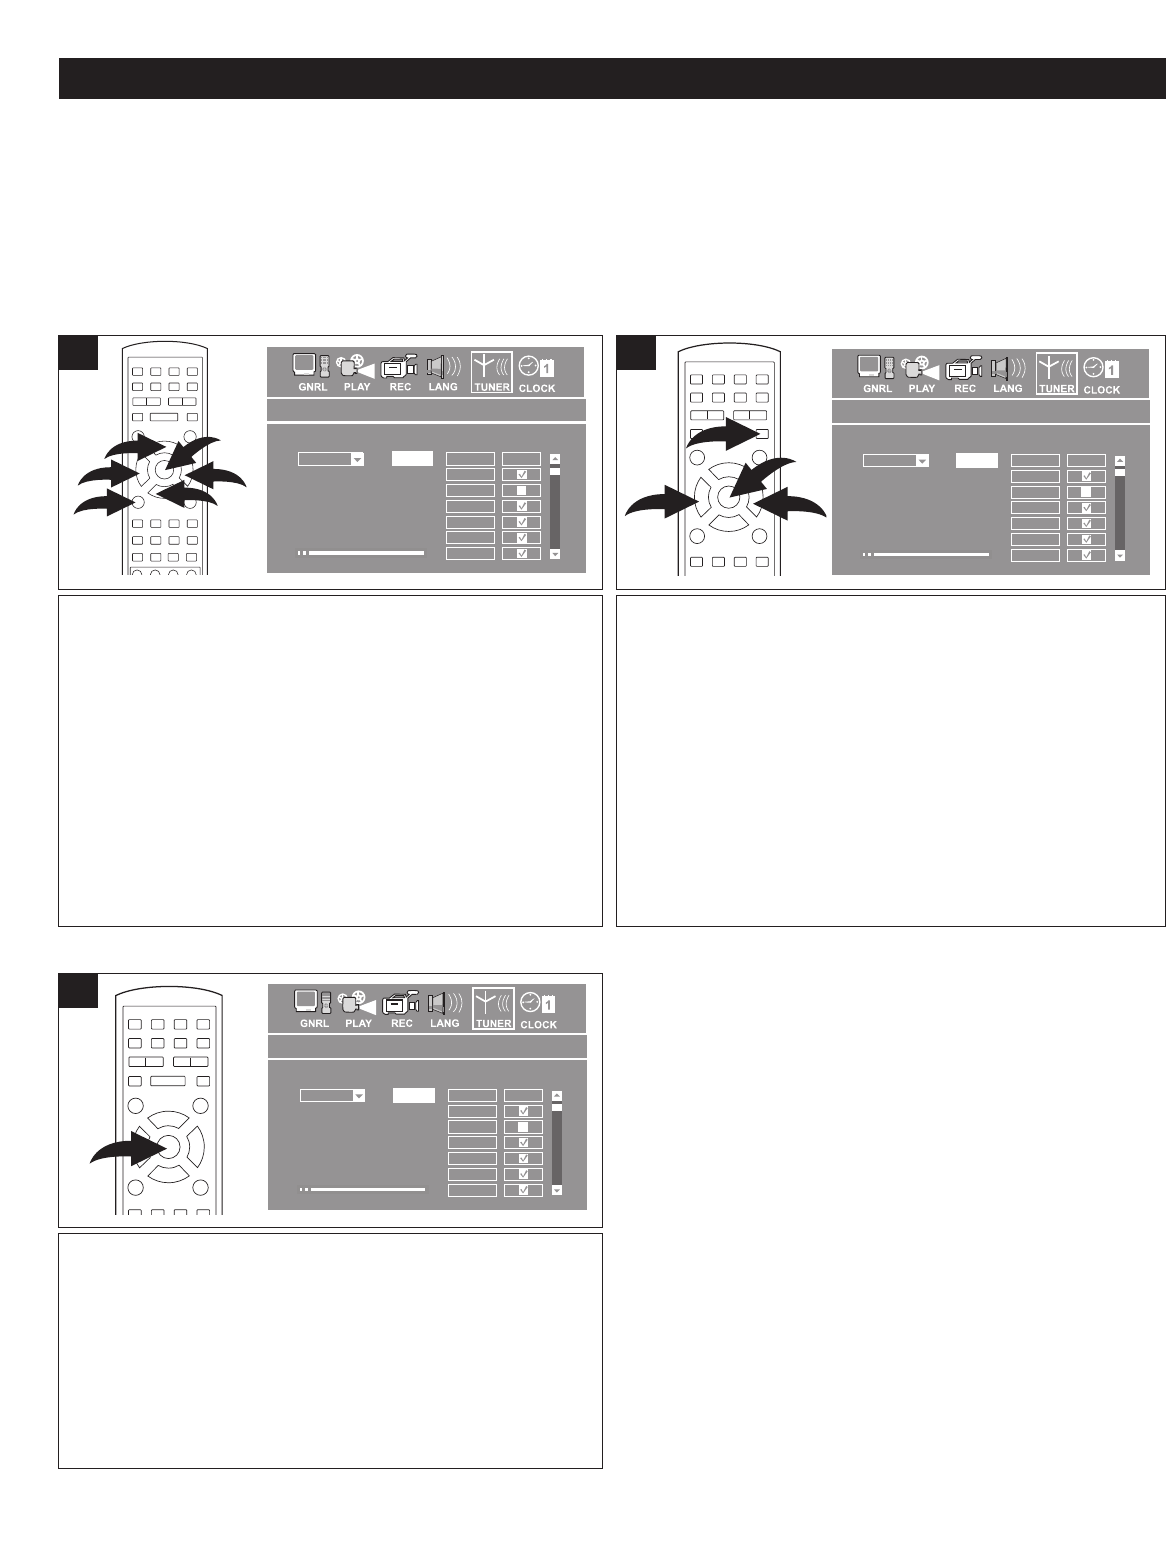
Press the SETUP button ❶ to enter the Setup Menu. Select
the TUNER Setup icon at the top of the screen using the
Navigation (➛,❿) buttons ❷, then press the ENTER button
3 to select it. Press the ENTER button 3 again to select
the Air/Cable pull down menu. Select AIR or CABLE using
the Navigation (
➐,❷) buttons 2, then press the ENTER
button 3.
Select CABLE if using cable television or AIR if using an
outdoor antenna.
General setup
OnScreen saver
InterlaceProgressive/Interlace
OKRestore factroy settings
General syste
m setup
Playback setup
Pan ScanTV aspect ratio
OFFRating level
RAWDigital audio output
OFFClosed caption
Record setup
ONAuto chapter marker
R-SV
Default source
SEPDefault quality
Record setup
Language setup
Language setup
EnglishOSD Language
EnglishMenu Language
OFFSubtitle Language
EnglishAudio Language
Start auto sca
n channel
TUNER
Air
CH
Skip
002
003
004
005
006
007
SCAN
Date &
Tim
e Setup
01/01/08Date (mm/dd/yy)
12:15:25Time (hh:mm:ss)
PMAM/PM
Date and time setup
Follow the steps in Setting Air/Cable Option, then select
SCAN using the Navigation (
➛,❿) buttons 1 followed by the
ENTER button 2; the unit will then automatically cycle through
all the channels and store active channels into memory. All
non-active channels will be marked with a check in the Skip
column.
NOTES:
• During Auto Scan, press the Stop (■) button 3 to cancel
searching.
• It is highly recommended to perform the Auto Channel
Scan to scan all channels and store the active channels into
memory when first using the set. The "TUNER" option may
not be available if no channel or station is found.
General setup
OnScreen saver
InterlaceProgressive/Interlace
OKRestore factroy settings
General syste
m setup
Playback setup
Pan ScanTV aspect ratio
OFFRating level
RAWDigital audio output
OFFClosed caption
Record setup
ONAuto chapter marker
R-SV
Default source
SEPDefault quality
Record setup
Language setup
Language setup
EnglishOSD Language
EnglishMenu Language
OFFSubtitle Language
EnglishAudio Language
Start auto sca
n channel
TUNER
Air
CH
Skip
002
003
004
005
006
007
SCAN
Date &
Tim
e Setup
01/01/08Date (mm/dd/yy)
12:15:25Time (hh:mm:ss)
PMAM/PM
Date and time setup
TUNER SETUP MENU:
Select
TUNER SETUP using the Navigation (
➛,❿) buttons, then select/change the setup option as described on page 18.
This unit is equipped with a channel memory feature which allows channels to skip up or down to the next channels set into
memory, skipping over unwanted channels. Before selecting channels, they must be programmed into the unit’s memory. In
addition to normal VHF/UHF channels, this unit can receive up to 125 Cable
TV channels. First set the AIR/CABLE option,
then follow the steps in Auto Channel scan below.
SETTING AIR/CABLE OPTION
AUTO CHANNEL SCAN
After setting channels into memory, you can add or skip
channels. Scroll to the Skip column and you will see that all
skipped channels have a check next to them. To add or skip
a channel, simply select the check box next to the channel
number and press the ENTER button to skip (a checkmark
will appear) or add (a checkmark will disappear).
General setup
OnScreen saver
InterlaceProgressive/Interlace
OKRestore factroy settings
General syste
m setup
Playback setup
Pan ScanTV aspect ratio
OFFRating level
RAWDigital audio output
OFFClosed caption
Record setup
ONAuto chapter marker
R-SVDefault source
SEPDefault quality
Record setup
Language setup
Language setup
EnglishOSD Language
EnglishMenu Language
OFFSubtitle Language
EnglishAudio Language
Start auto sca
n channel
TUNER
Air
CH
Skip
002
003
004
005
006
007
SCAN
Date &
Tim
e Setup
01/01/08Date (mm/dd/yy)
12:15:25Time (hh:mm:ss)
PMAM/PM
Date and time setup
ADDING/SKIPPING CHANNELS
1 1
1
ADDING/SKIPPING CHANNELS NOTE:
To View the channel, use the Navigation (➛,❿,➐,❷)
button to select the CH number, then use the Number
buttons to enter the desired channel number (or use the
Navigation ➐,❷ button to select the desired channel).
Press the ENTER button to view that channel under the
setup menu on the TV screen.
☎ ☎ ☎ ☎ ☎ ☎ ☎ ☎ ☎ ☎ ☎ ☎ ☎ ☎


