46
RECORDING (CONTINUED)
NOTES:
• Make sure a blank DVD+R or DVD+RW with enough space is inserted in the unit.
• If the unit is in the standby mode, it will wake up two minutes before recording.
• During recording, press the
ST
OP (
■)
button
to stop recording.
• The length of the recording is determined by the disc capacity and recording quality as set on page 42.
• To delete a schedule, highlight it using the Navigation (
➐,❷) buttons, then press the ADD/CLEAR button.
TIMER RECORD
Before setting the Timer Record, make sure the clock is set (see page 24).
Use the Navigation (➐,❷) buttons 1 to select SOURCE and
press the ENTER button
2 to confirm selection. Use the
Navigation (➐,❷) buttons 1 to select the options, then press the
ENTER button
2 to confirm. (For Entry Time or Date, using the
Number button to input the time/date, then press the ENTER
button
2 to confirm. Repeat this procedure for the following:
QUALITY: Select the record quality (HQ, SP, EP or SLP).
FREQUENCY: Select how often you want the program recorded:
Once, Daily or Weekly.
DATE: Set the desired date using the Number buttons 3. Six
digits must be pressed, two for the month, two for the date and
two for the year.
ST
ART TIME:
Set the desired start time using the Number
buttons
3.
AM/PM: Select
AM or PM for the desired start time.
END TIME: Set the desired end time using the Number buttons
3.
During input of the settings, if the entry is incorrect, the
TV screen
will show an "ERROR" message. When the error sentence
occurs, you need to input the setting again.
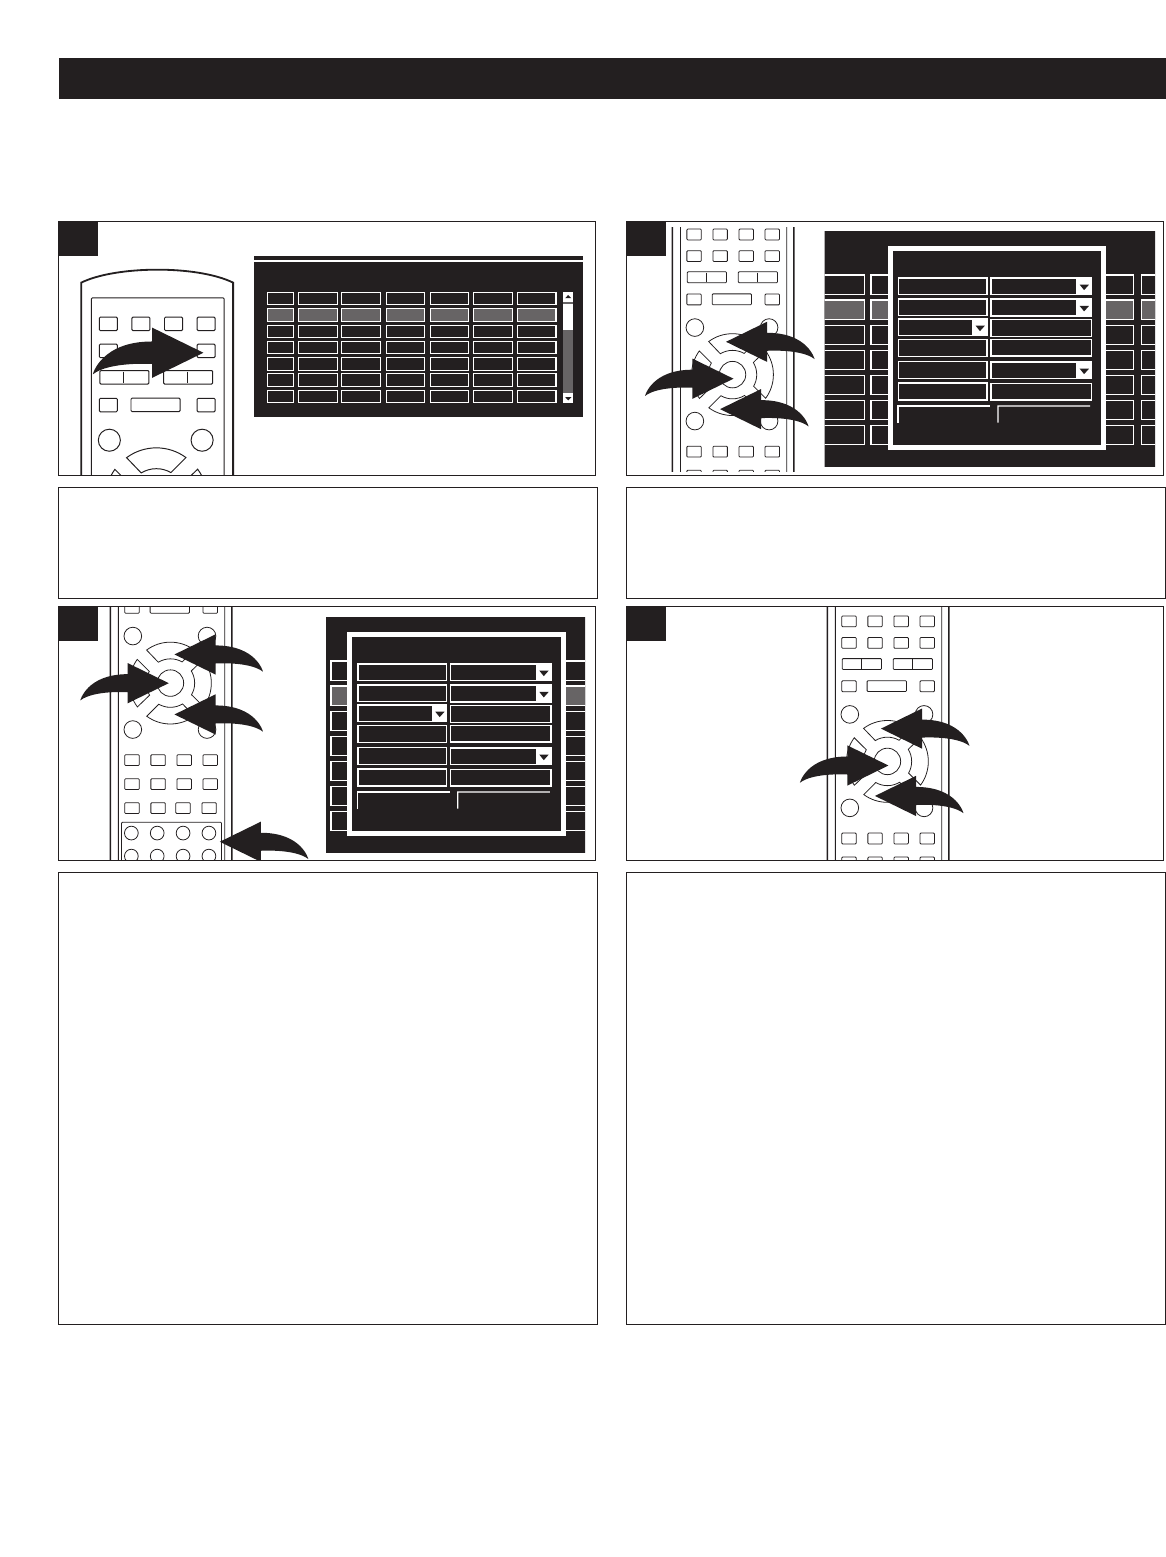
3
Press the TIMER button; the Record Scheduler box will
appear.
1
Press the Navigation (➐,❷) buttons 1 followed by the
ENTER button 2 to select a schedule number.
NOTE: If no schedules have been set, then the first
schedule number will be selected.
Select CONFIRM using the Navigation (➐,❷) buttons 1
followed by the ENTER button 2; the schedule will then be
set.
Five minutes before the start time, a record dialog box will
appear on the screen. To confirm recording, select OK, to
cancel, select CANCEL.
Press the TIMER button to exit the Record Scheduler
screen.
NOTE: If you do not select OK or CANCEL, after a few
minutes, the Record dialog box will disappear and the
recording will start when the Starting recording time is
reached.
4
2
Record scheduler
EndAM/PMStartDate
Quantity
Source
NO
1
2
3
4
5
6
Item Editor
CH001
SP
01:48
02/13/04
PM
02:18
Once
Start
Quality
Source
AM/PM
End
Confirm Cancel
Record scheduler
EndAM/PMStartDate
Quantity
SourceNO
1
2
3
4
5
6
Item Editor
CH001
SP
01:48
02/13/04
PM
02:18
Once
Start
Quality
Source
AM/PM
End
Confirm Cancel
Record scheduler
EndAM/PMStartDate
Quantity
SourceNO
1
2
3
4
5
6
☎ ☎ ☎ ☎ ☎ ☎ ☎ ☎ ☎ ☎


