User’s Manual
64
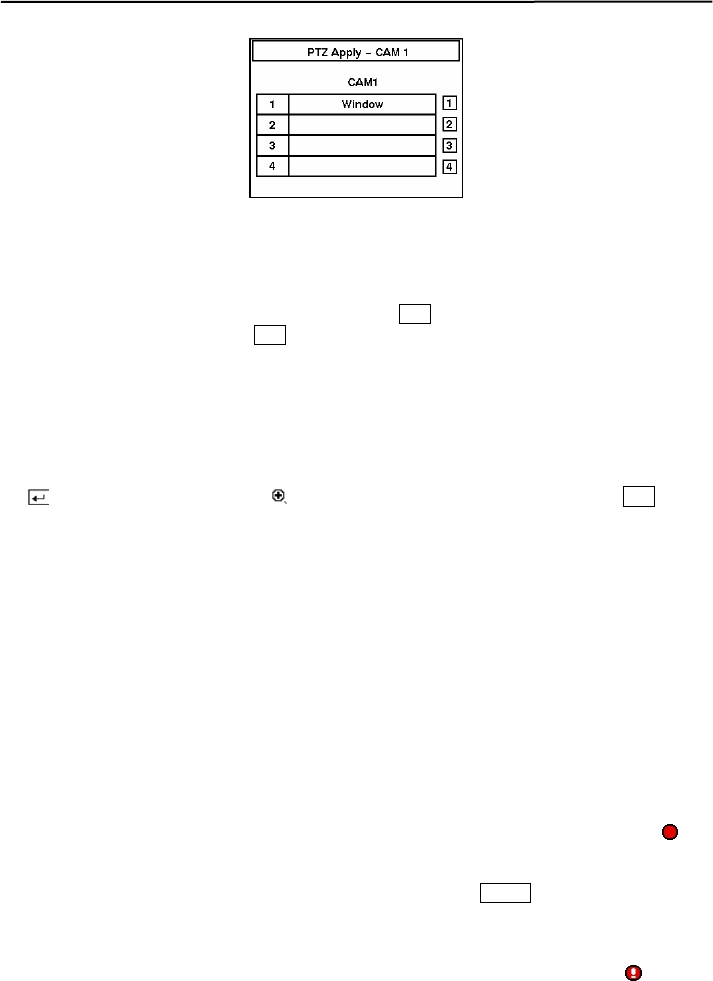
Figure 81 — Preset Apply screen.
Digital Zoom Mode
You can enter the Digital Zoom Mode by pressing the
PTZ button in the PTZ mode. When a PTZ
device is not installed, pressing the PTZ button in the live monitoring mode enters the Digital Zoom
Mode directly.
NOTE: You cannot enter the Digital Zoom mode when the selected camera is Off, has lost or
is set to Covert.
Once you are in the Digital Zoom mode, a bright small box is laid over the image. The box
indicates the area to be enlarged. Move the position of that box using the arrow buttons, and press
the
button to enlarge that area. A
displays on the enlarged screen. Pressing the PTZ button
again returns the DVR to the Live Monitoring mode.
Recording Video
Once you have installed the DVR following the instructions in Chapter 2 — Installation, it is ready
to record. Unless you change the setup, the DVR is recording video and will continue recording
until the hard disk drive is full. The factory default is Stop when the hard disk drive is full. The
DVR can be set to continue recording (Overwrite) once the hard disk drive is full. It does this by
recording over the oldest video.
Although you will be able to record without changing the unit from its original factory settings, you
will want to take advantages of the DVR’s many tools. See Chapter 3 — Configuration for detailed
descriptions of the recording mode options.
NOTE: When the DVR is recording video, the REC LED on the front panel is lit and the
displays on each camera screen.
Although you have set time-lapse or event recording, pressing the PANIC button activates panic
recording, so the DVR will record video regardless of the time-lapse or event recording schedule.
Press the button again to release the panic recording.
NOTE: When the DVR is in the panic recording mode, a REC LED flickers and the displays
on each camera screen.
