


46 Chapter 3. TV Setup
Additional Setup Using the
NetCommand Menu, continued
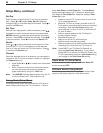
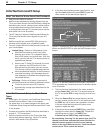
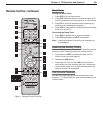
Part 2: Learn A/V Receiver Power and Volume Keys
1. Press to highlight the check box for Power On.
2. Press
ENTER
on the TV’s remote control and while the
text Power On is flashing, press and hold the
POWER
or
POWER ON
key on the A/V receiver’s remote control.
3. If your A/V receiver has a separate
POWER OFF
key, press
to highlight the check box for Power Off. Repeat
the preceding step to “learn” the
POWER OFF
key.
If your A/V receiver has no POWER OFF key, skip this step.
4. Press to highlight additional check boxes and
repeat step 2 for the other A/V receiver keys.
5. When all keys have been learned, press
EXIT
.
Figure 15. Perform NetCommand
“learning” for these A/V receiver
functions.
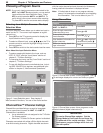
Part 3: Tell the TV Where Connected Devices
Send Audio
Digital Surround Sound
1. Press
INPUT
to display the Input Selection menu.
2. Highlight the icon for the DVD player and press
ENTER
to
switch to the DVD input.
3. Press
MENU
and open the NetCommand menu.
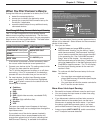
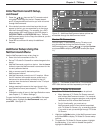
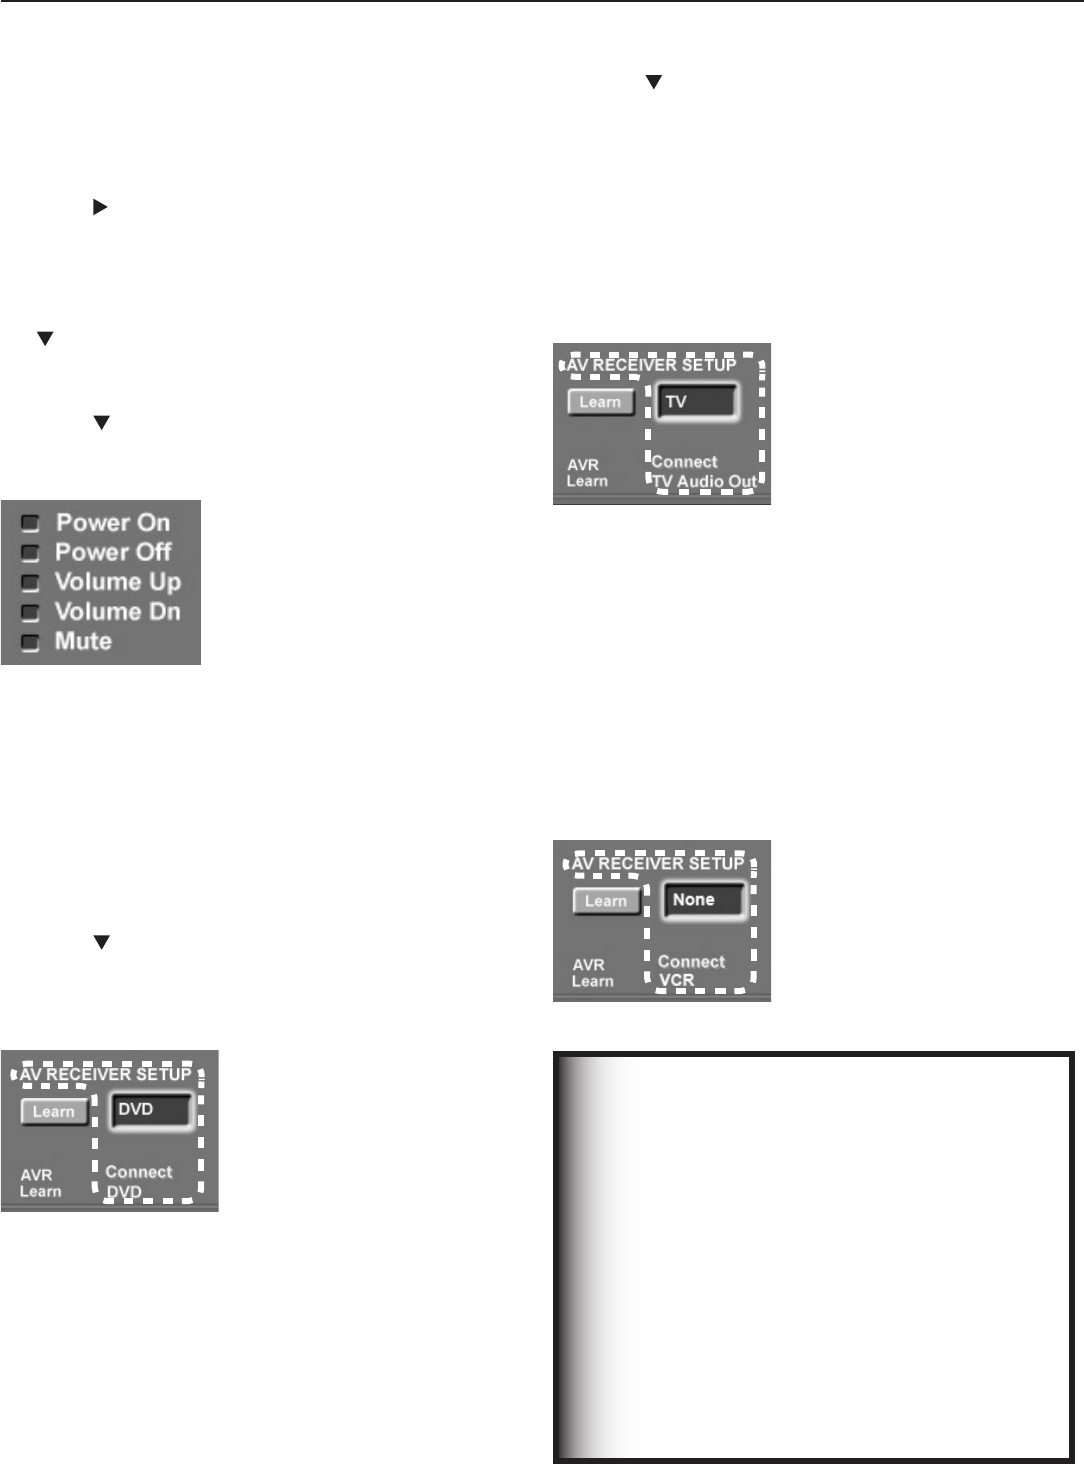
4. Highlight the text box under AV RECEIVER SETUP.
5. Press to move through the list to DVD.
This setting tells the TV that digital surround sound
from the DVD player is connected directly to the A/V
receiver’s
DVD AUDIO
input.
Figure 16. A/V receiver setup
indicating the DVD player’s audio
output is connected directly to
the A/V receiver’s DVD Audio
input.
6. Press
EXIT
to close the screen.
Audio Directly from TV
1. Press
INPUT
to display the Input Selection menu.
2. Highlight the icon for an antenna input (
ANT 1
or
ANT 2
) and press
ENTER
to switch to the input.
3. Press
MENU
and open the NetCommand menu.
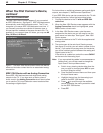
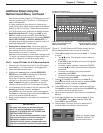
4. Highlight the text box under AV RECEIVER SETUP.
5. Press
to move through the list to TV. This is the list
of A/V receiver inputs you named in the AV Receiver
(AVR) Learn screen (see figure 13).
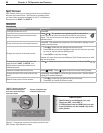
The TV setting here indicates that audio out from
the TV (
DIGITAL AUDIO OUT
or
AUDIO OUT
LEFT/RIGHT
) is sent to the A/V receiver’s
TV
AUDIO
input. Audio from
ANT 1
and
ANT 2
,
memory cards, and IEEE 1394 devices must go to the
A/V receiver from the TV’s audio outputs as there is
no way to send the audio directly to the A/V receiver.
Figure 17. A/V receiver setup
indicating that the TV’s audio
output (
DIGITAL AUDIO
OUT
or
AUDIO OUT LEFT/
RIGHT
) is connected to the
A/V receiver input named
TV
AUDIO
.
6. Press
EXIT
to close the screen.
Analog Audio (e.g., analog VCR)
1. Press
INPUT
to display the Input Selection menu.
2. Highlight the icon for the VCR and press
ENTER
to
switch to the VCR input.
3. Press
MENU
and open the NetCommand menu.
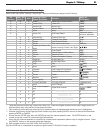
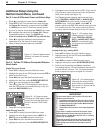
4. Highlight the text box under AV RECEIVER SETUP.
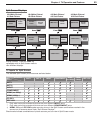
5. Confirm that the setting is at None, the default.
This setting tells the TV to automatically transfer VCR
audio to the A/V receiver. The TV converts analog
audio to digital for ouput to a digital A/V receiver.
Figure 18. A/V receiver setup
indicating the analog VCR’s
audio output is automatically
sent to the A/V receiver via the
TV’s audio output.
6. Press
EXIT
to close the screen.
IMPORTANT
To hear audio that is sent from the TV to the A/V
receiver, you must have:
•
physically connected the TV to the A/V receiver
•
learned the IR codes for the A/V receiver inputs
• chosen the correct input under NetCommand
AV RECEIVER SETUP
•
selected the A/V receiver in the Input Selection
menu
If you hear no audio from the A/V receiver, open
the NetCommand menu and perform the proce-
dure in Part 3, “Audio Directly from TV” or “Analog
Audio (e.g. analog VCR.”
Note that all audio should be sent through the TV’s
audio outputs unless you have surround sound
audio going from the device directly to the A/V
receiver.