52 Chapter 4. TV Operation and Features
Split Screen
Split Screen allows you to view pictures from two different
sources at the same time. Split Screen is available when
you have video sources connected to the TV in addition to
connections on
ANT 1
or
ANT 2
.
Operation
IMPORTANT
• Split Screen is unavailable if your only
inputs are ANT 1 and ANT 2.
• A 1080p signal from an HDMI jack or a per-
sonal computer can be viewed only as the
main picture.
Split Screen Operations Instructions
Turn Split Screen on or off
Press
SPLIT
.
Switch the sound source between main
and sub-pictures.
Press
or . The speaker icon appears briefly to indicate the
sound source as either the main picture (left) or sub-picture
(right). The sound source is the side you can control with the
remote control.
Check which picture is the sound source.
Press
INFO
. The speaker icon appears in the information display to indi-
cate the sound source.
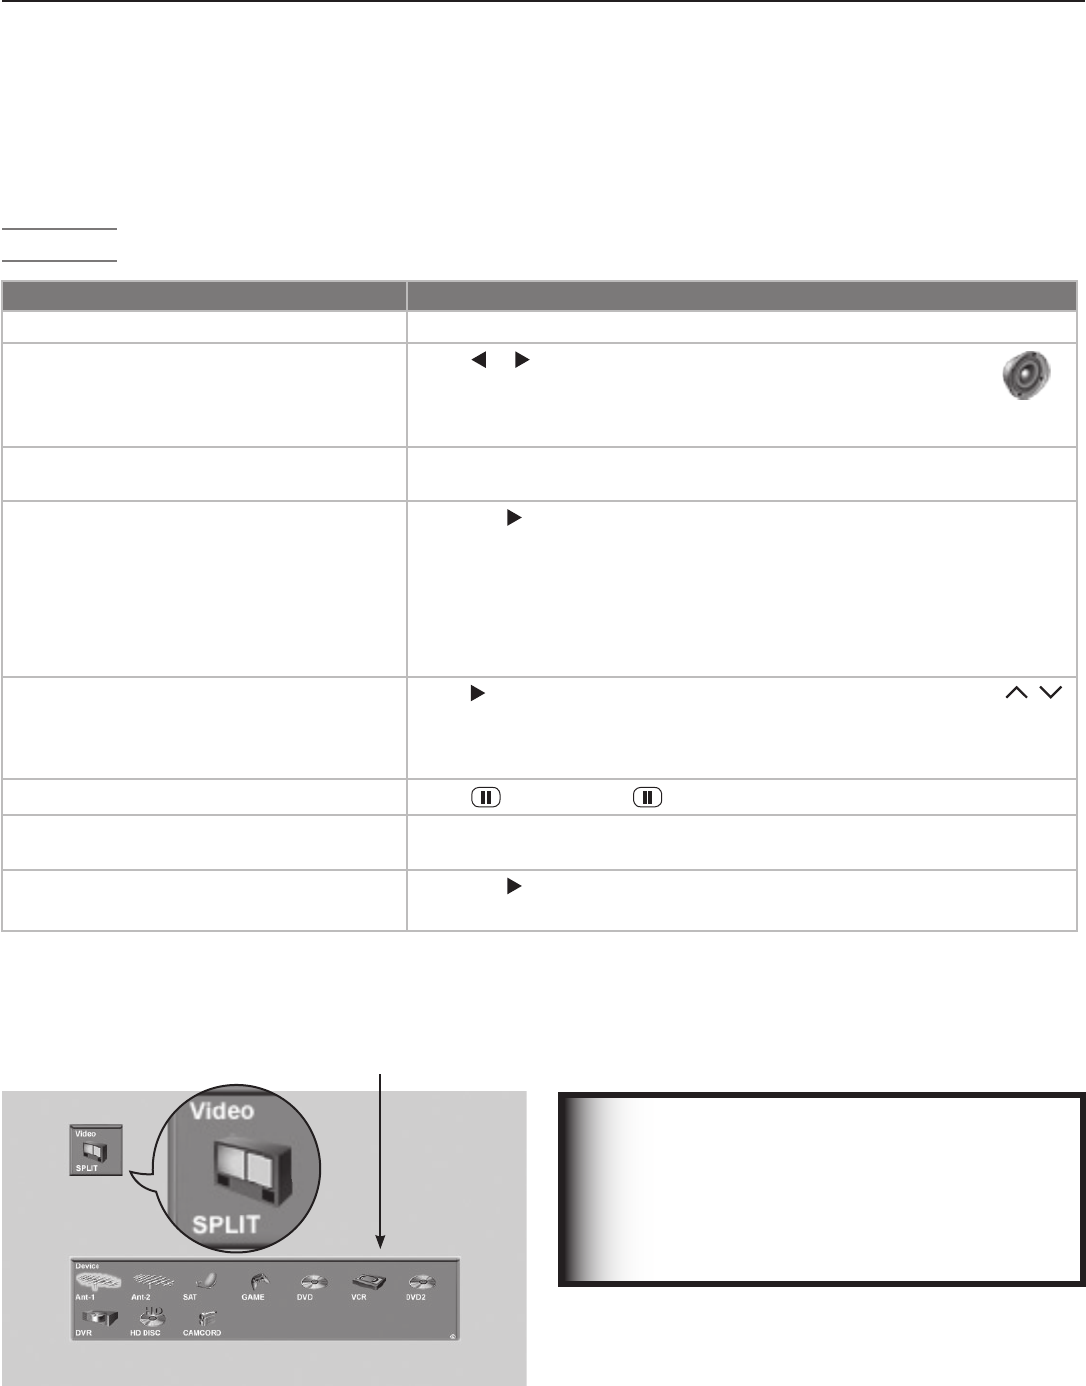
Change the source of the sub-picture.
1. Press
to make the sub-picture the sound source.
2. Press
INPUT
and move the highlight to the icon for the input you wish
to view as the sub-picture (see figure 6).
3. Press
ENTER
to make the change.
Grayed-out input icons are unavailable as Split Screen sources or with
the current source.
Change sub-picture channel (when the
input source is
ANT 1
,
ANT 2
, or a
NetCommand-controlled cable box or
satellite receiver).
Press to make the sub-picture the sound source then press CH / .
Freeze or unfreeze the sub-picture.
Press
(
PAUSE
). Press again to return to normal moving video.
Change the size of the main and sub-pic
-
tures.
Repeatedly press
FORMAT
to cycle through picture sizes. See the follow-
ing page for sample displays.
Make the sub picture fill the screen.
1. Press
to make the sub-picture the sound source.
2. Press
SPLIT
to close Split Screen mode.
Figure 5. Change the source of the sub-picture with the
Split Screen Input Selection menu.
Choice of Split Screen
sub-Picture Sources
“SPLIT” appears under the
Video icon to distinguish
this menu from the Input
Selection menu.
