


44
Configuring the DV-CP706
—Continued
This section explains how to use the on-screen setup
menus.
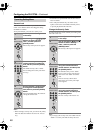
TV Shape
With this setting you can select a picture format to match
the aspect ratio of your TV.
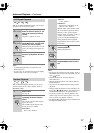
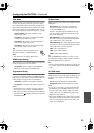
4:3 Letter box:
Choose this
option if you have a standard TV
(4:3 aspect ratio). When you
watch widescreen DVD-Video
movies, the entire picture will be
visible and there will be black
bars at the top and bottom of the screen, as shown.
4:3 Pan & Scan:
Choose this
option if you have a standard TV
(4:3 aspect ratio) and want to use
the full height of the screen when
watching widescreen
DVD-Video movies. In order to
use the full height of the screen, the picture will be
cropped on both sides, as shown. This option won’t
work with discs that don’t support pan and scan.
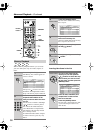
16:9 Widescreen:
Choose this option if you have a
widescreen TV (16:9 aspect ratio). Depends on TV,
the picture appears stretched when watching programs
in 4:3 format.
16:9 Compressed (default):
Choose this option if you
have a widescreen TV (16:9
aspect ratio) and the picture
appears stretched when
watching programs in 4:3 for-
mat. Some widescreen TVs
have a setting to correct this. If your TV doesn’t, and
4:3 programs appear stretched, select this option to cor-
rect the problem.
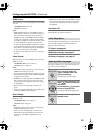
Notes:
• This setting does not apply to DVD menus.
• When the HDMI OUT signal is at a resolution of
720p, 1080i, or 1080p programs in 4:3 format will
appear stretched, so we recommend that you select the
16:9 Compressed option.
•With some DVD-Video discs this setting may have no
effect. See the disc’s sleeve notes to see which picture
format is used.
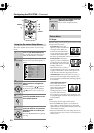
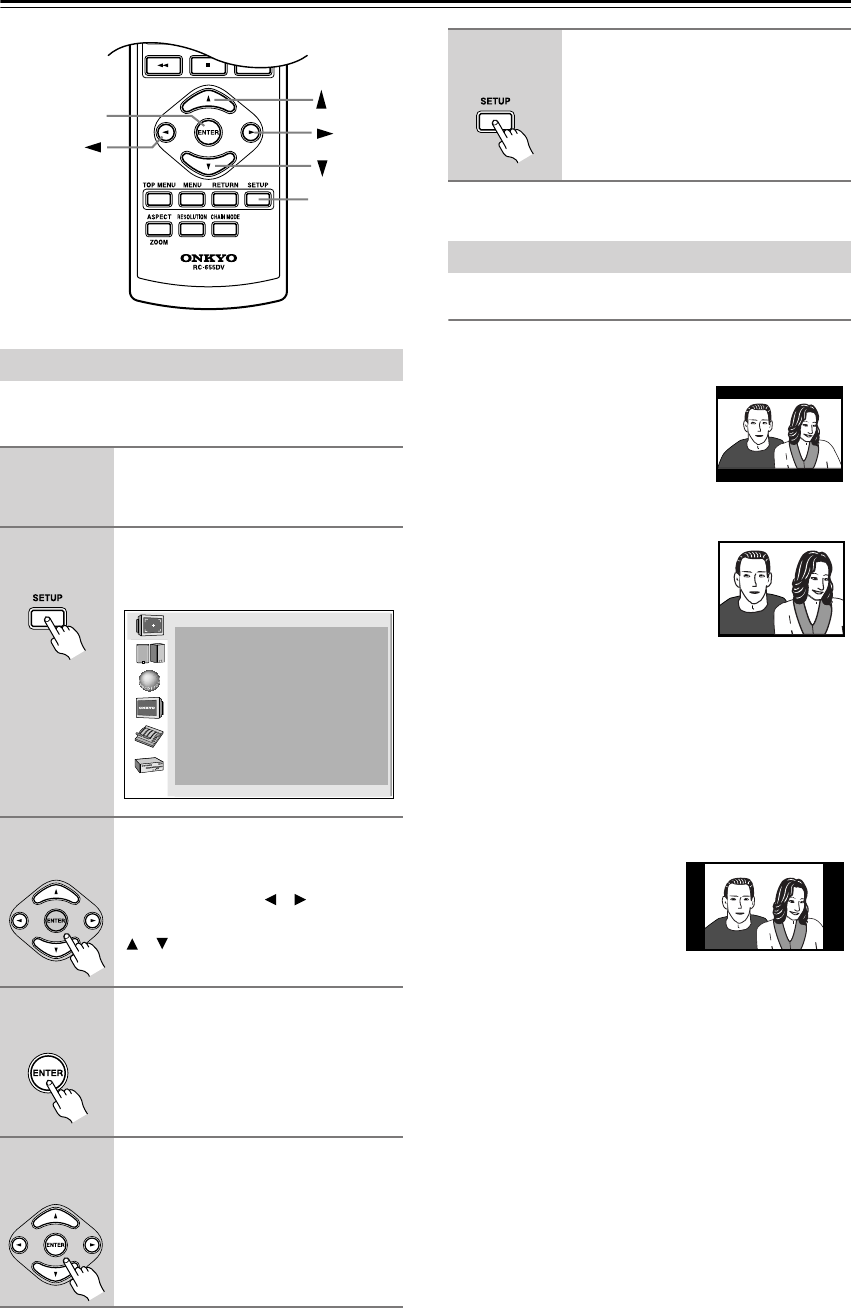
Using the On-screen Setup Menus
1
Turn on your DV-CP706 and TV.
On your TV, select the video input to
which the DV-CP706 is connected.
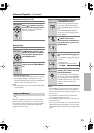
2
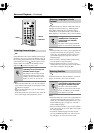
Press the [SETUP] button.
The on-screen setup menu appears, as
shown.
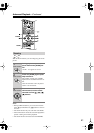
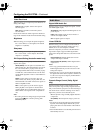
3
Use the remote controller’s navi-
gation buttons to navigate the
menus.
Use the Left/Right [ ]/[ ] buttons to
move left or right. Use the Up/Down
[ ]/[ ] buttons to move up or down.
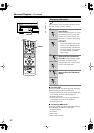
4
When you’ve selected an item,
press the [ENTER] button to see
the available options.
5
Use the navigation buttons to
select the options, and press the
[ENTER] button to confirm your
selection.
Press the [RETURN] button to go back
one step.
SETUP
ENTER
Remote controller
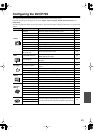
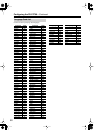
Picture
TV Shape
HDMI Output Setting
View Mode
HD Resolution
Progressive Setting
Video Black Level
HD Jpeg mode
Sharpness
Brightness
: On
: Off
: Normal
: Auto
: Interlace
: Light
: 4
: 4
: 16:9 Compressed
Remote controller
Remote controller
Remote controller
6
When you’ve finished, press the
[SETUP] button again.
The on-screen setup menu closes.
Picture Menu
Remote controller