61
CQ-VD7200U
52
E
N
G
L
I
S
H
60
CQ-VD7200U
51
E
N
G
L
I
S
H
❏ Overview
This product should be installed by a professional.
However, if you plan to install this product yourself, your
first step is to decide where to install it. The instructions in
these pages will guide you through the remaining steps:
(Please refer to the “WARNING” statement above).
¡Identify and label the car wires.
¡Connect the car wires to the wires of the power connec-
tor.
¡Install the unit.
¡Check the operation of the unit.
Caution: This unit operates with a 12 volt DC nega-
tive ground auto battery system only. Do not attempt
to use it in any other system. Doing so could cause
serious damage.
Installation Guide
WARNING
❐ This installation information is designed for experienced installers and is not intended
for non-technical individuals. It does not contain warnings or cautions of potential dan-
gers involved in attempting to install this product.
Any attempt to install this product in a motor car by anyone other than a qualified
installer could cause damage to the electrical system and could result in serious per-
sonal injury or death.
❐ If your car is equipped with air bag and/or anti-theft systems, specific procedures may
be required for connection and disconnection of the battery to install this product.
Before attempting installation of this electronic component, contact your car dealer or
manufacturer to determine the required procedure and strictly follow their instructions.
FAILURE TO FOLLOW THE PROCEDURE MAY RESULT IN THE UNINTENDED DEPLOY-
MENT OF AIR BAGS OR ACTIVATION OF THE ANTI-THEFT SYSTEM RESULTING IN DAM-
AGE TO THE VEHICLE AND PERSONAL INJURY.
Before you begin installation, look for the following items
which are packed with your unit.
¡Warranty Card …… Fill this out promptly.
¡Panasonic Servicenter for Service Directory ……
Keep for future reference in case the product needs
servicing.
¡Installation Hardware …… Needed for installation.
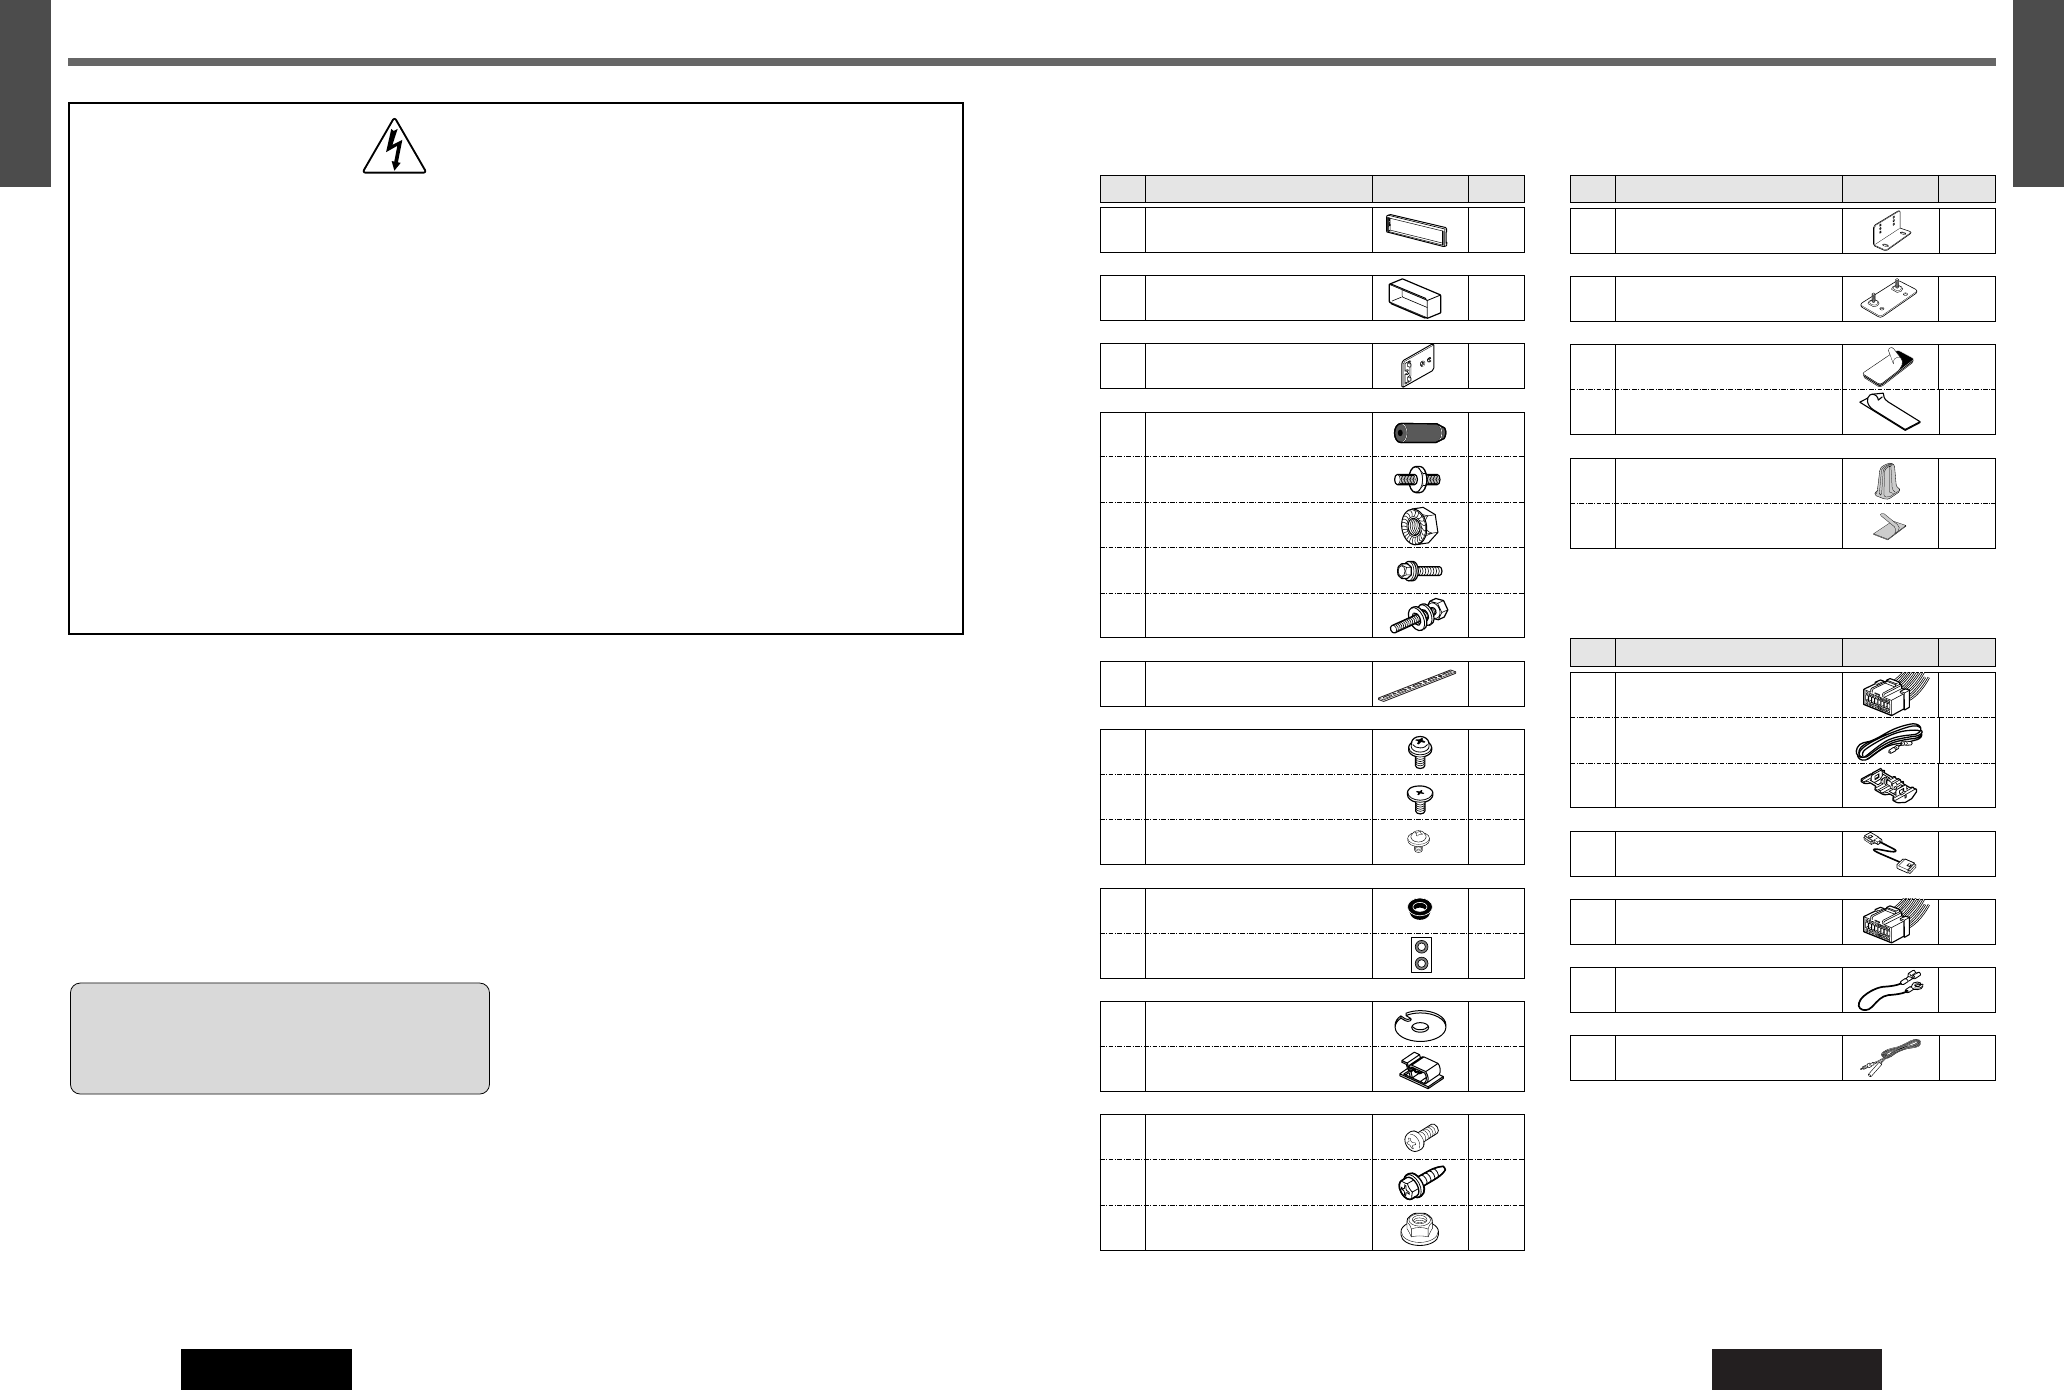
❏ Installation Hardware
(For Installation)
❏ Installation Hardware
(For
Wiring)
Note:
¡The number in parenthesis underneath each accessory
part name is the part number for maintenance and serv-
ice.
¡Accessories and their parts numbers are subject to
modification without prior notice due to improvements.
¡Trim Plate q and Mounting Collar w are mounted on
the main unit at shipment.
QtyDiagramItemNo. QtyDiagramItemNo.
Trim Plate
<YEP9FZ2739>
q
1
Mounting Bracket
<YEFG021010A>
@0
2
Base Bracket
<YEFG012424>
@1
2
Mounting Collar
<YEFG012694>
w
1
Mounting Spring
<YEFX0052424A>
e
2
Rear Support Strap
<YEFG04019>
<YEP9BS1169>
o
1
Display Unit/Hide-away Unit
Connecting Cord
<YEAJ071458>
@9
1
Power Connector
(for hide-away unit)
<YEAJ011666>
#0
1
Ground Lead
<YEAJ09271>
#1
1
Radio Antenna Extension
Cord
<YEAA09141>
#2
1
Binding-Head Screw
(M5 x 6 mm)
!0
2
Flat-Head Screw
(M5 x 6 mm)
!1
4
Binding-Head Screw
(M4 x 3 mm)
!2
4
<YEAJ011723>
Power Connector
(for display unit)
@6
1
Reverse Extension Cord
(for rear view camera)
@7
1
Clip Connector
@8
1
<YEP9BS1194>
Binding-Head Screw
(M5 x 8 mm)
!7
4
Tapping Screw
(ø 6 x 20 mm)
!8
4
Hex. Nut (M5)
!9
4
QtyDiagramItemNo.
<YEP9BS1152>
Rubber Pad
r
1
Mounting Bolt (M5)
t
1
Flange Nut (M6)
y
1
Washer Assembling Hex.Bolt
(M5 x 10 mm)
u
1
Washer Assembling Hex.Bolt
(M6 x 20 mm)
i
1
<YEP9FZ2761>
Spacer
!3
2
Double-Faced Adhesive Tape
(for spacer)
!4
1
set
<YEP9FZ3040>
Double-Faced Adhesive Tape
(for speaker)
!5
1
Clamp (for speaker)
!6
2
<YEP9FZ3042>
Double-Faced Adhesive Tape
(for hide-away unit)
@2
2
Velcro Tape
@3
2
<YEP9FZ3041>
Antenna Clamp
@4
4
Cord Clamp (for antenna)
@5
4


