


8 C2641M (9/06)
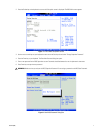
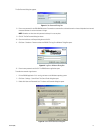
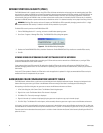
7. Re-enter the password again to confirm that it is correct.
8. Press the Enter key to confirm the new password.
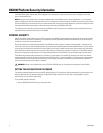
Figure 3. Password Confirm Dialog Box
NOTE: Remember to write down this password and keep it in a secure place.
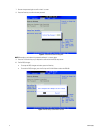
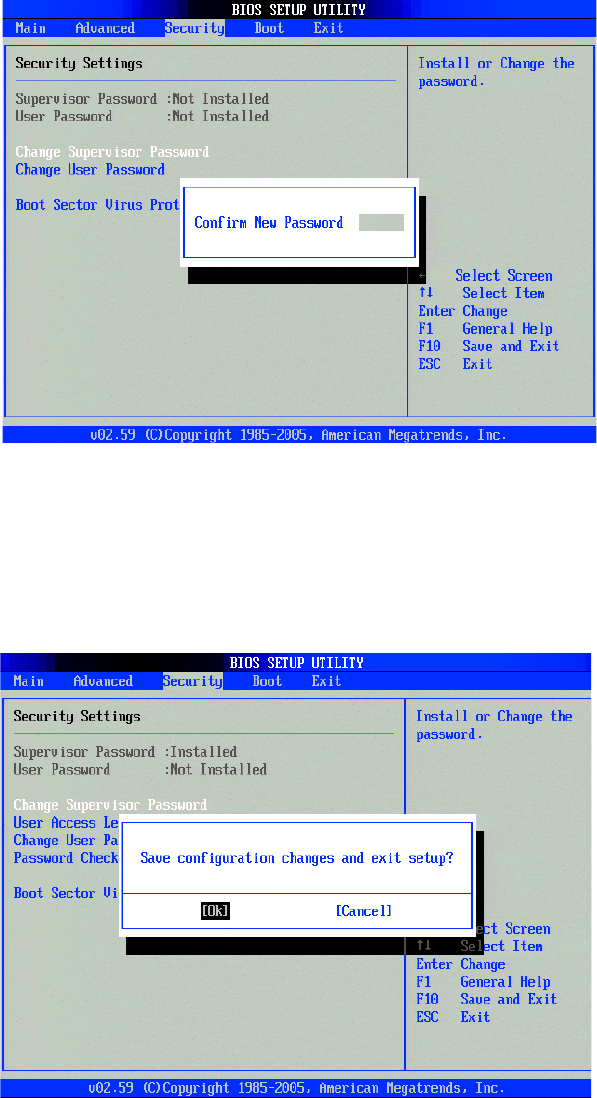
9. Press the F10 function key on your keyboard to save and exit the BIOS setup screen.
10. Finalize BIOS changes:
• To accept the BIOS changes and reboot, press the Enter key.
• To cancel the BIOS changes, press the Esc key and Ctrl+Alt+Delete to reboot the DX8100.
Figure 4. BIOS Setup Confirmation Screen