


English
46
Record to Hard Disk or recordable DVD
TIPS: Set the appropriate recording mode. It determines the actual recordable time to the HDD or a
recordable DVD, see page 38.
Recording from a DV
Camcorder
When you connect a DV camcorder to
the DV IN socket of this recorder, you
can control both the camcorder and this
recorder using the recorder’s remote
control. Furthermore, the smart
chaptering feature ensures the chapter
markers are created at each break in the
images.
Before you start...
– Mark the contents in the temporary
HDD storage (time shift buffer) for which
you wish to record to the HDD, see page
36. Otherwise, all the contents will be
cleared when you start camcorder
recording.
– Set the date and time at { DV
Specials } if required for DV update
recording function, see page 76.
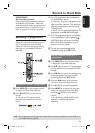
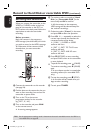
A Connect your Digital Video or Digital 8
camcorder to the DV IN socket of this
recorder (see page 24).
B Turn on the TV to the correct
programme number for the recorder
(e.g. ‘EXT’, ‘0’, ‘AV’).
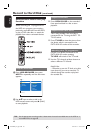
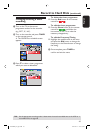
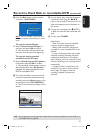
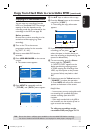
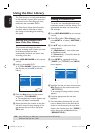
C Press CAM on the remote control.
A warning message appears.
Hard Disk
Recordable DVD
Cancel
Switching to camera mode will clear the
Time Shift Buffer.
Select a media type to record.
D To continue, select to record to { Hard
Disk } or { Recordable DVD } in the
menu and press OK to con rm.
All the contents in the temporary
HDD storage will be cleared, only the
‘marked’ contents will be stored onto
the HDD.
Otherwise, select { Cancel } in the
menu and press OK to abort the
operation.
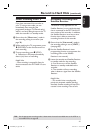
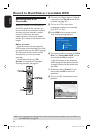
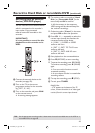
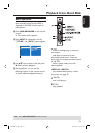
E Turn on the DV camcorder and start
playback.
DV CONTROL
CAM 2
AUTOREC
STOP
dvdr9000h_eu_eng2.indd 46dvdr9000h_eu_eng2.indd 46 2005-10-13 9:18:13 AM2005-10-13 9:18:13 AM