


19
English
Getting Started (continued)
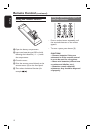
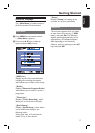
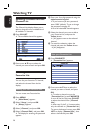
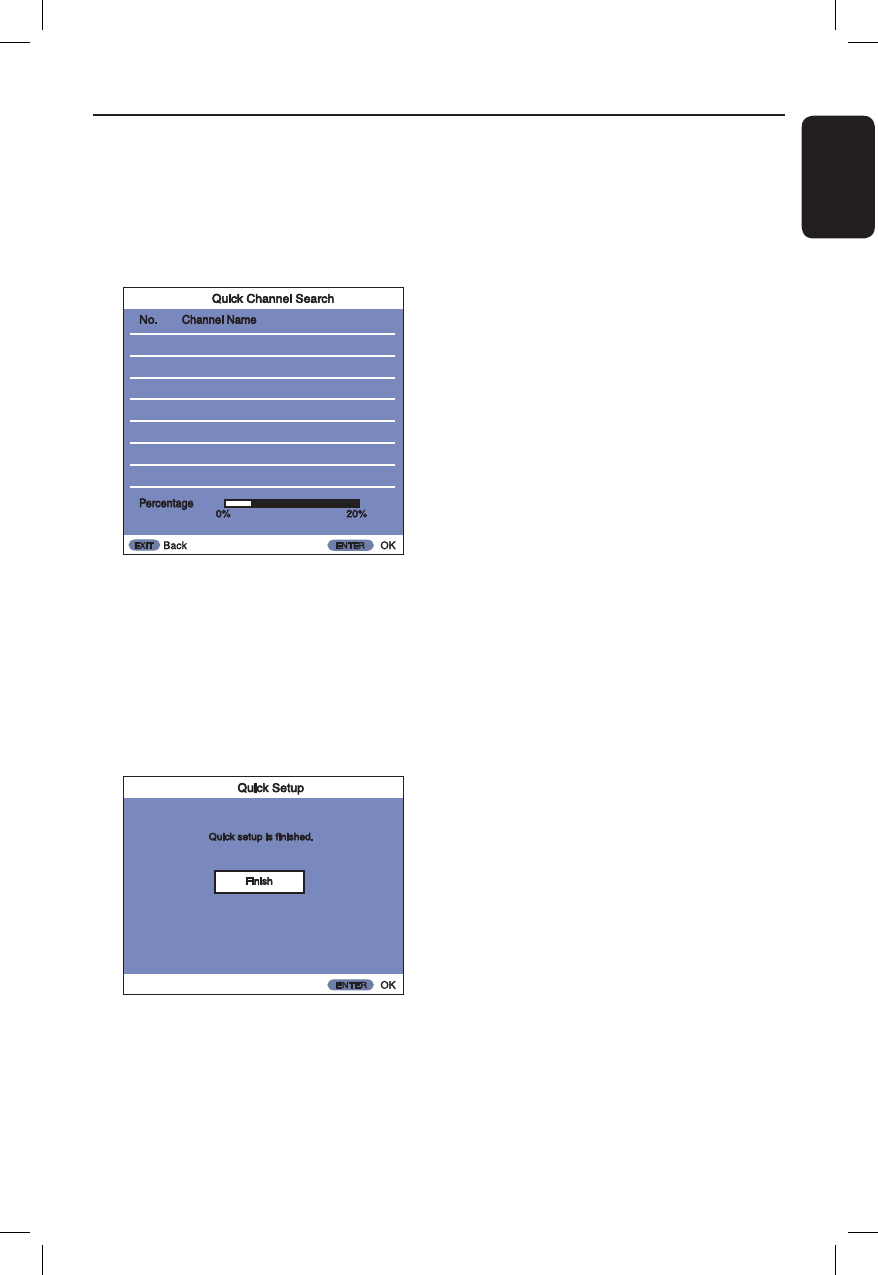
E Select the tuning method, and press OK.
If you select { Quick Channel Search },
select your city and press OK.
The recorder automatically starts
searching for all of the receivable
channels and presets them.
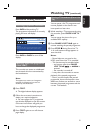
Other option:
{ Auto Channel Search }
Presets all receivable channels. For
details, see page 34.
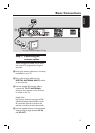
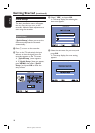
F Press OK when { Finish } appears.
{ Quick Setup } is completed.
To return to the previous step
Press BACK.
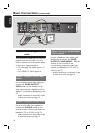
To select the picture size according
to your TV
Set { TV Shape } in { Video/Audio }
menu (page 36).
To select the type of video signals
output from the HDMI OUT or
COMPONENT VIDEO OUT
sockets
Set { Video Format } in { Video/
Audio } menu (page 36).
To select the audio output method
from the DIGITAL AUDIO OUT
socket
Set {
Digital Audio Output } in { Video/
Audio } menu (page 37).
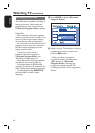
Helpful Hint:
− If you want to run { Quick Setup } again,
press MENU, then select { Quick Setup }
and press OK.
Note about the clock setting:
This recorder automatically adjusts its
clock according to the time signals from
the broadcaster in the area selected in
step 4 above, or { Time Zone } in the
{ Installation } menu. You do not need
to, (and cannot manually) adjust the clock
for Day Light Savings Time, and these are
the ONLY settings that affect the clock.
Since the clock entirely depends on the
broadcaster sending the correct time
signals, if { Time Zone } in
{ Installation } menu Setup is correct
and yet the clock is wrong, it is not a
malfunction.