


37
English
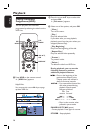
Setting and Adjustments (continued)
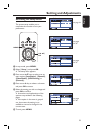
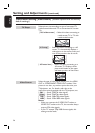
Digital Audio Output
Switch the method for outputting audio signals when you
connect the DIGITAL AUDIO OUT socket to a
component such as an AV ampli er (receiver). For
connection details, see ‘Step 3: Connecting the audio
cords’ on page 15.
If you connect a component that does not accept the
selected audio signal, a loud noise (or no sound) will
come out from the speakers, and may affect your ears or
cause speaker damage.
{ Dolby Digital } − Select this when the recorder is
connected to an audio component
with a built-in Dolby Digital decoder.
{ PCM }
− Select this when the recorder is connected
to an audio component without a built-in
Dolby Digital decoder.
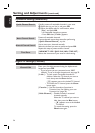
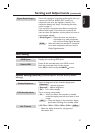
HDD Setting
HDD Space Displays the remaining HDD space.
Delete HDD
Erases all the recorded titles in the HDD at once.
Note that protected titles are also erased.
Press OK to con rm and press BACK
to exit.
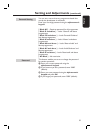
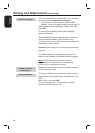
System Setting (General) (shadow options are the factory default
settings)
Display Brightness
Select the brightness of the recorder display panel.
{ Normal }
– Normal brightness.
{ Dimmed } – Medium brightness.
{ Off } – Turns off the display.
ECO Standby Mode
This is an energy saving mode.
{ On } − When you switch the recorder to standby
mode, the display panel will turn blank to save
power.
{ Off }
− Clock will display on the recorder’s display
panel when switching off to standby mode.
Info Timeout
{ Off / 5 Sec / 10 Sec / 15 Sec / 20 Sec / 30 Sec /
60 Sec
}
– Select the display duration for a programme
information box.