English
52
Editing/ Finalising Recording (continued)
About video editing
After a recording has been made, this
recorder allows you to edit the video
content. You can add/delete chapter
markers, hide unwanted scenes, change
the picture in the index picture screen
and split a title (recording) into two.
When you playback a recording in
video edit mode, the entire recording will
be played back including hidden scenes.
The edit functions available in the disc
editing menu are:
{ Title }
Select a title (recording) to play.
{ Chapter }
Select a chapter within the selected title.
{ Chapter Marker }
Insert a chapter marker in the recording
or erase a chapter marker to combine
two chapters.
{ Hide Chapter }
Hide the unwanted scene in the
recording.
{ Index Picture }
Select a scene in the recording as the
index picture screen.
{ Split Title } – DVD±RW only
Divide the recording into two separate
titles.
Accessing video editing menu
SOURCE
SELECT
TOOLS
DISC MENU
USB
TV/DVD
CLEAR REPEAT
ç
PLAY
REC MODE
TIMER
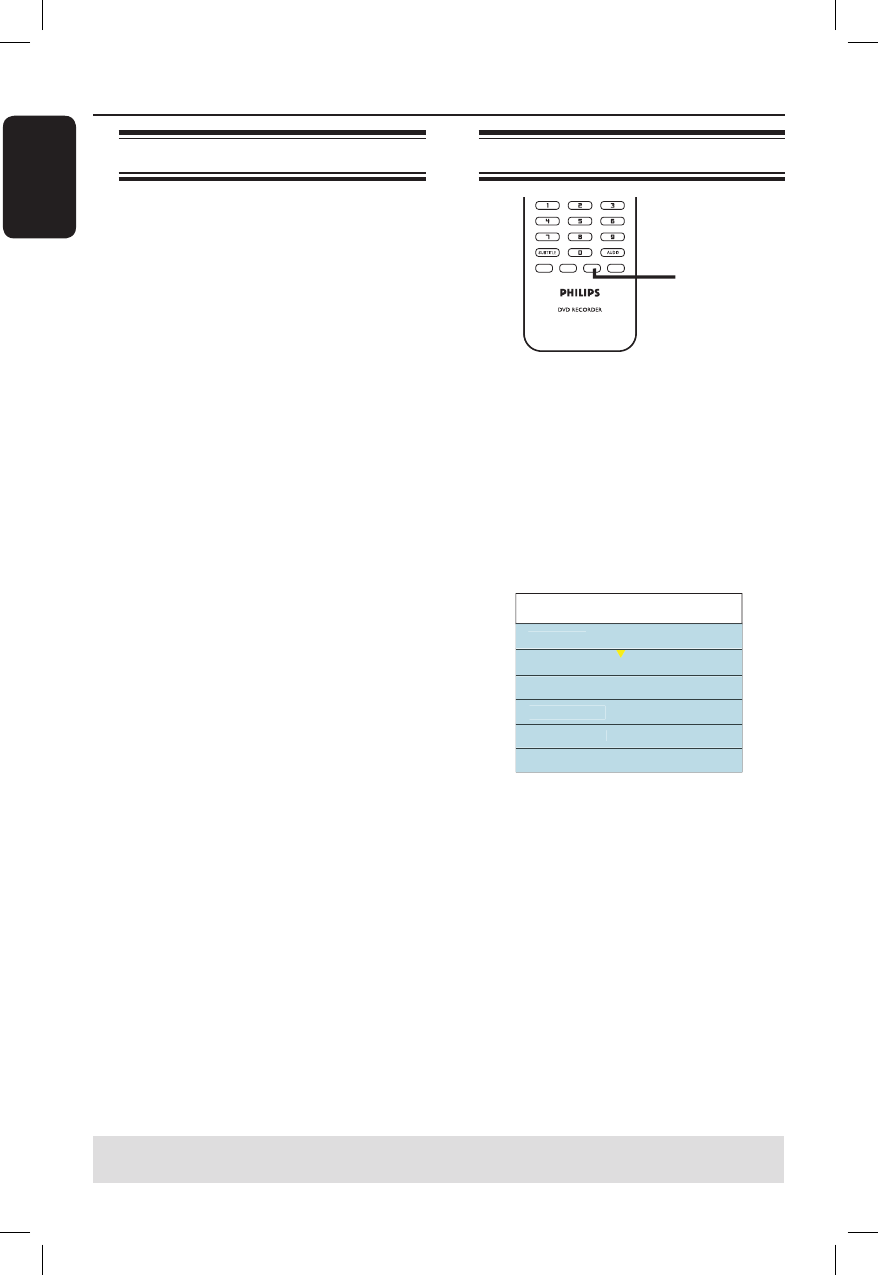
EDIT
VIDEO Plus+
EDIT
A
Insert a recorded DVD±R/±RW into the
recorder.
The Index Picture screen appears on
the TV.
B
Use ST keys to select a title (recording).
C
Press u to start playback.
D
Press EDIT on the remote control.
The video editing menu appears.
Edit Mode 0:03:28
Title 02
0
Cha
ter 01/10
Cha
ter Marke
Hide Cha
te
In
x Pi
t
r
S
lit Titl
E
Use ST keys to access different options
and press OK to select.
Instructions and explanations of the
options are provided in the following
pages.
F
To exit, press EDIT.
TIPS: No further recording and editing can be carried out on a full or nalised DVD±R.
Press W to go back to the previous menu.


