


PRV-LX1 DVD Menu Maker
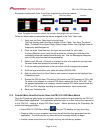
3.0 HIGHLIGHT AREA LAYER
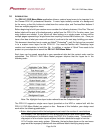
The Highlight Area layer, also known as the Subpicture layer, maps where the button Select
(roll-over) and Activate colors and/or shapes appear. Areas to remain hidden must be filled with
black (RGB: 0,0,0) and areas where highlights are to appear must be filled with a ‘Normal’ color
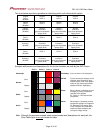
from the Color Table. More information regarding the color assignments is documented in
section 10, Color Table Layer.
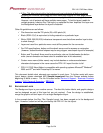
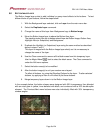
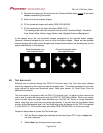
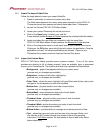
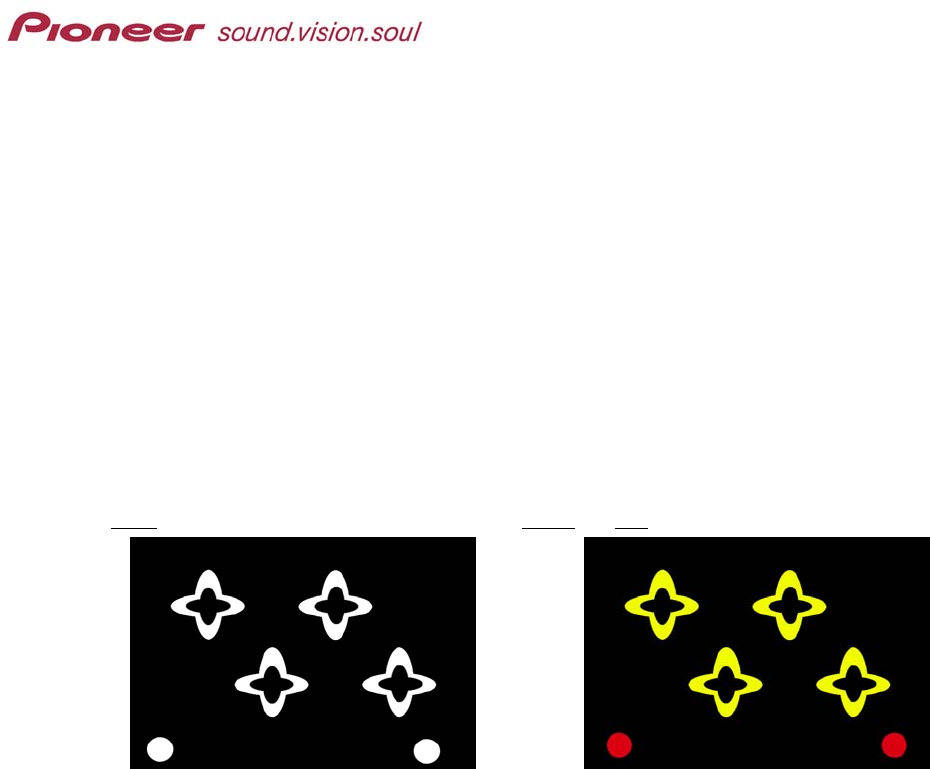
In the example below, the center of each star shape is filled with black so that only the area
around the button is highlighted. White must be one of the normal colors on the Color Table
layer if the shapes on this layer are white. Although the highlight areas extend beyond the star
shape, this mask allows only the portion surrounding each button to change color. The center
and the corners of the highlight areas are hidden.
White is a Normal color on the Color Table layer Yellow and Red are Normal colors on the Color Table layer
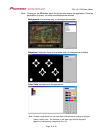
Note: The white circles at the bottom of the layer are the Previous/Next Menu Page buttons. In
the example on the left these buttons share the same Select/Activate colors as the thumbnail
buttons while in the example on the right Prev/Next are a different color from the thumbnails.
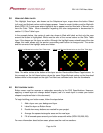
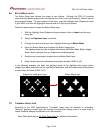
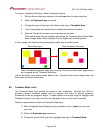
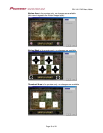
4.0 BUTTON AREA LAYER
Button areas must be squares or rectangles according to the DVD Specifications. However,
applying a mask layer can change button shapes (use of a mask layer to create your button
shapes is explained later in this document).
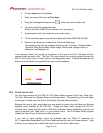
To begin building your button areas, follow the steps below.
1. Add a layer over your background layer
2. Label the layer as Button Areas.
3. Decide how many buttons are needed for your project.
4. Arrange the square/rectangular areas on the new layer.
5. Fill all unused space around your button areas with white (RGB: 255,255,255).
For more information about button areas, please see the next two sections.
Page 4 of 24