Operation
36 Runco CinemaWall Owner’s Operating Manual
PRE
L
IMINAR
Y
H Size: Use the up- or down-arrow buttons ( , ) to highlight H Size. Then, use the
right-arrow button ( ) to increase the width; use the left-arrow button ( ) to decrease
it.
Computer (available only on PC/RGB Input): To have the CinemaWall automatically
adjust the size, position, and quality of RGB computer images, select Computer from the
Image Options menu and set it to ON. To make these adjustments manually, set
Computer to OFF.
Fine Picture (available only on PC/RGB Input): Use the Fine Picture control to reduce
or eliminate flickering in the image.
Picture Adjust (available only on PC/RGB Input): Use the Picture Adjust control to
remove striped patterns from the displayed image.
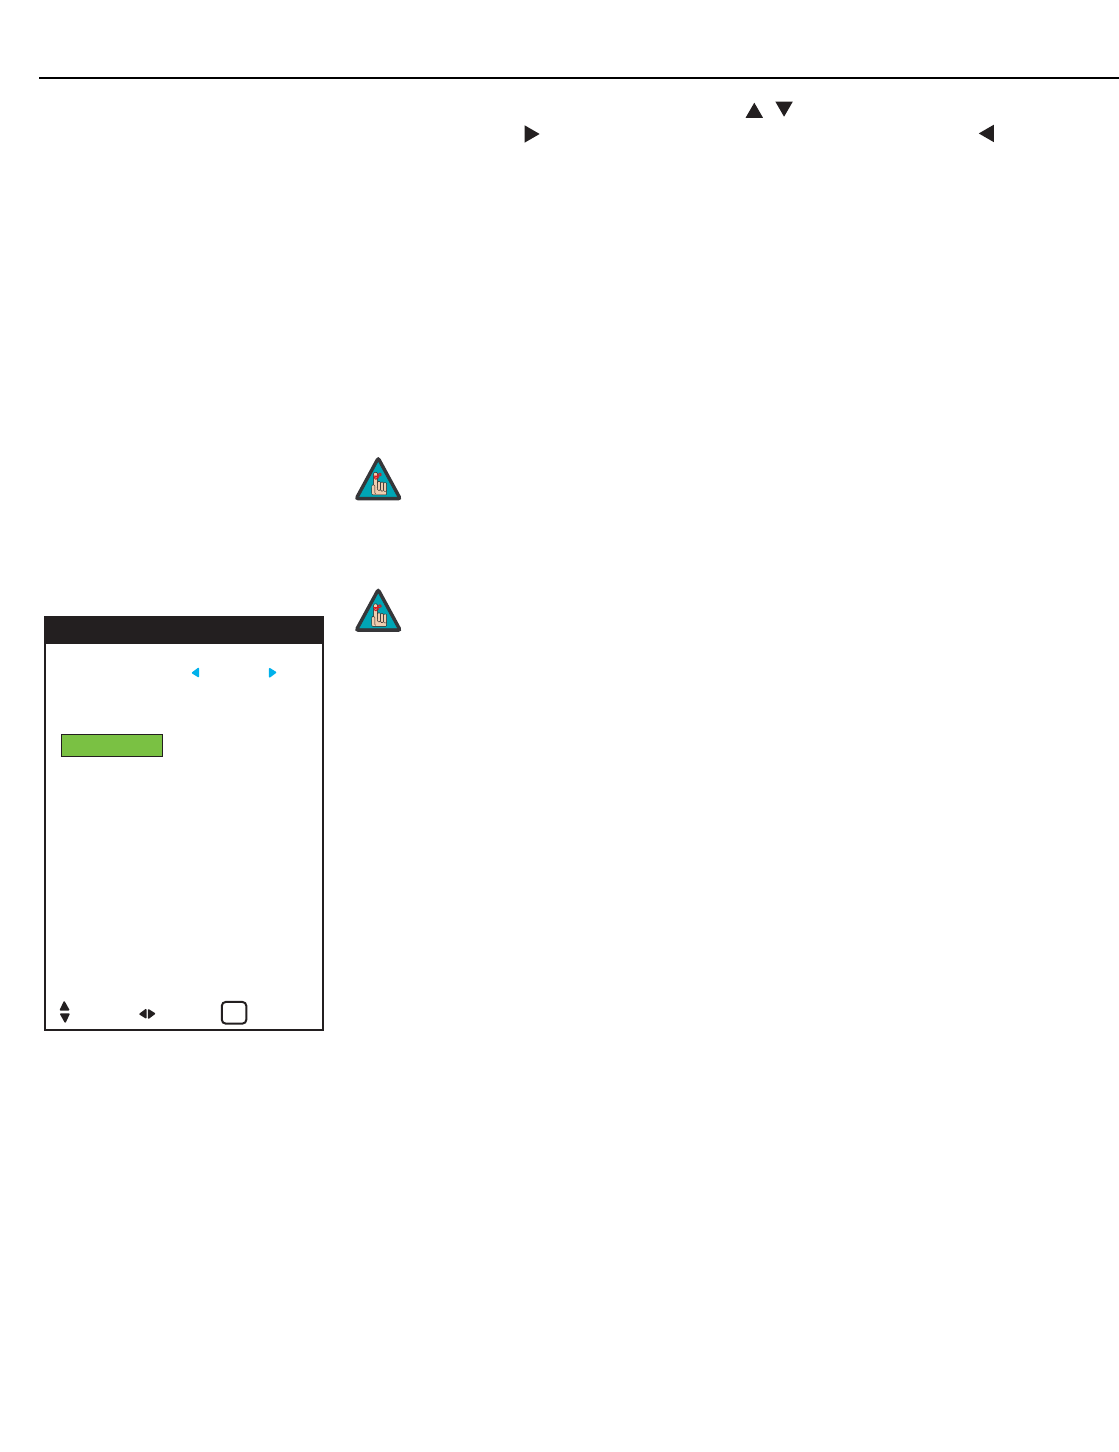
Install
Language: Refer to Changing the OSD Language on page 23.
DVD/HD1 Input: Select DVD/HD1 Input from the Install menu to specify the signal format
on the DVD/HD1 input. Currently, the only option is COMPONENT.
D-SUB Type: Select D-SUB TYPE from the Install menu to specify the signal format on
the PC/RGB input. Currently, the only option is RGB.
HD Type: Select HD Type from the Install menu to specify the resolution (number of
vertical lines) of the incoming high definition signal, if necessary.
• Choose 1080i for standard digital broadcasts.
• Choose 1035i for Japanese “High Vision” TV broadcasts.
• Choose 540p for compatibility with certain HDTV receivers.
These are the only resolutions that the CinemaWall does not detect automatically.
RGB Type: RGB Type refers to the incoming RGB signal type. Currently, the only option
is AUTO.
HDMI: Select HDMI from the Install menu to adjust the black level of the displayed HDMI
signal. Set it to LOW if blacks appear elevated (dark gray). If blacks appear “crushed” (too
dark), set it to HIGH.
Fine Picture and Picture Adjust are adjustable only when Computer
is set to OFF.
Note
➤
LANGUAGE : ENGLISH
DVD/HD1 INPUT : COMPONENT
D-SUB TYPE : RGB
HD TYPE : 1080i
RGB TYPE : AUTO
HDMI : LOW
COLOR SYSTEM : 3.58 NTSC
BLANK FIELD : GRAY
SIDEBAR ADJ : 3
S1/S2 : ON
DISPLAY OSD : ON
OSD ADJUST : 3
REMOTE ID : 1
FACTORY : ON
INSTALL
SEL. ADJ. RETURN
EXIT
You must set the Advanced OSD option (in the Function menu) to
ON in order to see all of the items in the Install menu. If you do not,
only the Language and Factory menu items are available. Refer to
Advanced OSD on page 40.
Note
