


Installation
VX-3000d Series Installation/Operation Manual 27
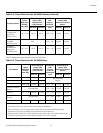
PRE
L
IMINAR
Y
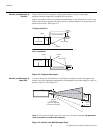
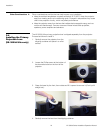
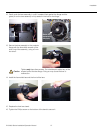
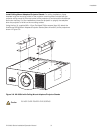
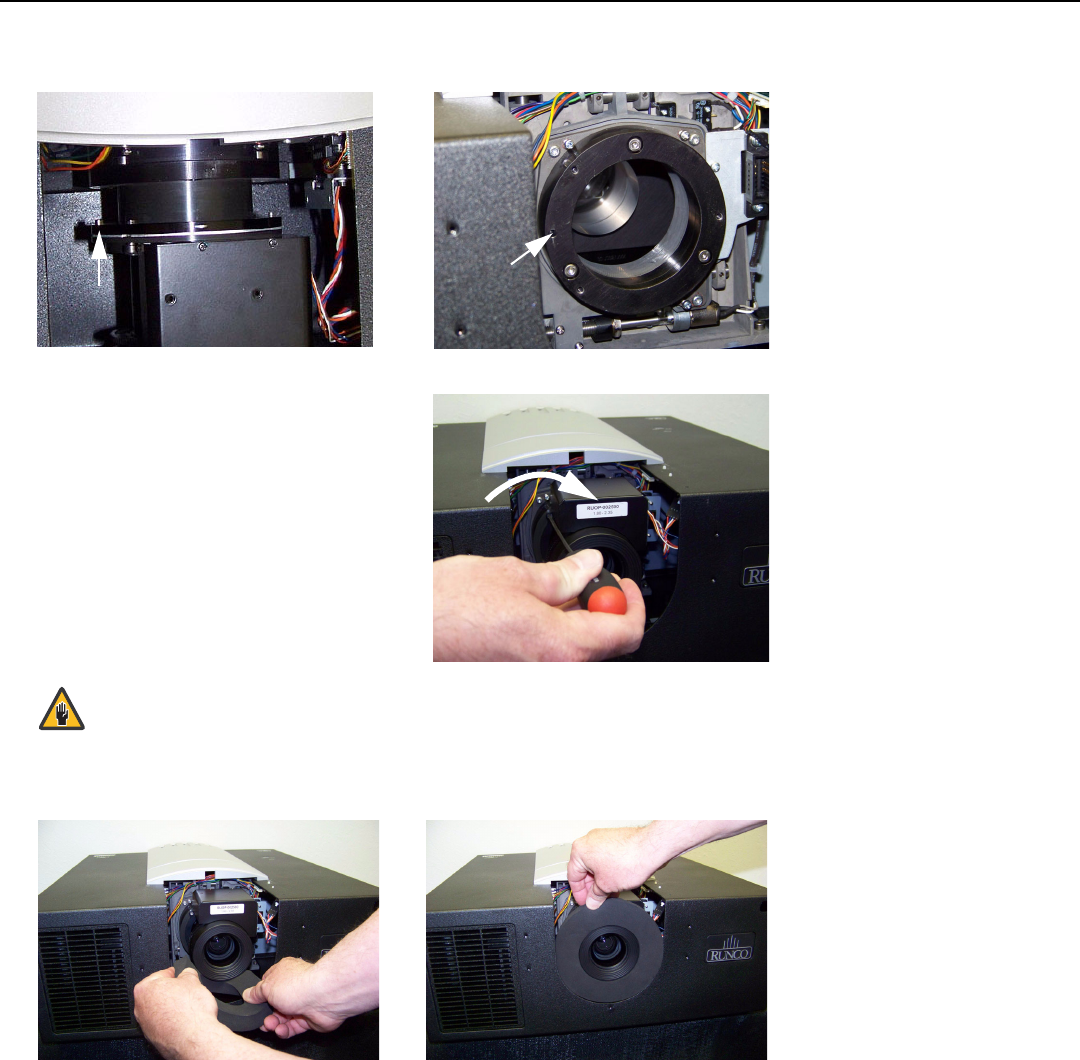
12. Gently push the lens assembly in until it is seated flush against the flange and the
guide pin on the lens assembly is fully seated in the hole on the flange.
13. Secure the lens assembly to the projector
flange with the three Allen screws on the
outer ring of the assembly, using a 3-mm
hex driver.
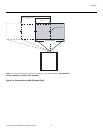
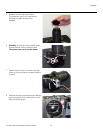
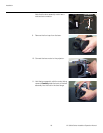
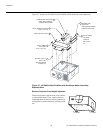
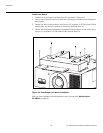
14. Install the foam shield around the front of the lens.
15. Replace the front lens bezel.
16. Tighten the Phillips screw on the bottom of the bezel to secure it.
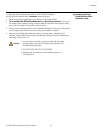
Tighten only these three screws. Do not attempt to adjust any of the
screws behind the lens flange. Doing so may cause the lens to
malfunction.
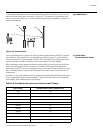
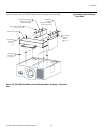
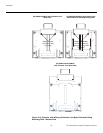
Guide Pin
mates with
this hole
Guide Pin
Caution