English -
29
5
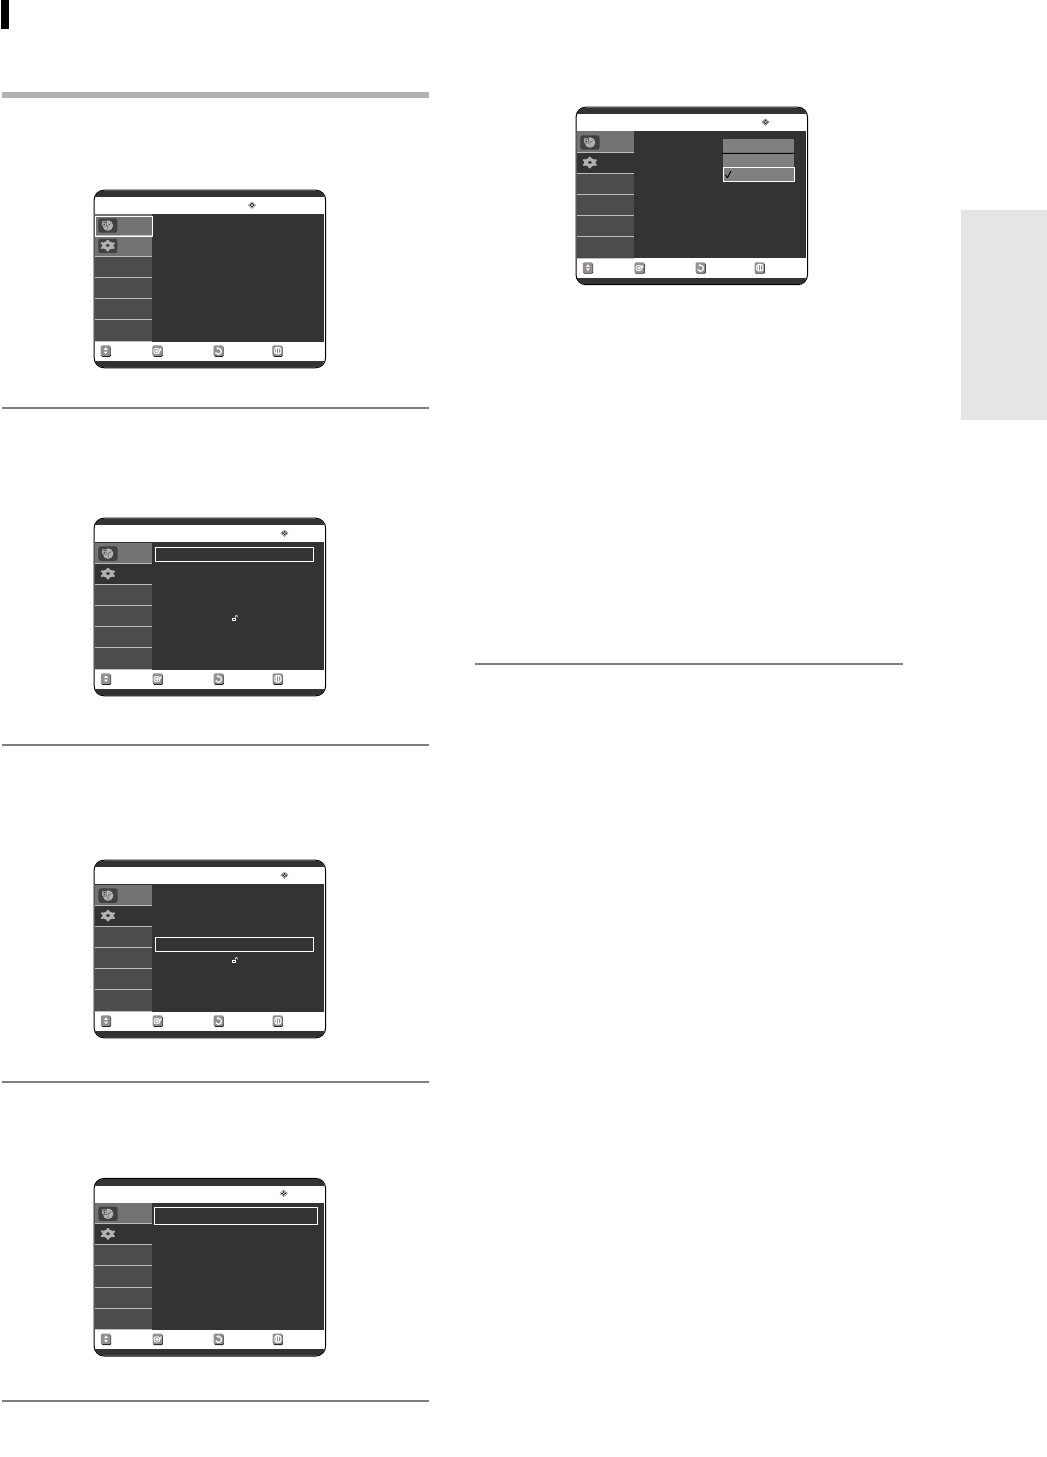
Use the …† buttons to select the desired
item(4:3 Letter Box, 4:3 Pan-Scan or 16:9
Wide). Then press the ENTER or √ button.
If you have a 4:3 standard TV
●
4:3 Letter Box : Select when you want to see the total
16:9 ratio screen DVD supplies, even though you have
a TV with a 4:3 ratio screen. Black bars will appear at
the top and bottom of the screen.
●
4:3 Pan-Scan : Select this for a conventional size TV
when you want to see the central portion of the 16:9
screen. (Extreme left and right side of movie picture
will be cut off.)
If you have a wide screen TV or 4:3 standard TV with
a wide-screen mode
●
16:9 Wide : You can view the full 16:9 picture on
your widescreen TV.
5. Setting Up the TV Aspect
This allows you to set up the TV screen settings.
1
With the unit in Stop mode/No Disc mode,
press the MENU button.
2
Select Setup using the …† buttons, then
press the ENTER or √ button.
3
Select Video using the …† buttons, then
press the ENTER or √ button.
4
Select the TV Aspect using the …† buttons,
then press the ENTER or √ button.
RETURNSELECTMOVE EXIT
Video
No Disc
TV Aspect
: 16:9 Wide
√√
Input Level : Darker
√√
Black Level : 7.5 IRE
√√
3D Noise Reduction
: Off
√√
Front Display
: Auto Dim
√√
Connecting & Setting UP
RETURNSELECTMOVE EXIT
Video
No Disc
TV Aspect
: 16:9 Wide
√√
Input Level : Darker
√√
Black Level : 7.5 IRE
√√
3D Noise Reduction
: Off
√√
Front Display
: Auto Dim
√√
4:3 LetterBox
4:3 Pan-Scan
16:9 Wide
RETURNSELECTMOVE EXIT
Timer Record
No Disc
Timer Record
√√
Scheduled Record List
√√
Timer Rec.
Setup
RETURNSELECTMOVE EXIT
Setup
No Disc
System
√√
Language
√√
Audio
√√
Video
√√
Parental Control
√√
Timer Rec.
Setup
RETURNSELECTMOVE EXIT
Setup
No Disc
System
√√
Language
√√
Audio
√√
Video
√√
Parental Control
√√
Timer Rec.
Setup
Timer Rec.
Setup
Timer Rec.
Setup
2_AK68-00683A-0314~29) 2/17/05 10:12 AM Page 29
