Recording
English -
33
To stop recording
Press the STOP ( ) button to stop or finish a recording
in progress.
●
When using DVD-RAM/DVD-RW/DVD-R discs, the
message ‘Updating the information of disc. Please wait
for a moment’ is displayed.
3
Press the CH ( / ) or number ( ~ )
buttons to select the current program you
want to record.
4
Press the REC MODE button repeatedly, (or
press the REC MODE button and then press
the …† button) to select the recording
speed(quality).
➞
SP ➞ LP ➞ EP ➞ XP
5
Press the REC button.
Information concerning the channel is displayed on the
screen and then recording begins. Icon( ) is displayed
on the front panel.
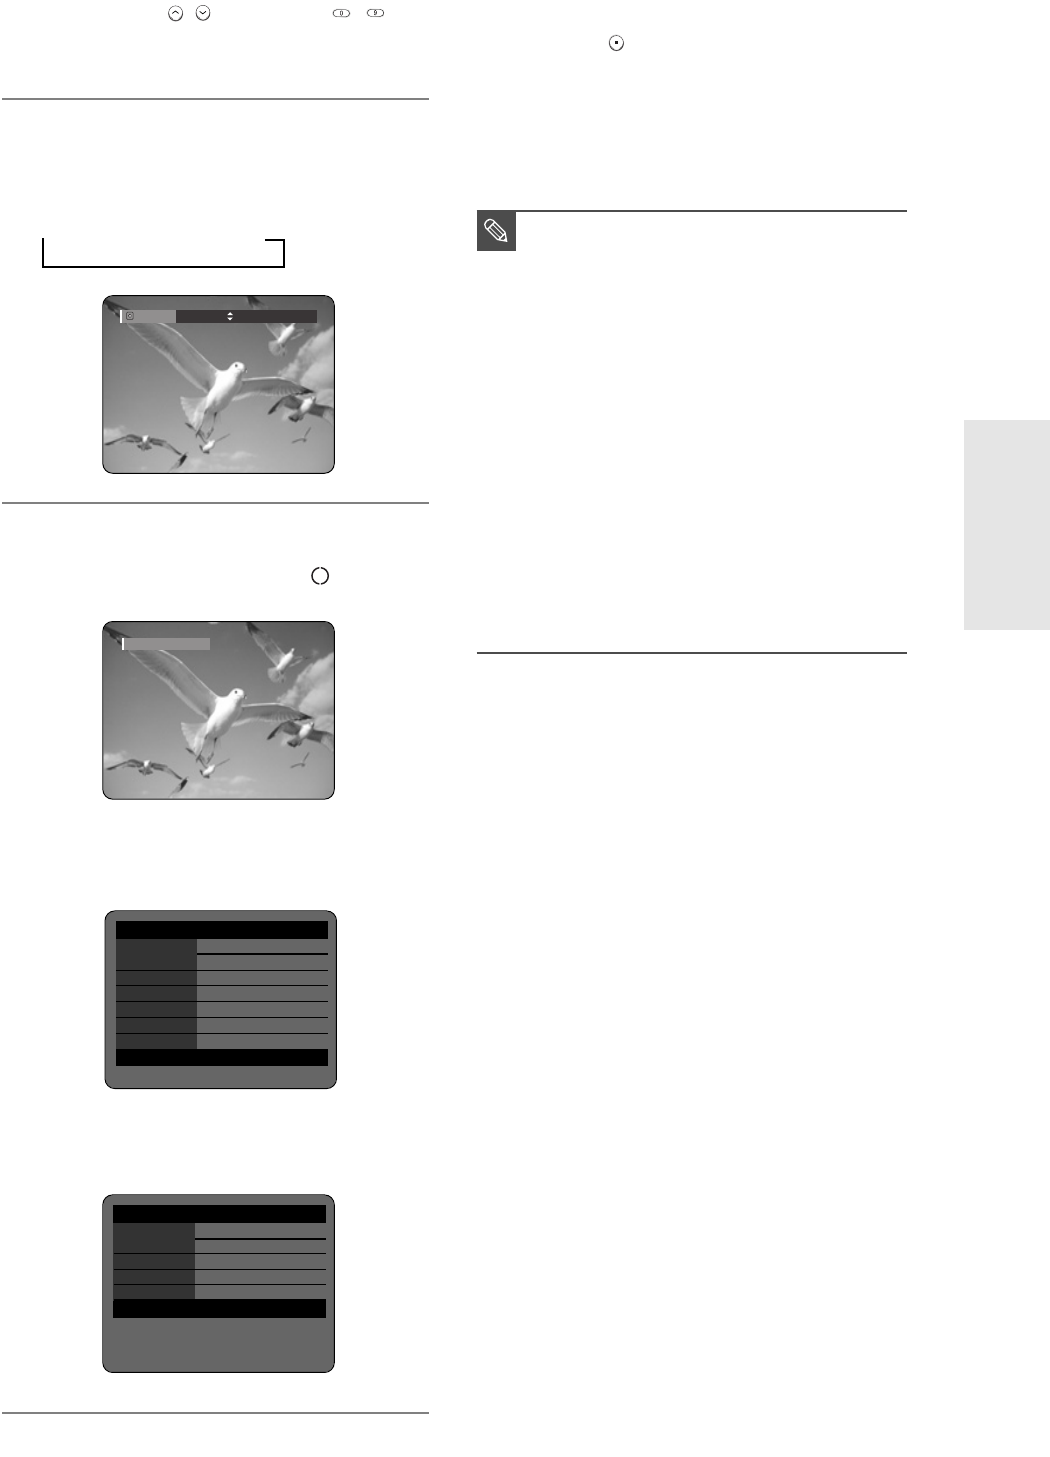
To view the current status of the disc and progress of
recording : Press the INFO button, and the information
about the disc will appear.
Press the INFO button once again to view
information about the recording.
Record Mode
SP (02:12)
Recording : CH 7 [Mono]
■
You can not change the recording mode
and the channel while recording.
■
Recording will stop automatically if there
is no free space left for recording.
■
Up to 99 titles can be recorded onto a
disc.
■
Recording will stop automatically if a copy
protected image is selected.
■
If you are using a Cable Box(no antenna),
you cannot watch a different cable TV
program from the one you're recording.
■
DVD-RAM/DVD-RW discs must be
formatted before starting to record. Most
new discs are sold unformatted.
■
Do not use DVD-R authoring discs with
this unit.
NOTE
DVD-RAM(VR) Recording Info
Name APR/04/2005 12:00 AM
CH7
Recording Title 15
Created Time APR/04/2005 12:00 AM
Recording Time 00:02:05
APR 24 2005 SUN 12:00 AM
Recording
DVD-RAM(VR) Disc Info
Disc Name
Total Title 15
Total Playlist 2
Recordable Time 02:00 SP
Protection Not Protected
Screen Recording CH 7 [Mon]
APR 24 2005 SUN 12:00 AM
3_AK68-00683A-03(30~40) 2/17/05 10:16 AM Page 33
