Digital Video Recorder User Guide
16
Digital Video Recorder User Guide
17
Setting the SVR-1670’s ID for the Remote Control
Youcancontrolupto16SVR-1670sfromoneremotecontrolbycreatinguniqueIDsforeach
SVR-1670.
· Setting the ID for the remote control device
1. From the OSD, select the Network menu.
2. Select the Remote submenu.
3. For the Remote Controller ID option, select an ID value. This will become the ID for the remote device
you plan to use.
· Setting the ID for the remote control device
To select a specific SVR-1670, press the ID button on the remote controller repeatedly until you hear
a buzzer for 2 seconds. After the buzzer, the SVR-1670 starts responding to the remote controller’s
commands.
Chapter 2. SVR-1670 Description
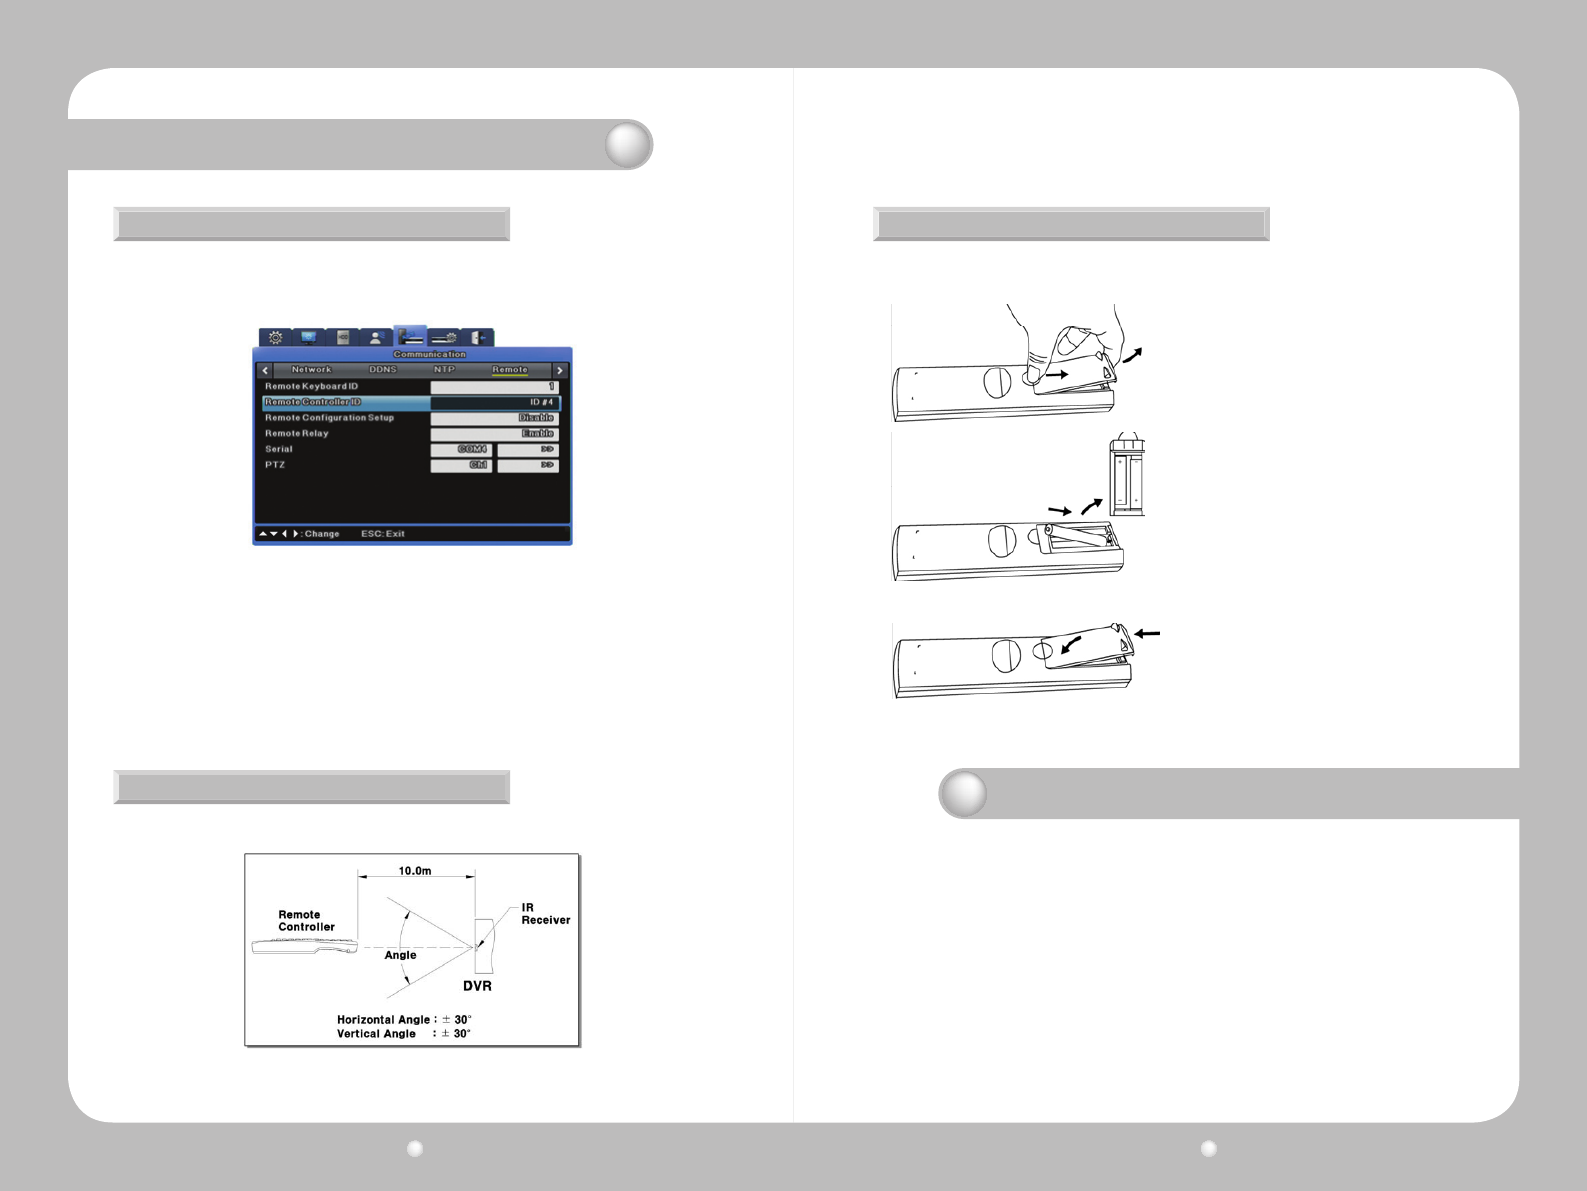
Figure 2.6.2 Remote Control ID
Usable Range of Remote Control
Changing Batteries
Figure 2.6.3 Remote Control Device’s Usable Range
1. To remove the rear battery cover, press it
forward.
2. Check the battery contacts inside the remote
controller: + and –. Insert each battery matching
the battery contacts and battery poles.
3. Reinsert the battery cover.
The Remote Control takes AAA-sized batteries. Here is how to insert new or replacement
batteries:
Chapter 3. Hardware Installation
Thischapterdescribeshowtoinstallthehardware.ItincludesinstructionsforinstallingtheSVR-1670inarackor
onadesktop;connectingdevicestotheSVR-1670includingcameras,monitors,sensors,andrelays;andhandling
and preparing wiring.
The information is presented in these sections.
•3.1InstallingtheSVR-1670inaRack
•3.2WorkingwithInput/OutputTerminals
•3.3BasicConnectionstotheSVR-1670
•3.4ExtendedConnectionstotheSVR-1670
•3.5RemoteMonitoringandControl
•3.6HardDiskDriveInstallation
Figure2.6.3showsananglewhentheremotecontrollerispointedtotheDVRremotecontroller
receiver.
