Setting Up the LCD Projection TV
32
KDF-55/60XS955
2-059-372-11(1)
Cable Box For best results, use this connection if:
❑
Your cable company scrambles all channels, which requires you to use a
cable box.
❑ You do not have a VCR. (If you have a VCR, see pages 35 and 36.)
With this connection you can:
❑
Use the LCD projection TV’s remote control to change channels
coming through the cable box to the LCD projection TV’s VHF/UHF
jack. (You must first program the remote control for your specific cable
box.)
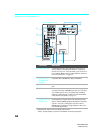
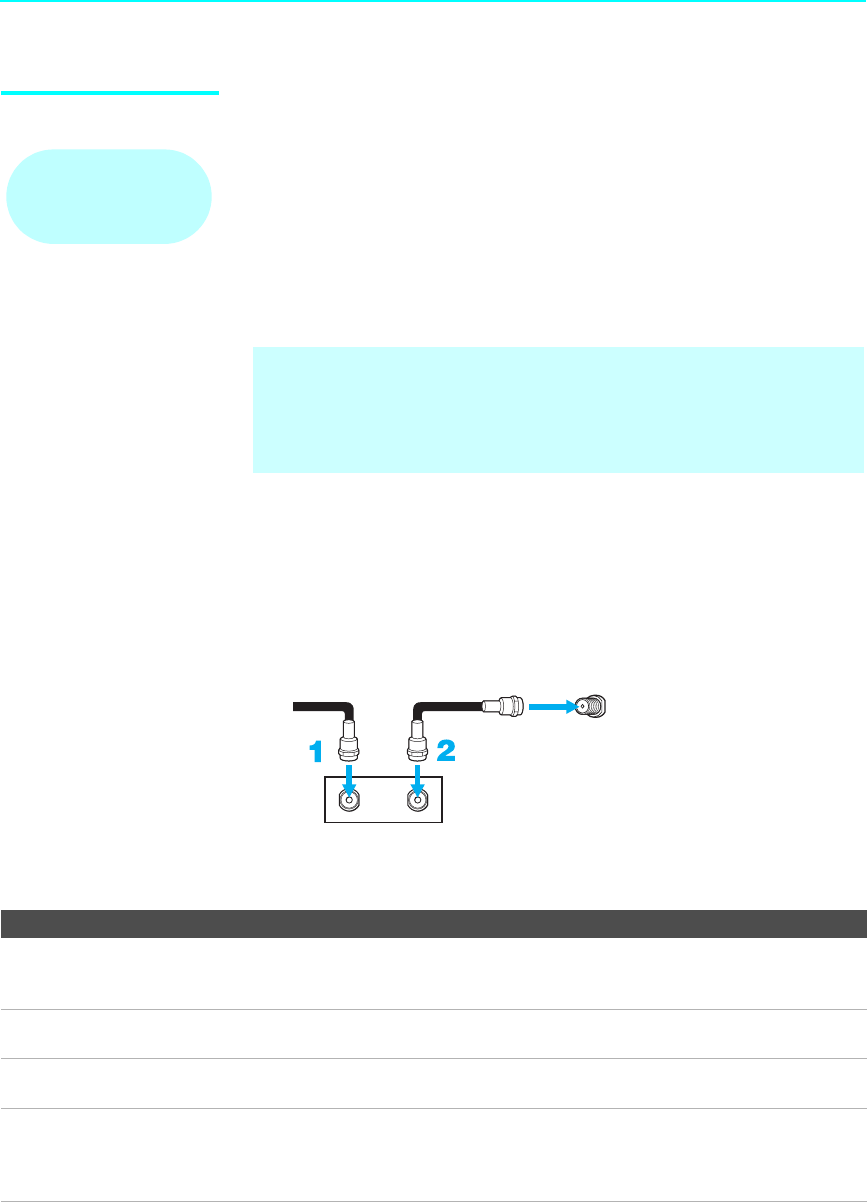
To connect the cable box
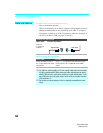
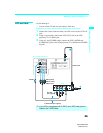
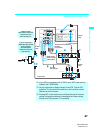
1 Connect the CATV cable to the cable box’s input jack.
2 Use a coaxial cable to connect the cable box’s output jack to the LCD
projection TV’s VHF/UHF jack.
3 Run Auto Program, as described in “Setting Up the LCD Projection TV
Channel List” on pages 54.
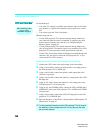
Notes on Using This Connection
Before connecting a cable
box, see “Using
CableCARD” on page 52.
✍ With this connection, all channels come into the LCD projection TV
through your cable box and only one unscrambled signal is sent to the
LCD projection TV, so you cannot use the dual picture features. If some
of your channels are scrambled, but others are not, consider using the
“Cable Box and Cable” connection on page 31 instead.
VHF/UH
F
CATV cable
Coaxial cable
Rear of LCD projection TV
Cable box
OUT
IN
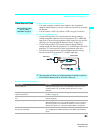
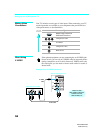
To do this... Do This ...
Use the cable box Tune the LCD projection TV to the channel the cable box is set to
(usually channel 3 or 4) and then use the cable box to switch
channels.
Set up the LCD projection TV remote control to
operate the cable box
Program the remote control. See “Programming the Remote
Control” on page 58.
Activate the remote control to operate the cable
box
Press SAT/CABLE FUNCTION once, and the SAT/CABLE
indicator lights up.
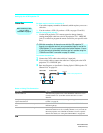
Prevent the accidental switching of TV channels When using the cable box, the LCD projection TV must stay on the
channel the cable box is set to (usually channel 3 or 4). You can use
the LCD projection TV’s Channel Fix feature to lock in a specific
channel. For details, see “Using the Channel Menu” on page 102.


