Setting Up the Projection TV
13
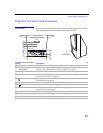
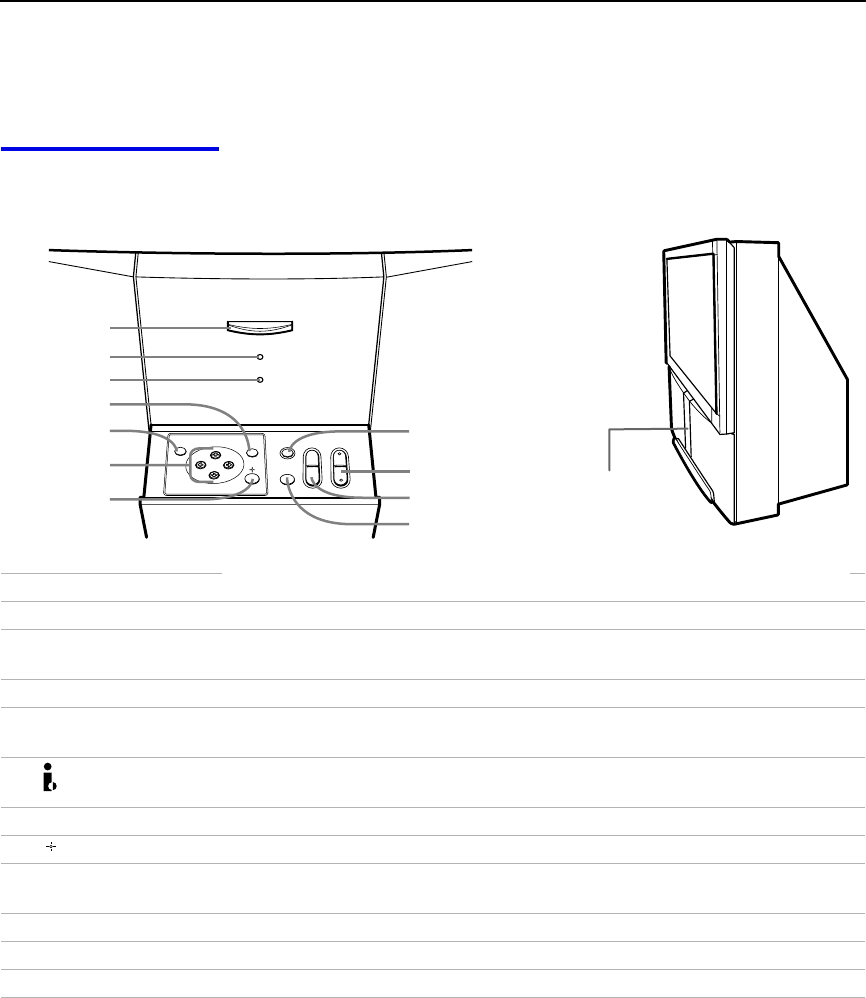
Projection TV Controls and Connectors
Front Panel To access the front buttons and input jacks on the projection TV, push
in to release the door on the front of the projection TV.
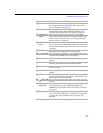
Control Description
1 POWER Press to turn on and off the projection TV.
2 STANDBY/
i.LINK STANDBY
When lit in orange, indicates that i.LINK Standby is On. When lit in red,
indicates that i.LINK Standby is Off. For details, see page 66.
3 TIMER When lit, indicates one of the timers is set. For details, see page 49.
4 MENU Press to display the projection TV on-screen menu. Press again to exit from
the menus. For details, see page 51.
5 i.LINK Press to display the i.LINK Control Panel. For details on using the i.LINK
Control Panel, see page 48.
6 B bVv Press B bVv to move the on-screen cursor and press SELECT to select.
7 SELECT Press to select the on-screen highlighted item.
8 TV/VIDEO
Press repeatedly to step through the video equipment connected to your
projection TV
’s video inputs.
9 -CHANNEL+ Press to scan through channels.
0 -VOLUME+ Press to adjust the volume.
qa FLASH FOCUS Press to adjust the convergence (see page 36).
CHANNELVOLUME
+
–
+
–
FLASH FOCUS
TIMER
STAND BY/
i.LINK STAND BY
POWER
q;
9
1
2
3
qa
TV/VIDEO
MENU
i.LINK
5
7
6
4
8
Push to open


