25
Using the TV’s features (General)
• If TV is already turned on when Alarm is activated, the TV will
simply switch to the specific TV mode or channel at the
Alarm start time.
• If TV is already running the Programme Timer when Alarm is
set to activate on DTV mode, on Alarm activation the Alarm
will only turn on the TV (if it was in standby) but not switch to
the channel specified in the Alarm setting.
• If TV is already running the Programme Timer when Alarm is
set to activate on a TV mode other than DTV, the Alarm will
perform normally.
• If you do not press any button on the side panel of the TV or
the remote control within 2 hours after Alarm is activated, the
TV will enter standby automatically.
Setting the sleep timer
The Sleep timer is especially useful if you want the TV to turn
itself off after a selected period of time.
1 Press M, then press Y or Z to display the TIMER menu.
2 Press V or U to select Sleep timer.
3 Press Number buttons (0-9) to set the time period to turn
off the TV. Alternatively, press Y or Z to set the time
period. The timer display will set in blocks of 10 minutes
to 12 hours and 50 minutes. If you press and hold Y or Z
to set the time period, timer display will set in blocks of
30 minutes up to 12 hours 30 minutes.
4 Press P to start the timer.
Selecting the video input source to
view
1 Press o on the remote control to display the video input
mode list, then press V or U to select appropriate input
source (or press o on the TV side panel or o on the
remote control repeatedly to select required input source
directly). In Analog TV, you may also press Q to display
the video input mode list.
2 Press Q.
DTV (Digital TV)
o 1 (o (1), video 1 input),
o 2 (o (2), video 2 input) or o 2S (S-video input),
o 3 (o 3, component video input),
HDMI1, HDMI2, HDMI3 (HDMI input),
PC (o RGB/PC, PC input)
ATV (Analog TV)
Notes:
• When the component video input, PC input mode or HDMI
input mode is selected, the AV OUTPUT terminals (- page
33) output audio signal only.
• If a REGZA-LINK device is connected to an HDMI input, the
REGZA-LINK icon will appear.
• When the TV is switched on, it will take a few minutes for the
REGZA-LINK icon to appear in the list; when an HDMI cable
is removed, it will take a few minutes for the icon to
disappear.
• If the HDMI cable from connected device is changed or
HDMI device setting are changed, Enable REGZA-LINK in
the REGZA-LINK menu may need to be reset to On.
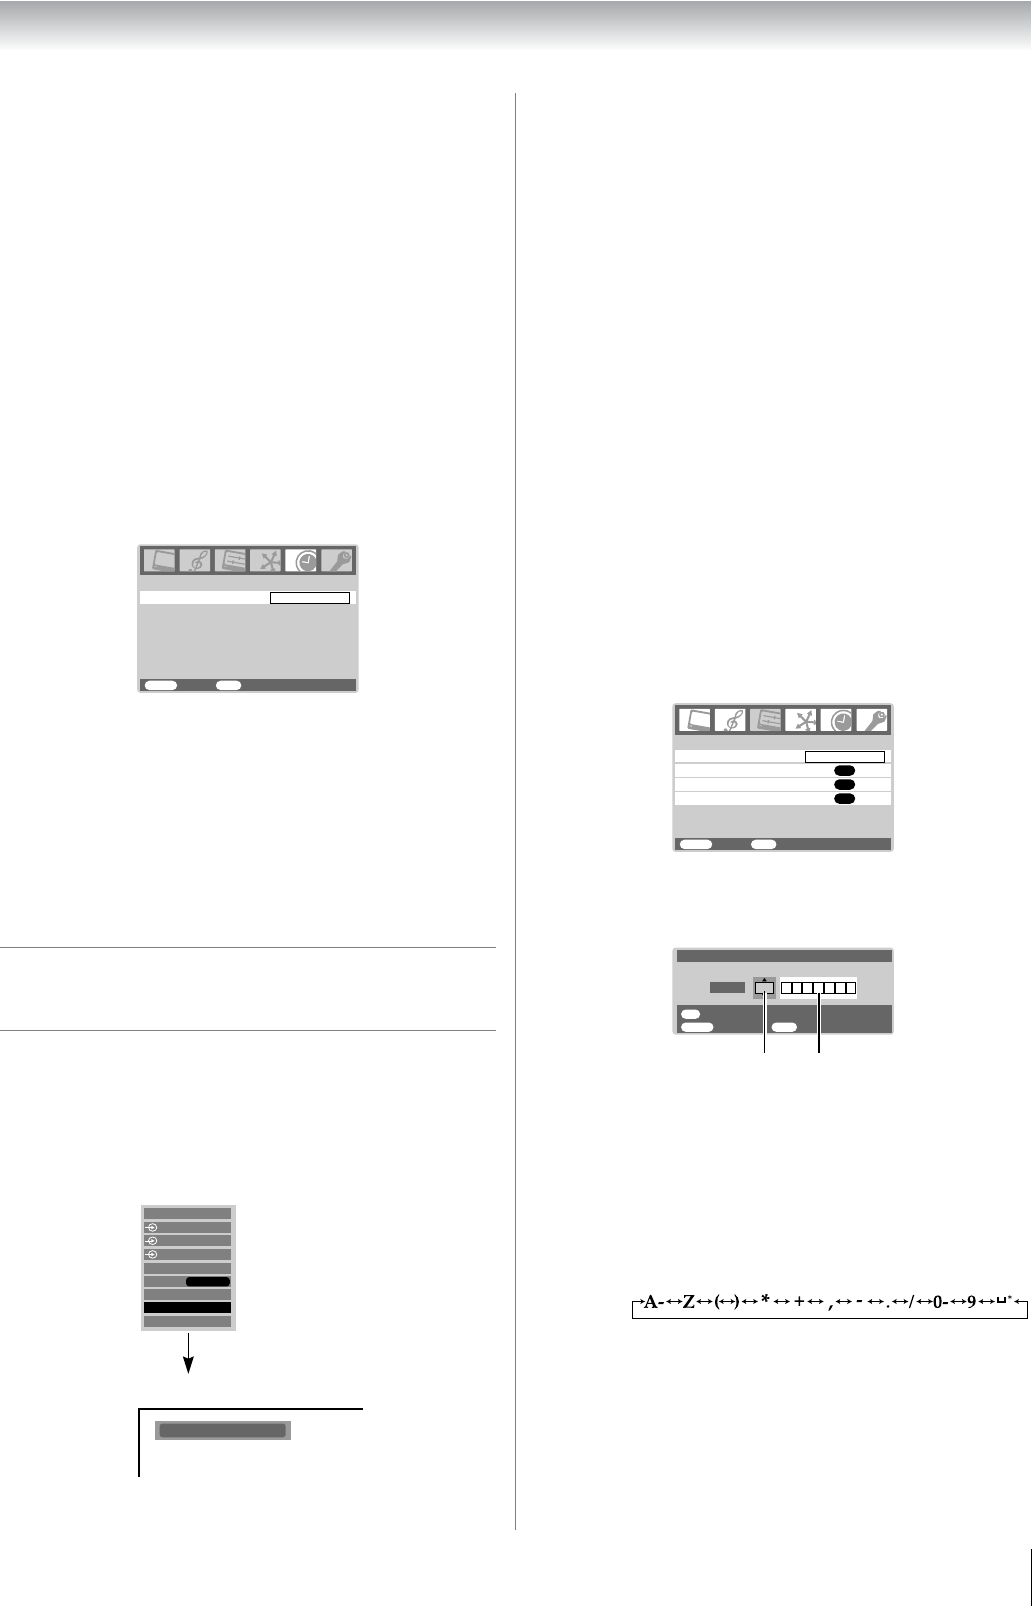
Setting the manual setting menu - analog only -
1 Press M, then press Y or Z to display the SET UP
menu.
2 Press V or U to select Manual setting, then press Q.
3 Press Y or Z to select an item, then press V or U to
select the item as shown below.
A. Colour System
Confirm that colour system is set to “A” (Auto). If not,
select “A” with V or U.
B. Video label
The video label allows you to label each input source
for your TV.
To change or create video labels:
1) Press V or U repeatedly to select a character for
the first space, then press Z.
2) Repeat step 1) to enter the rest of the characters.
If you would like a blank space in the label name,
you must choose a blank space from the list of
characters.
3) Press Q to store your setting
s.
TIMER
MENU
Back Watch TV
EXIT
Sleep timer
00:00
Ex. PC VGA mode
PC VGA
ATV
HDMI1
HDMI2
HDMI3
PC
DTV
2
3
1
REGZA-LINK
Manual setting
OK
AV connection
OK
Picture position
OK
Language
SET UP
MENU
Back Watch TV
EXIT
English
AB
MENU
Back Watch TV
EXIT
OK
Manual setting
Store
A
Colour system:Auto
EXT1
*(blank space)


