Milestone XProtect Smart Client 3.0; User’s Manual
www.milestonesys.com Page 42 Further Configuration
1. Click the Show Application Menu button in the Smart Client’s top bar:
2. From the menu that appears, select Keyboard Setup:
The Keyboard Setup window will appear.
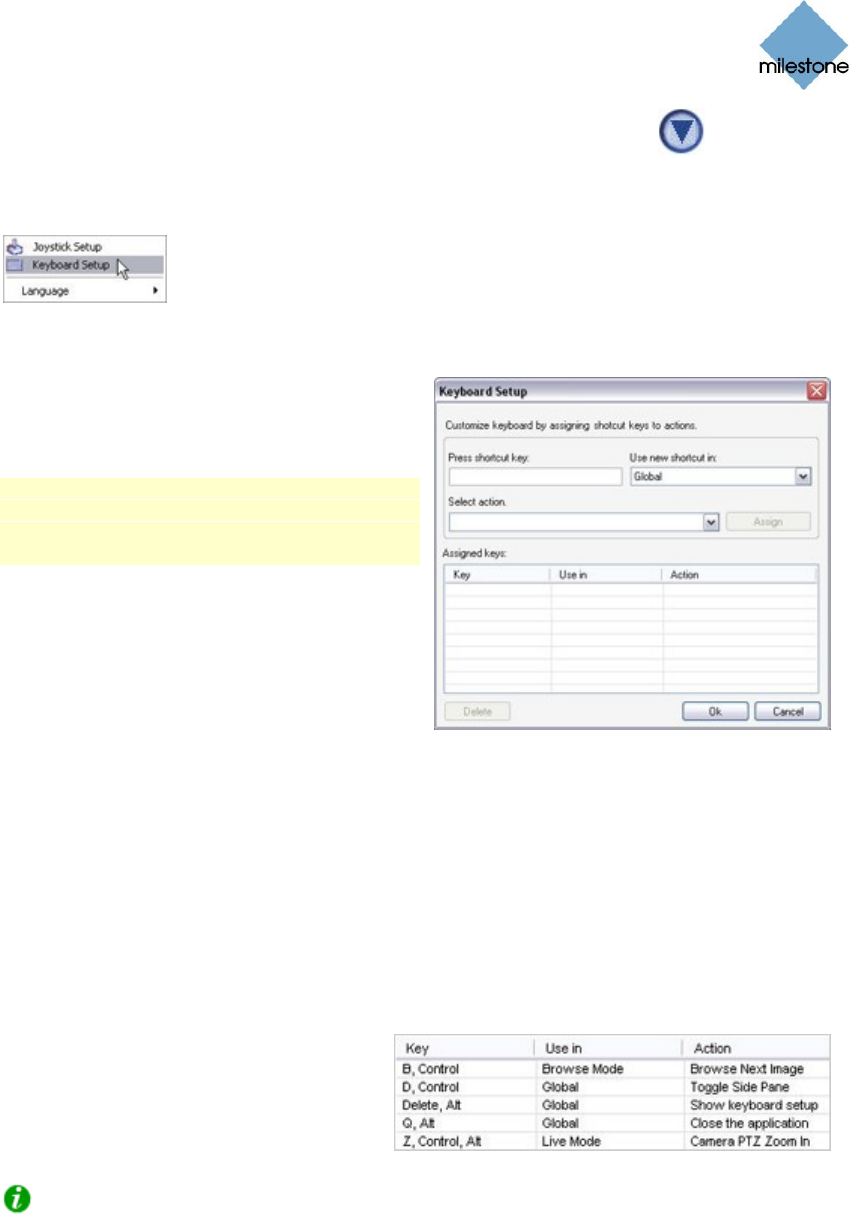
3. When the Keyboard Setup window appears,
click inside the Press shortcut key field, then
press the required key combination.
Note: Key combinations must begin with
CTRL or ALT. Example: CTRL + B (i.e. first
pressing the CTRL key, then—while still
pressing the CTRL key—pressing the B key).
This will display the pressed key combination
in the Press shortcut key field.
4. In the Select action list, select the required
action for the shortcut key combination.
5. In the Use new shortcut in list, select when the shortcut key combination should apply:
Global: When working on any of the Smart Client’s three tabs (Live, Browse
and Setup).
Browse Mode: When working on the Smart Client’s Browse tab only.
Live Mode: When working on the Smart Client’s Live tab only.
Setup Mode: When working on the Smart Client’s Setup tab only.
6. Click the Assign button. This will add the
specified shortcut key combination to
the Assigned keys list. Example:
7. Click OK.
Tip: Your keyboard shortcuts are kept as part of your user settings on the surveillance
system server. This means that you will be able to use your keyboard shortcuts on any
computer that has a Smart Client installed, provided you log in to the Smart Client with
your own user name and password.
Deleting a Shortcut Key Combination
To delete an existing keyboard shortcut from the Assigned keys list, simply select the required row
in the list, then click the Delete button.


