Milestone XProtect Smart Client 3.0; User’s Manual
www.milestonesys.com Page 82 Day-to-Day Use
Exporting in Database Format
To export video evidence in the Milestone XProtect Enterprise database format, do the following:
Note: If exporting recordings from an IPIX camera, be aware that it is only possible to export the
“fisheye” view itself; not a flattened IPIX view, a 2×2 split IPIX view, or zoomed IPIX views.
1. Select the Smart Client’s Browse tab.
2. Select the view on which you want to base your export.
Tip: You do not necessarily have to include all of the selected view’s cameras in your
export; later in the process you will be able to specify exactly what to include in the export.
3. In the Browse tab’s Export section, specify when the period to be covered by the export
should start. You do this by typing the required date in the first Start Time field and the
time in the second field.
Tip: Instead of manually specifying date and time, you may use the Browse tab’s Time
Navigation features to move to the required start point, then click the upper of the Export
section’s Set buttons. This will automatically set the date and time of the viewed image in
the Start Time fields.
4. In the End Time fields, specify end date and time for the export. You may use the Set
button as described above.
5. Select the required source from the Source list. You may select an individual camera, in
which case only images from the selected camera will be included in the export, or Current
View Sources, in which case the export will include images from all cameras in the current
view for which you have database export rights.
Tip: To quickly select an individual camera, you may also simply click the required
camera slot in the view.
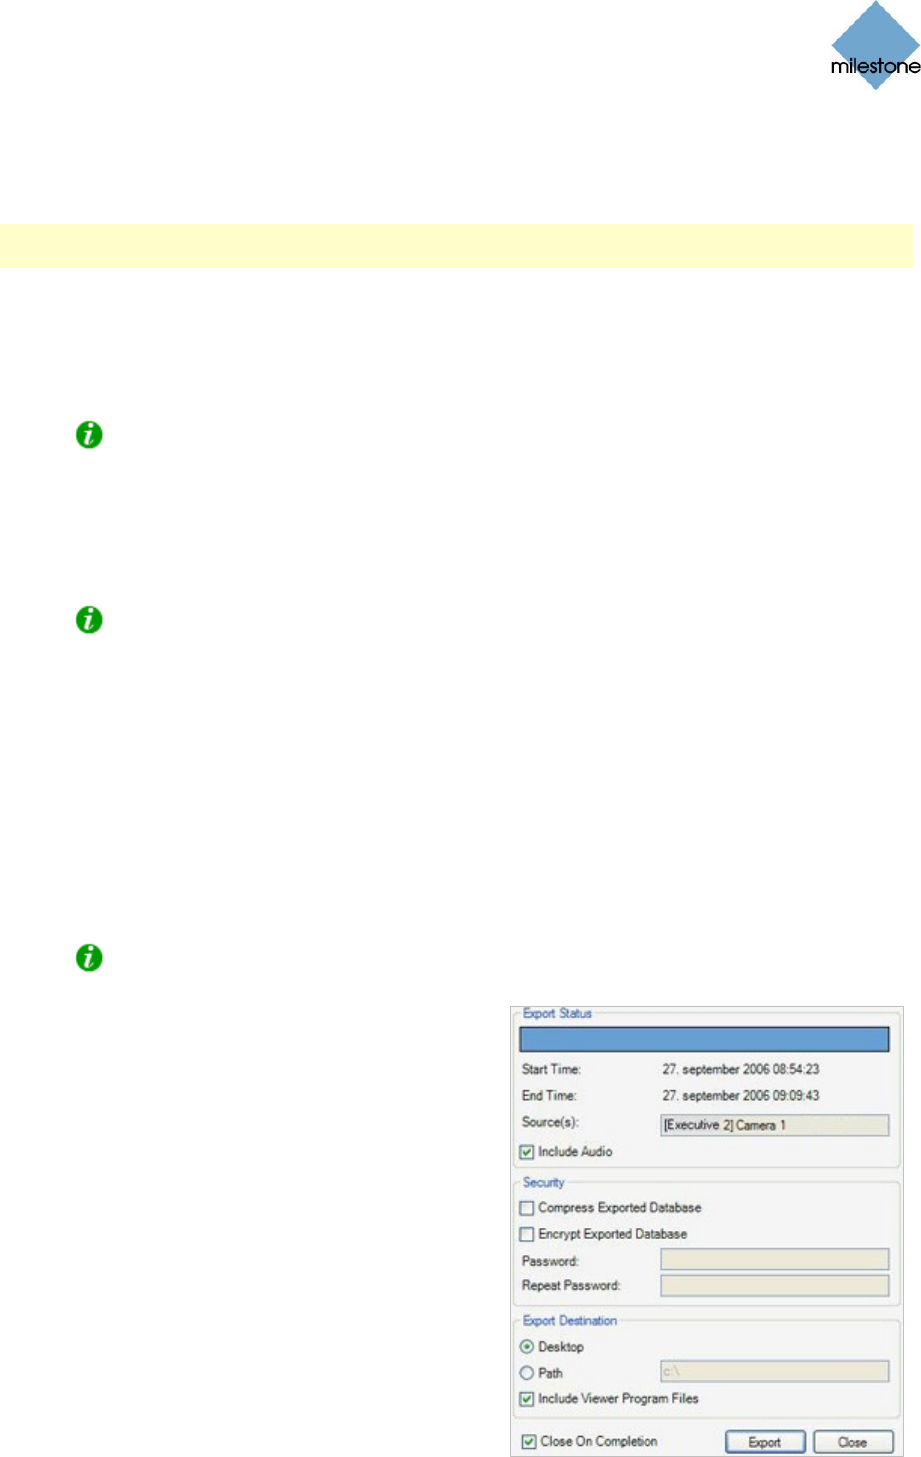
6. Click the Database Export... button. This will
open a separate export dialog. The export
dialog will list the specified start time, end
time, and source.
7. If the selected camera(s) have audio sources
attached, you are able to include audio in the
export by selecting the Include Audio check
box (if no audio sources are attached, the
check box will not be available).
8. If you want to compress the exported
database, select the Compress Exported
Database check box. Compression can reduce
the size of the exported database by
approximately 10%. However, the database
export process will take considerably longer


