


38
ENGLISH
OTHER
CONNECTIONS
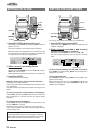
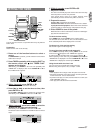
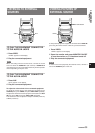
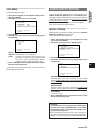
CONNECTING OPTIONAL
EQUIPMENT
VIDEO IN
AUDIO IN
SUPER WOOFER
AUX IN
LINE OUT
S-VIDEO OUT
VIDEO OUT
DIGITAL AUDIO OUT
(OPTICAL)
Refer to the operating instructions of the connected equipment
for details.
• The connecting cords are not supplied. Obtain the necessary
connecting cords.
• Consult your local AIWA dealer for optional equipment.
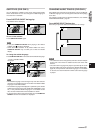
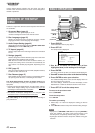
AUDIO IN JACKS (FRONT)
AUX IN JACKS (REAR)
Analog sound signals can be input through these jacks.
Use a cable with RCA phono plugs to connect audio equipment
(turntables, LD players, MD players, VCRs, TV, etc.).
Connect the red plug to the R (right) jack, and the white plug to
the L (left) jack.
When connecting a turntable
Use an AIWA turntable equipped with a built-in equalizer amplifier.
VIDEO IN JACK
Video signals can be input through this jack.
Use a cable with RCA phono plugs to connect to the video output
jack of video equipment (VCRs, LD players, etc.).
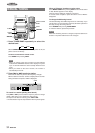
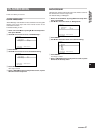
LINE OUT JACKS
Analog sound signals can be output through these jacks.
Use a cable with RCA phono plugs to connect audio equipment.
Connect the red plug to the LINE OUT R (right) jack, and the
white plug to the LINE OUT L (left) jack.
VIDEO OUT JACK
Video signals can be output through this jack.
Use a cable with RCA phono plugs to connect to the video input
jack of video equipment (VCRs, TV, etc.).
S-VIDEO OUT JACK
S-video signals can be output through this jack.
Use an S-video cable to connect to the S-video input jack of video
equipment (VCRs, TV, etc.).
NOTE
• When an external TV is connected, do not place the TV near the
unit; otherwise the sound and picture of the unit may be distorted.
• Be sure to connect the S-VIDEO OUT jack directly to a TV set,
not through a VCR or other video equipment. Otherwise, the
picture noise may appear when playing copy protected DVDs.
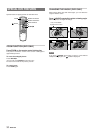
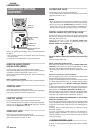
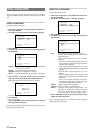
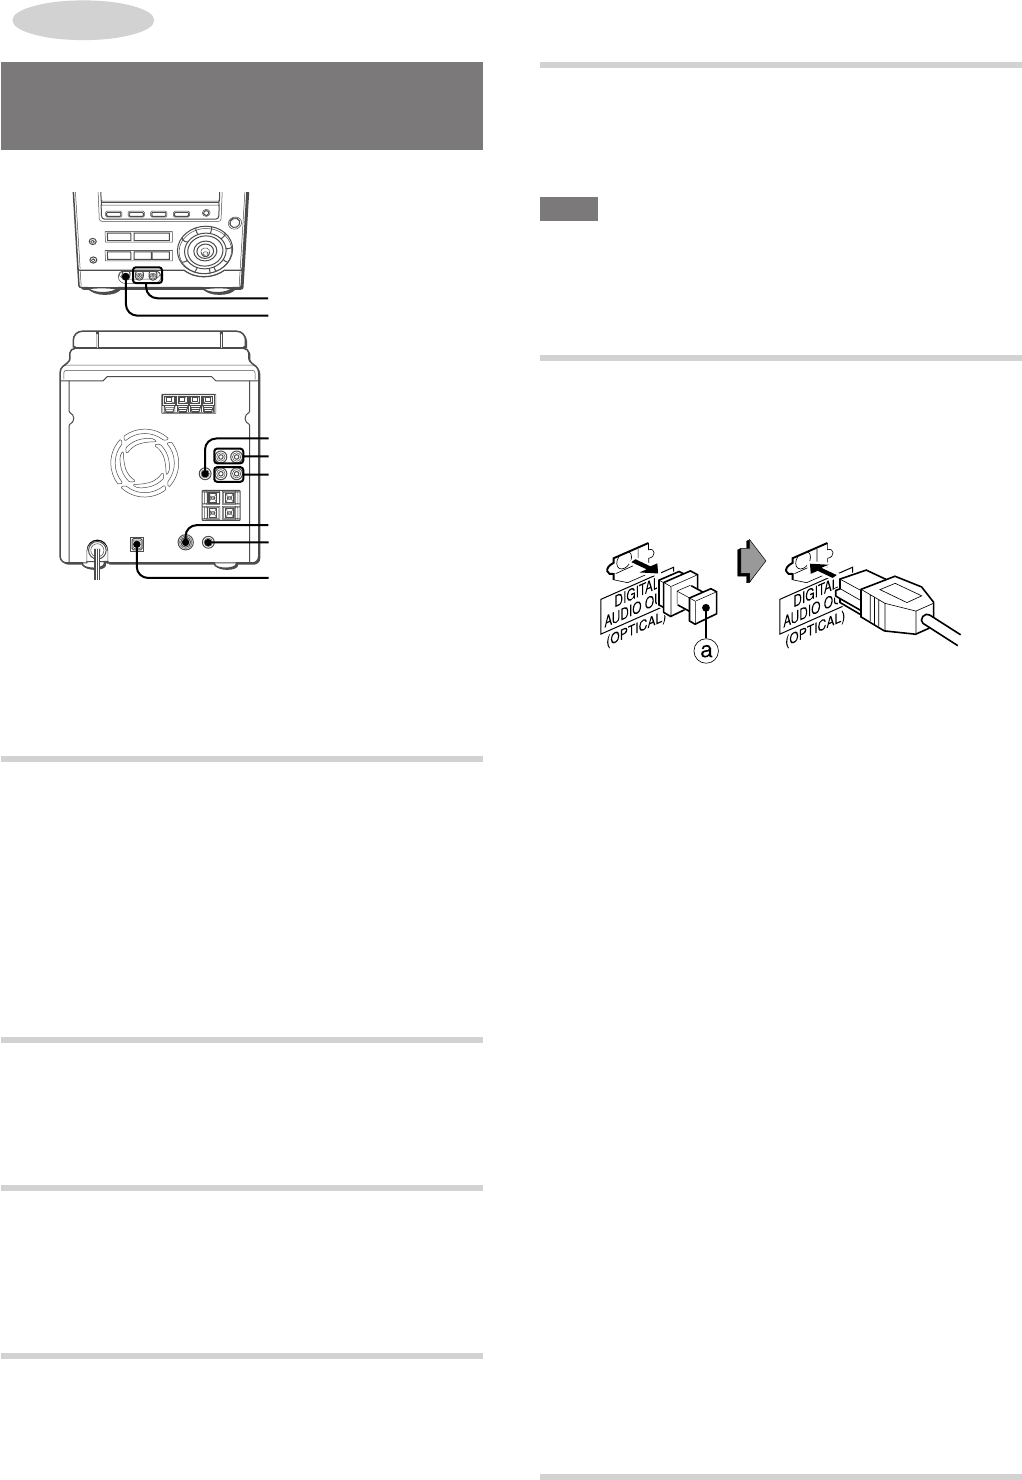
DIGITAL AUDIO OUT (OPTICAL) JACK
Digital sound signals can be output from the disc player through
this jack. Use an optical cable to connect digital audio equipment
(DAT deck, MD recorder, etc.).
Remove the dust cap a from the DIGITAL AUDIO OUT
(OPTICAL) jack. Then, connect an optical cable plug to the
DIGITAL AUDIO OUT (OPTICAL) jack.
When the DIGITAL AUDIO OUT (OPTICAL) jack is not being
used
Attach the supplied dust cap.
When connecting an MD recorder
When connecting an MD recorder using the DIGITAL AUDIO OUT
(OPTICAL) jack, make sure to set the "Digital Stream" to "Down
Mix PCM" (see "AUDIO OUTPUT SETTING", page 43).
• Recording onto an MD may not be done successfully with certain
discs.
Notes on connecting to external amplifiers
This unit supports play of discs recorded with the Dolby Digital
system and the DTS Digital Surround system.
To play in the Dolby Digital system, this unit needs to be connected
to a Dolby Digital decoder unit or an amplifier equipped with a
Dolby Digital decoder via the DIGITAL AUDIO OUT (OPTICAL)
jack.
To play in the DTS Digital Surround system, this unit needs to be
connected to a DTS decoder unit or an amplifier equipped with a
DTS decoder via the DIGITAL AUDIO OUT (OPTICAL) jack.
When connecting to such decoder or a decoder-equipped amplifier,
the audio output setting must be changed appropriately in the
DVD setup (see "AUDIO OUTPUT SETTING", page 43).
CAUTION ON CONNECTING EQUIPMENT TO THE DIGITAL
AUDIO OUT (OPTICAL) JACK
If the audio output setting of the DVD setup is not set appropriately
to your configuration, merely attempting to play a DVD may cause
a high level of noise which could harm your ears and damage the
speakers.
Carefully read and follow instructions for "AUDIO OUTPUT
SETTING", page 43.
If you are not connecting to Dolby Digital or DTS decoders or
decoder-equipped amplifiers, or if you are not connecting to
external amplifiers at all, you do not need to change the default
audio output setting.
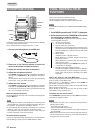
3 SUPER WOOFER JACK
Connect an optional powered sub woofer with a built-in amplifier
to the jack.