English
Owner’s manual
280-8207-00
VRX756VD 33
DVD Video Player Operations
Changing DVD System Settings
Notes:
• If the SETUP operation is performed in the middle
of DVD video play, the disc plays from the
beginning.
•Various settings of the SETUP menu cannot be
made with the remote control unit.
Selecting the DVD SETUP menu
1. Touch the screen to show the menu screen.
2. Touch the [SUB] key to display the SUB
menu.
3. Touch the [SETUP] key to display the DVD
SETUP menu.
4. Touch the [z] key. Touch the [w] key to
return to the previous menu.
5. Touch the [RTN] key ([ESC] key).
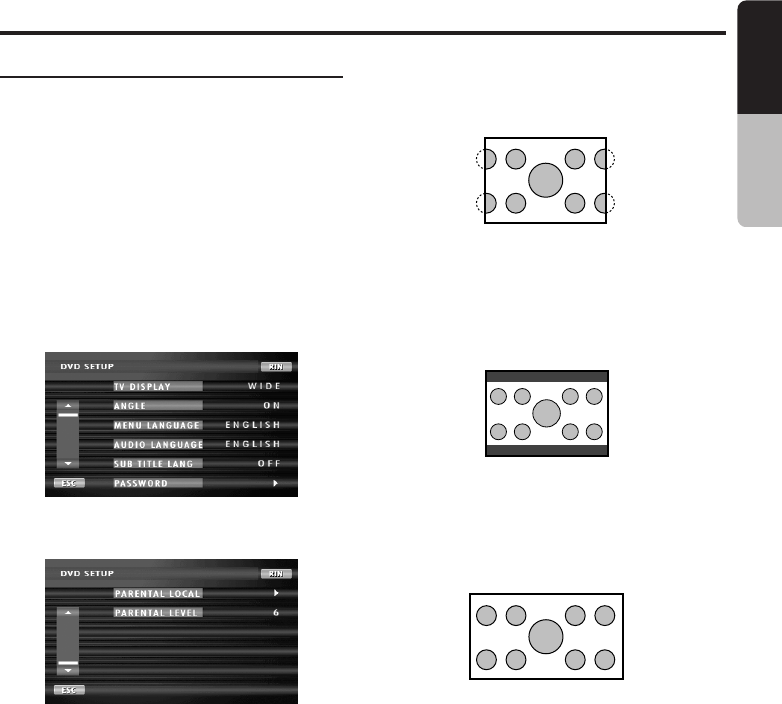
Setting up the screen size
Set up the screen size according to the rear
view monitor which is connected to this unit.
1. Follow the steps 1 to 3 in “Selecting the
DVD SETUP menu”.
2. Each time you touch the [TV DISPLAY] key,
you can change amoung the screen size in
the following order.
“WIDE” ➞ “N PS” ➞ “N LB” ➞ “WIDE”
∗ The factory default setting is “WIDE”.
This function allows displaying the important
part of image fully on the screen. In some
cases, image is displayed while being
panned (scrolled).
• N LB : A black zone is created in the top and
bottom areas of the screen.
This method displays Cinema Scope and
Vista Vision images without cutting them off
by creating a black zone on the top and
bottom gaps.
●When watching through a wide type of the
rear view monitor (16:9)
• WIDE:
3. Touch the [RTN] key ([ESC] key).
Setting up the angle mark display
You can set up so that the angle mark appears
on scenes where the angles can be switched.
1. Follow the steps 1 to 3 in “Selecting the
DVD SETUP menu”.
2. Touch the [ANGLE] key to select “ON” or
“OFF”.
∗ The factory default setting is “OFF”.
3. Touch the [RTN] key ([ESC] key).
Setting up the disc menu language.
1. Following the steps 1 to 3 in “Selecting the
DVD SETUP menu”, touch the [MENU
LANGUAGE] key.
●When watching through a conventional
type of the rear view monitor (4:3)
• N PS : The leftmost and rightmost areas of
the screen are cut off.
+VRX756VD-031-Eng2 05.1.18, 1:00 PM33
